
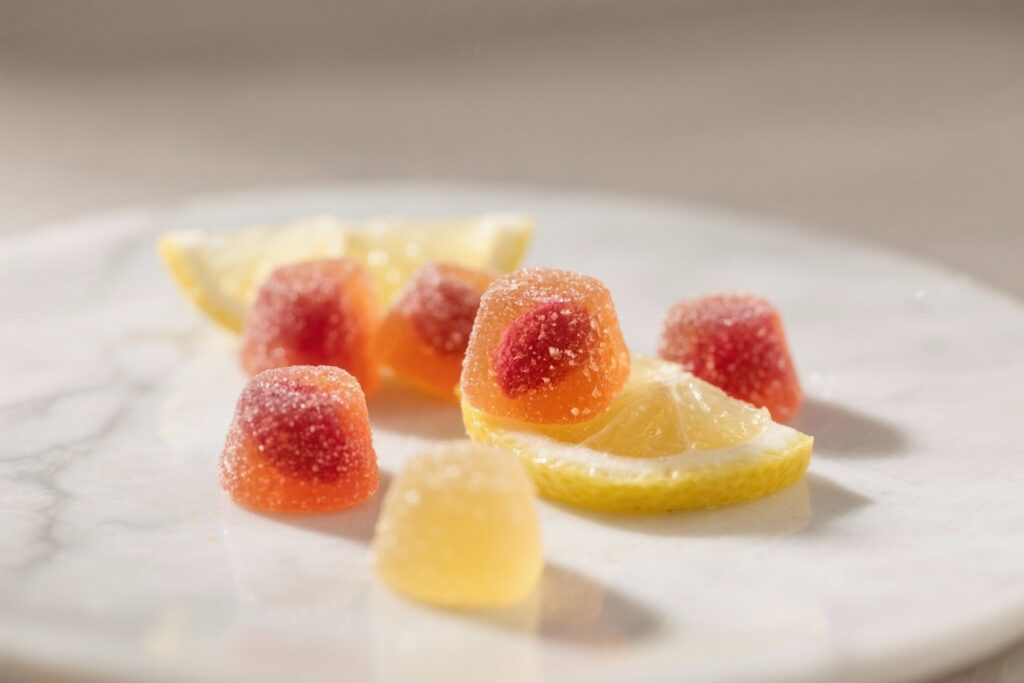
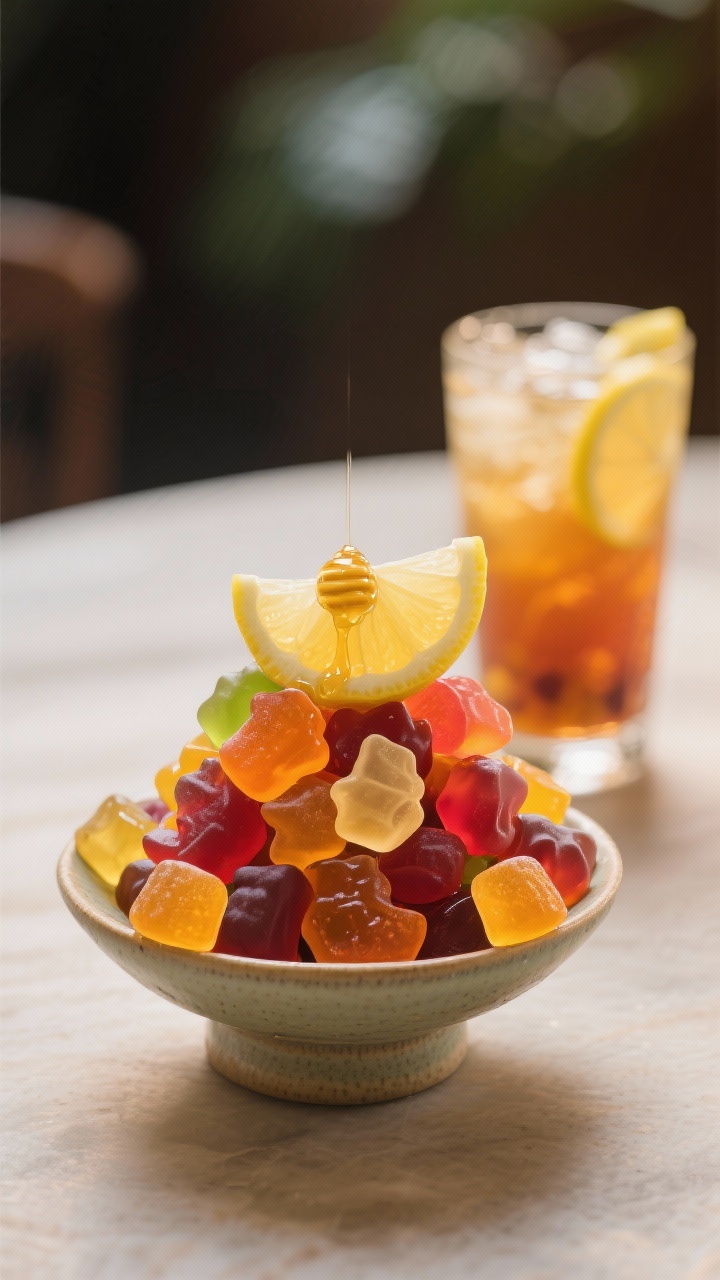
Skip the store-bought candy and make these tangy, tropical Passion Tea Lemonade Gummies at home. They’re bright, chewy, and full of zesty flavor, with a soft bite that’s incredibly satisfying. You only need a handful of ingredients and a silicone mold or pan.
The best part? You control the sweetness and the ingredients, so they taste great without being cloying. These gummies are perfect for snack time, lunch boxes, or a fun weekend project.
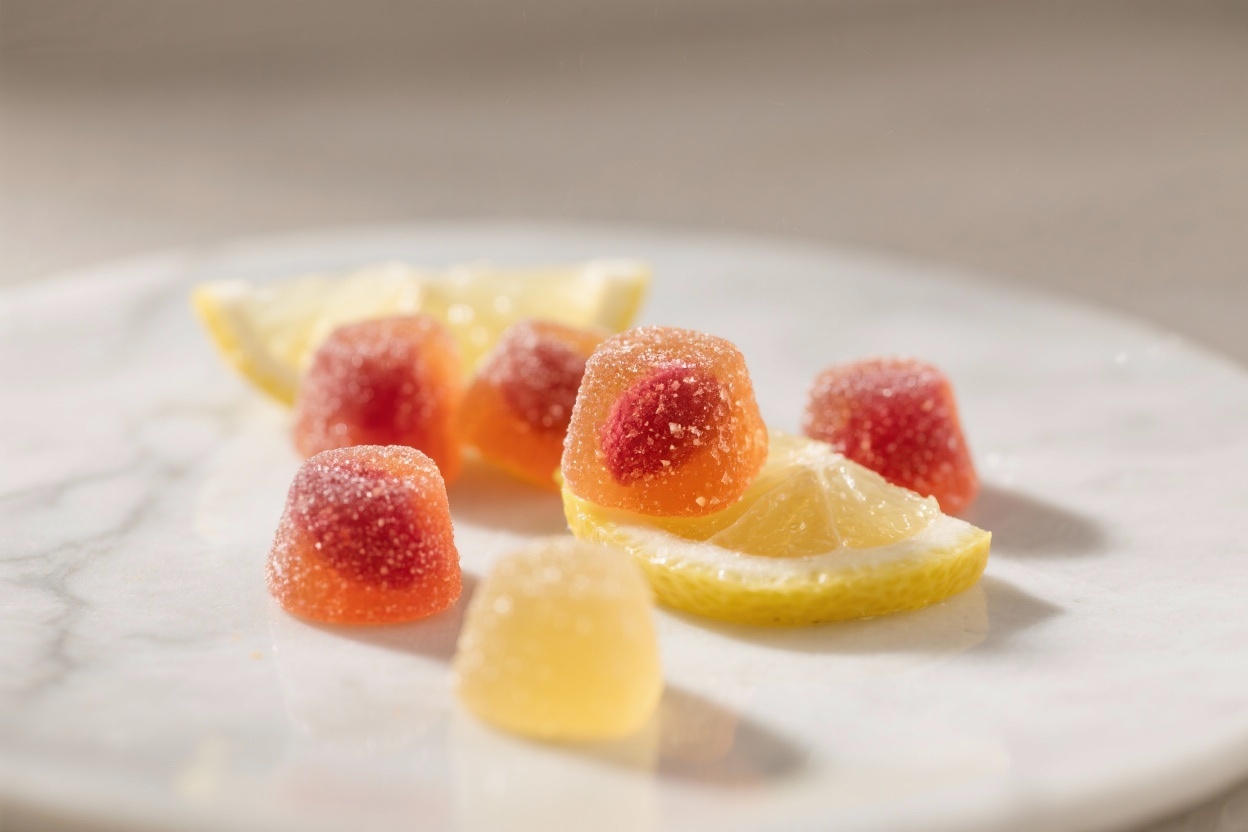
Passion Tea Lemonade Gummies – Bright, Chewy, and Refreshing
Ingredients
Method
-
Brew the tea: Steep 2–3 tea bags in 2 1/2 cups hot water for 7–10 minutes. Remove bags and measure out 2 cups of strong tea. Let it cool until warm, not hot.
-
Prep your molds: Lightly grease silicone gummy molds or a small 8×8-inch pan.
This helps the gummies release cleanly later.
-
Bloom the gelatin: Pour 1/2 cup of the cooled tea into a medium bowl. Sprinkle the gelatin evenly over the surface. Let it sit for 5 minutes until it thickens and absorbs the liquid.
-
Warm the liquid: In a small saucepan, combine the remaining 1 1/2 cups tea, lemon juice, sweetener, vanilla (if using), and a pinch of salt.
Warm over medium heat, stirring until the sweetener dissolves. Do not boil.
-
Melt the gelatin: Add the bloomed gelatin to the warm tea mixture. Whisk over low heat until the gelatin fully dissolves and the liquid is clear.
This usually takes 2–3 minutes. Avoid boiling, which can affect texture.
-
Taste and adjust: Carefully taste (it’s hot). Add a touch more honey or lemon if needed.
You’re aiming for a balanced sweet-tart flavor.
-
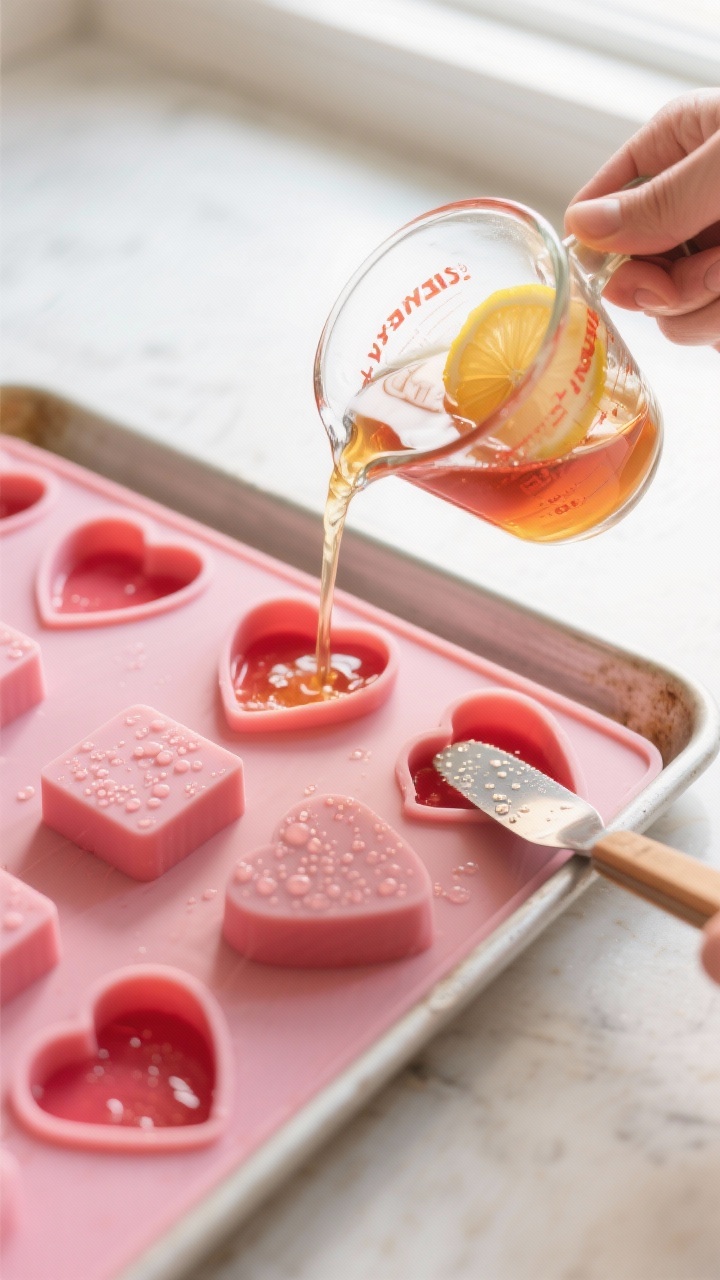
Pour into molds: Transfer the mixture to a measuring cup with a spout. Fill the molds or pour into the prepared pan. Tap gently to release air bubbles.
-
Chill to set: Refrigerate for 2–3 hours, or until completely set and springy to the touch.
-
Unmold and cut: Pop gummies out of molds.
If using a pan, loosen edges and cut into bite-sized squares.
-
Serve: Enjoy right away or store as directed below for snacking throughout the week.
What Makes This Recipe So Good
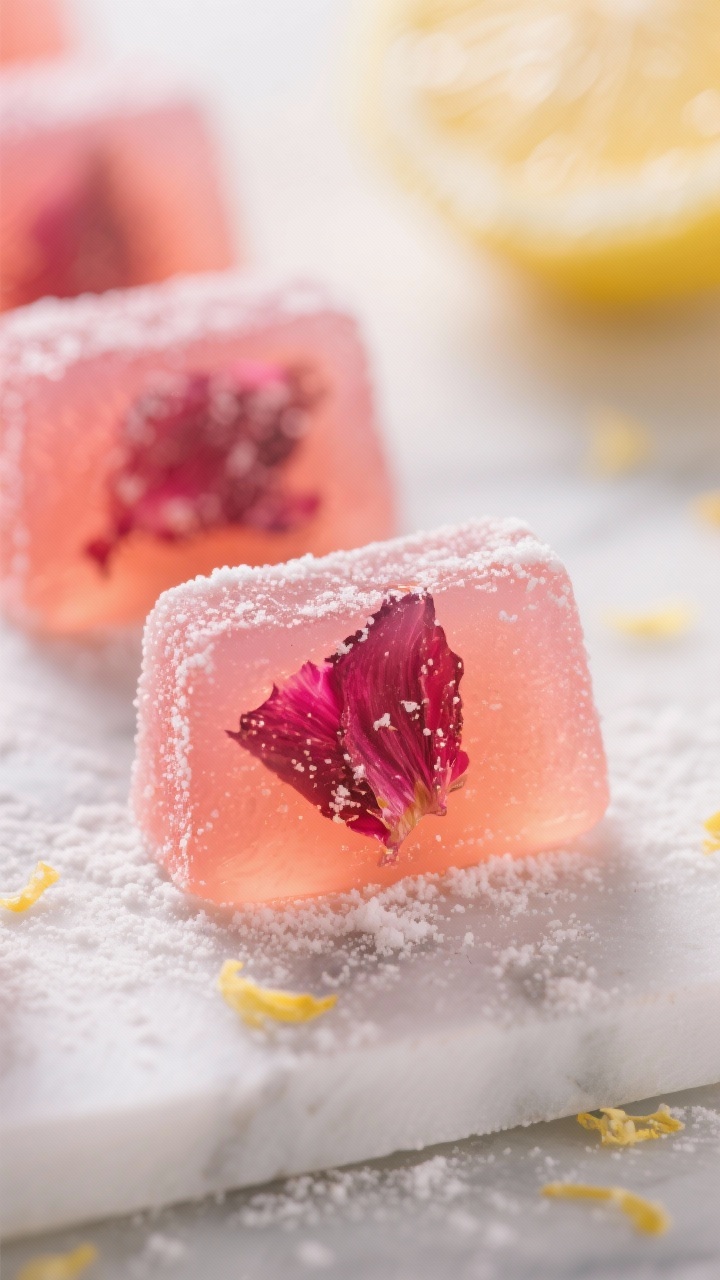
- Big flavor, simple ingredients: Passion tea brings floral, fruity notes, and fresh lemon juice adds zing.
Honey or sugar balances everything out.
- Kid-approved and adult-friendly: These gummies are fun to eat, easy to hold, and not overly sweet.
- Customize to your taste: Adjust sweetness, add more lemon for tartness, or mix in real fruit puree.
- No artificial dyes: The tea gives a natural rosy hue, especially if you use hibiscus-forward blends.
- Perfect make-ahead snack: They set quickly and keep well in the fridge for several days.
Ingredients
- 2 cups strong-brewed passion herbal tea, cooled (such as hibiscus-passion or passionfruit tea)
- 1/2 cup fresh lemon juice (about 3–4 lemons), strained
- 1/3 to 1/2 cup honey or granulated sugar, to taste
- 3 tablespoons unflavored gelatin powder (about 3 packets)
- 1 teaspoon vanilla extract (optional, for roundness)
- Pinch of sea salt (optional, enhances flavor)
- Nonstick spray or a little neutral oil for molds
Step-by-Step Instructions
- Brew the tea: Steep 2–3 tea bags in 2 1/2 cups hot water for 7–10 minutes. Remove bags and measure out 2 cups of strong tea. Let it cool until warm, not hot.
- Prep your molds: Lightly grease silicone gummy molds or a small 8×8-inch pan.
This helps the gummies release cleanly later.
- Bloom the gelatin: Pour 1/2 cup of the cooled tea into a medium bowl. Sprinkle the gelatin evenly over the surface. Let it sit for 5 minutes until it thickens and absorbs the liquid.
- Warm the liquid: In a small saucepan, combine the remaining 1 1/2 cups tea, lemon juice, sweetener, vanilla (if using), and a pinch of salt.
Warm over medium heat, stirring until the sweetener dissolves. Do not boil.
- Melt the gelatin: Add the bloomed gelatin to the warm tea mixture. Whisk over low heat until the gelatin fully dissolves and the liquid is clear.
This usually takes 2–3 minutes. Avoid boiling, which can affect texture.
- Taste and adjust: Carefully taste (it’s hot). Add a touch more honey or lemon if needed.
You’re aiming for a balanced sweet-tart flavor.
- Pour into molds: Transfer the mixture to a measuring cup with a spout. Fill the molds or pour into the prepared pan. Tap gently to release air bubbles.
- Chill to set: Refrigerate for 2–3 hours, or until completely set and springy to the touch.
- Unmold and cut: Pop gummies out of molds.
If using a pan, loosen edges and cut into bite-sized squares.
- Serve: Enjoy right away or store as directed below for snacking throughout the week.
Keeping It Fresh
- Refrigeration is key: Store gummies in an airtight container in the fridge for up to 7 days.
- Prevent sticking: Layer gummies with parchment paper or lightly toss with a tiny bit of cornstarch or powdered sugar. Shake off excess.
- Avoid moisture: Don’t store them uncovered; they can dry out or get tacky depending on fridge humidity.
- Freezing: Not ideal. Freezing can make the texture weepy.
If you must, freeze in a single layer and expect some condensation when thawing.
Why This is Good for You
- Hydrating and refreshing: Herbal teas like hibiscus are naturally caffeine-free and full of flavor without extra calories.
- Vitamin C boost: Fresh lemon juice adds brightness and a bit of vitamin C.
- Lower sugar than store-bought: You choose the sweetener level, making these a lighter treat than many packaged gummies.
- Gelatin benefits: Gelatin provides protein and a satisfying chew that helps manage portion control. If you prefer, see Alternatives for plant-based options.
Pitfalls to Watch Out For
- Boiling the mixture: High heat can break down gelatin, leading to a weak or rubbery set. Keep the mixture warm, not boiling.
- Not blooming gelatin: Skipping the bloom step can cause clumps that never dissolve fully.
- Too much lemon: Acid is great for flavor but can weaken the set if overdone.
Keep to the amounts listed or increase gelatin slightly.
- Using very hot tea for blooming: Gelatin needs cool or room-temp liquid to bloom properly. Heat comes after.
- Under-sweetening: Cold dulls sweetness. Taste the warm mixture and make it a touch sweeter than you think; it will balance out when chilled.
Alternatives
- Plant-based option: Use agar-agar powder instead of gelatin.
Start with 1 1/2 to 2 teaspoons agar-agar powder. Simmer it in the tea-lemon mixture for 2–3 minutes to activate, then pour into molds. Agar sets firmer and more brittle than gelatin, so expect a slightly different bite.
- Sweetener swaps: Use maple syrup, agave, or a sugar substitute.
If using a granulated zero-calorie sweetener, add a tablespoon of honey or a bit of corn syrup for better texture and shine.
- Flavor twists: Add a splash of passion fruit puree or mango puree (2–4 tablespoons). If adding a lot of puree, increase gelatin by 1/2 to 1 tablespoon to maintain a good set.
- Citrus variations: Swap lemon with lime for a sharper edge or mix lemon and orange juice for a softer profile.
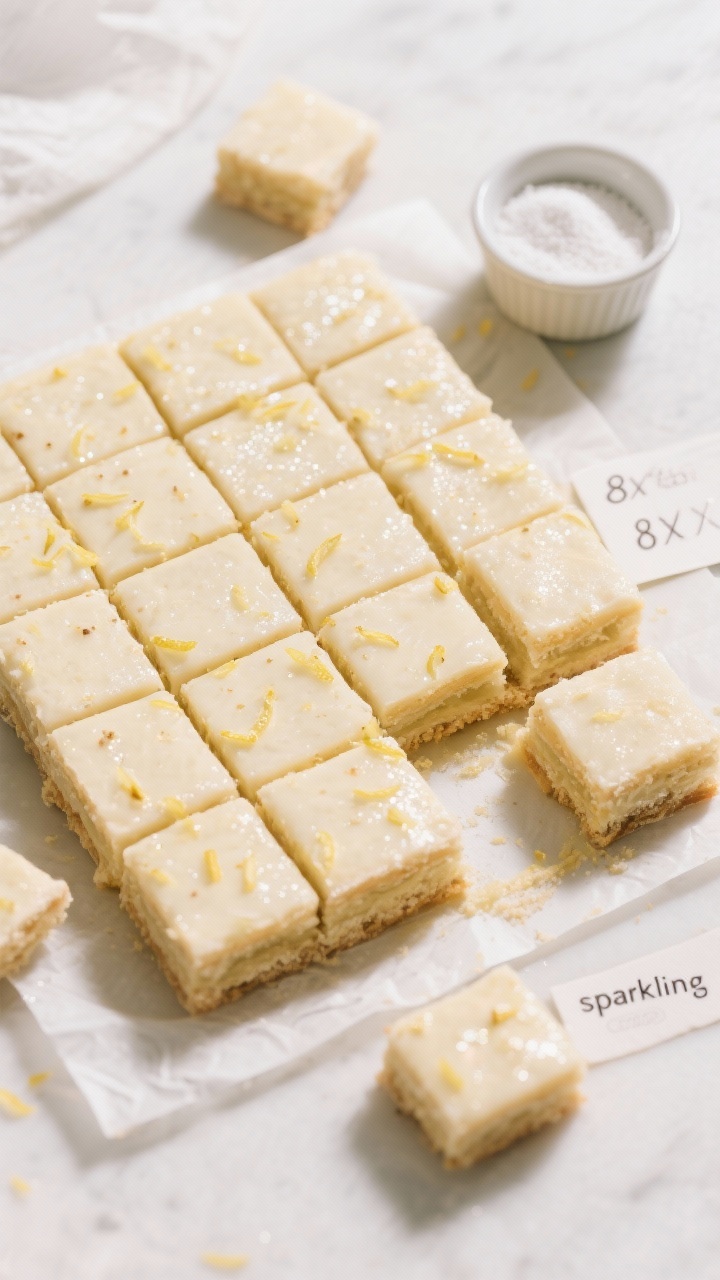
- Sparkling look: Stir in 1–2 teaspoons of finely grated lemon zest after heating for visual appeal and extra aroma.
FAQ
Can I use bottled lemon juice?
Yes, but fresh lemon juice tastes brighter. If using bottled, choose one without additives and taste the mixture to adjust sweetness and acidity.
My gummies are too soft.
What went wrong?
They may not have enough gelatin or the mixture may have gotten too hot. Next time, add an extra 1/2 to 1 tablespoon gelatin or reduce lemon juice slightly if you used more than listed.
How strong should I brew the passion tea?
Brew it stronger than you would for drinking—about 1 tea bag per cup, steeped 7–10 minutes. Stronger tea helps the flavor shine through once chilled and sweetened.
Can I make these without molds?
Absolutely.
Pour into a lightly greased 8×8-inch pan, chill, then cut into squares or small rectangles.
Are these gummies safe for kids?
Yes, they’re kid-friendly and caffeine-free if you use herbal tea. Adjust sweetness to their preference and cut into small, easy-to-chew pieces.
Do I need to strain the mixture?
If your tea has sediment or you added zest or puree, straining through a fine sieve before pouring into molds gives a smoother finish.
Can I add alcohol for adult gummies?
A small splash (1–2 tablespoons total) can work, but alcohol weakens the set. If adding, increase gelatin by about 1/2 tablespoon and avoid high-proof spirits.
Why did a skin form on top while cooling?
This can happen if it sits at room temperature too long.
Pour into molds promptly after dissolving gelatin, then chill right away.
Final Thoughts
Passion Tea Lemonade Gummies are a simple, feel-good treat with a sunny flavor and satisfying chew. They’re easy to customize, quick to set, and far lighter than most store-bought candies. Make a batch on Sunday, and you’ll have a bright, refreshing snack ready all week.
With a few pantry staples and a little patience, you’ll have gummies that taste like summer in every bite.

Printable Recipe Card
Want just the essential recipe details without scrolling through the article? Get our printable recipe card with just the ingredients and instructions.