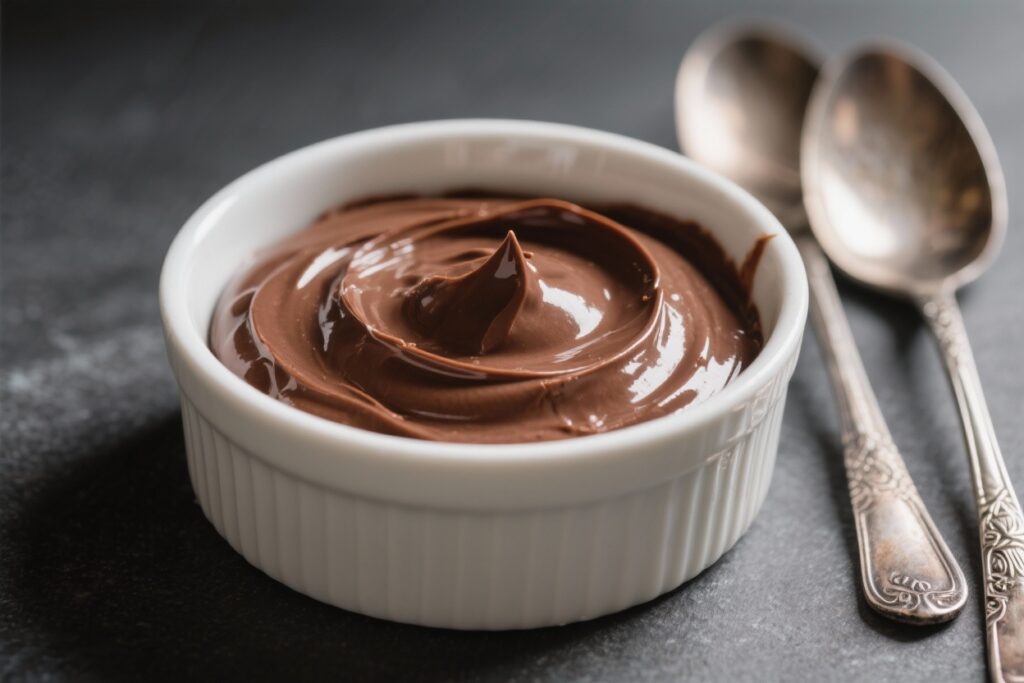
Chocolate pudding is one of those desserts that always feels like a treat, no matter your age. It’s creamy, silky, and deeply satisfying without being fussy. This version leans into bold cocoa flavor with a texture that’s smooth and spoonable, not overly stiff.
You can serve it warm for instant comfort or chill it for a classic, cool dessert. Either way, it’s simple to make and guaranteed to please.
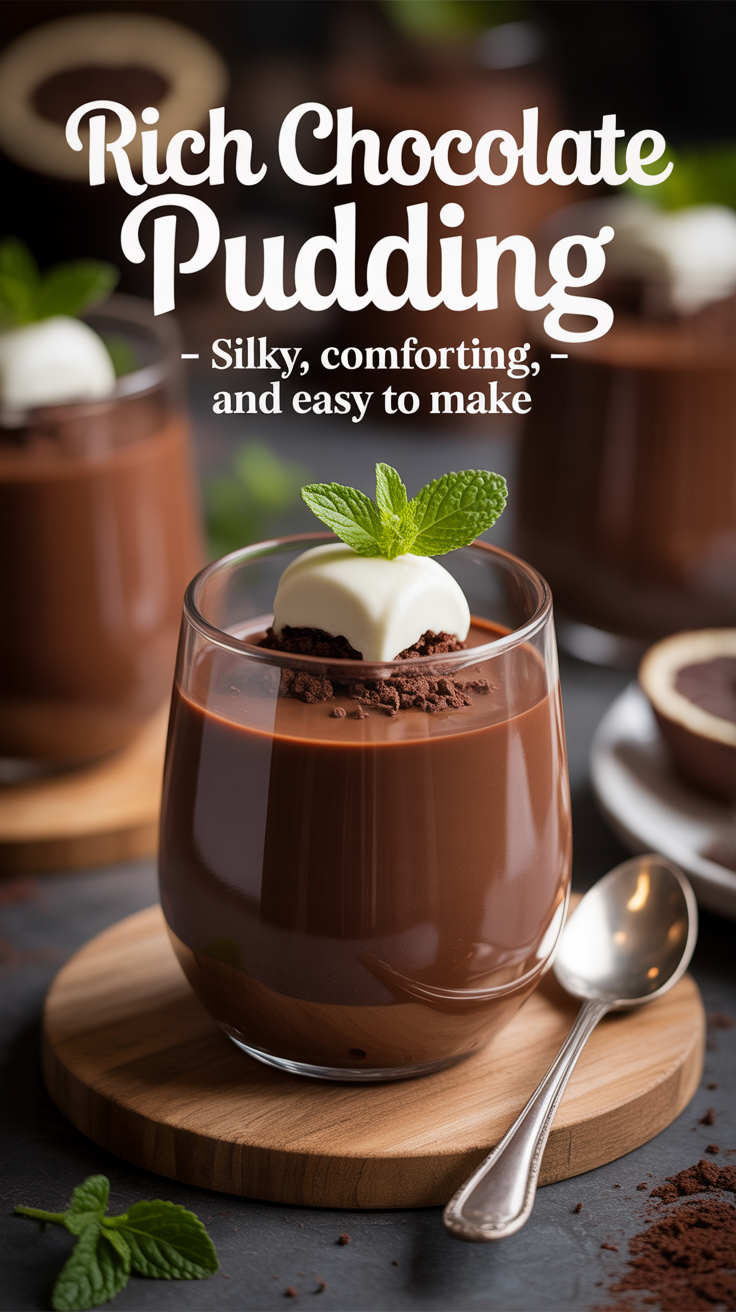
Rich Chocolate Pudding – Silky, Comforting, and Easy to Make
Ingredients
Method
-
Whisk the dry base. In a medium saucepan (off heat), whisk sugar, cocoa powder, cornstarch, and salt until no lumps remain. This prevents clumping later.
-
Add dairy gradually. Slowly whisk in the milk, a little at a time, until smooth. Then whisk in the cream.
The mixture should look like thin chocolate milk.
-
Temper with egg yolks. In a separate bowl, whisk the egg yolks. Ladle in about 1/2 cup of the chocolate mixture, whisking constantly, then another 1/2 cup. Pour the warmed yolks back into the saucepan and whisk well.
-
Cook gently. Set the pan over medium heat and whisk constantly, scraping the corners and sides.
After 5–8 minutes, it will begin to bubble and thicken. Keep whisking for 1 minute after the first bubbles to fully activate the cornstarch.
-
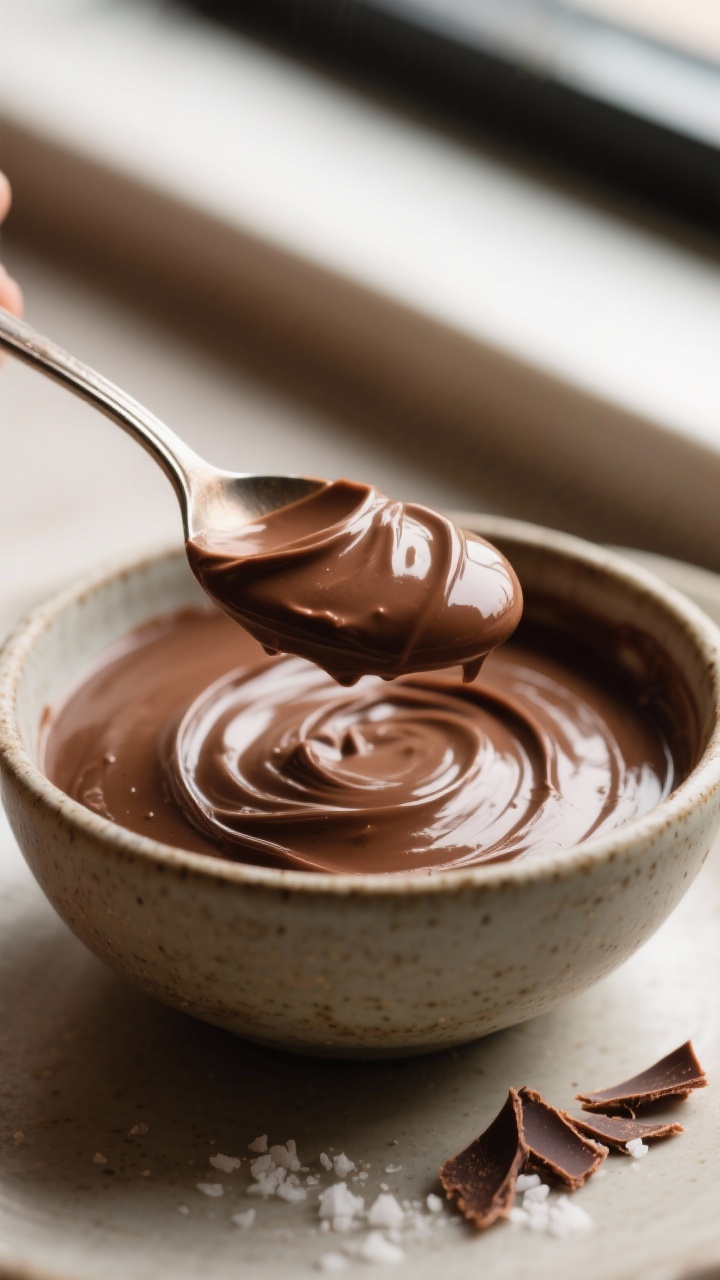
Finish with chocolate and butter. Remove from heat. Add the chopped bittersweet chocolate, butter, and vanilla.
Let sit 30 seconds, then whisk until smooth and glossy.
-
Strain for silkiness. For the smoothest texture, pour the pudding through a fine-mesh sieve into a clean bowl. This removes any stray bits of egg or cocoa lumps.
-
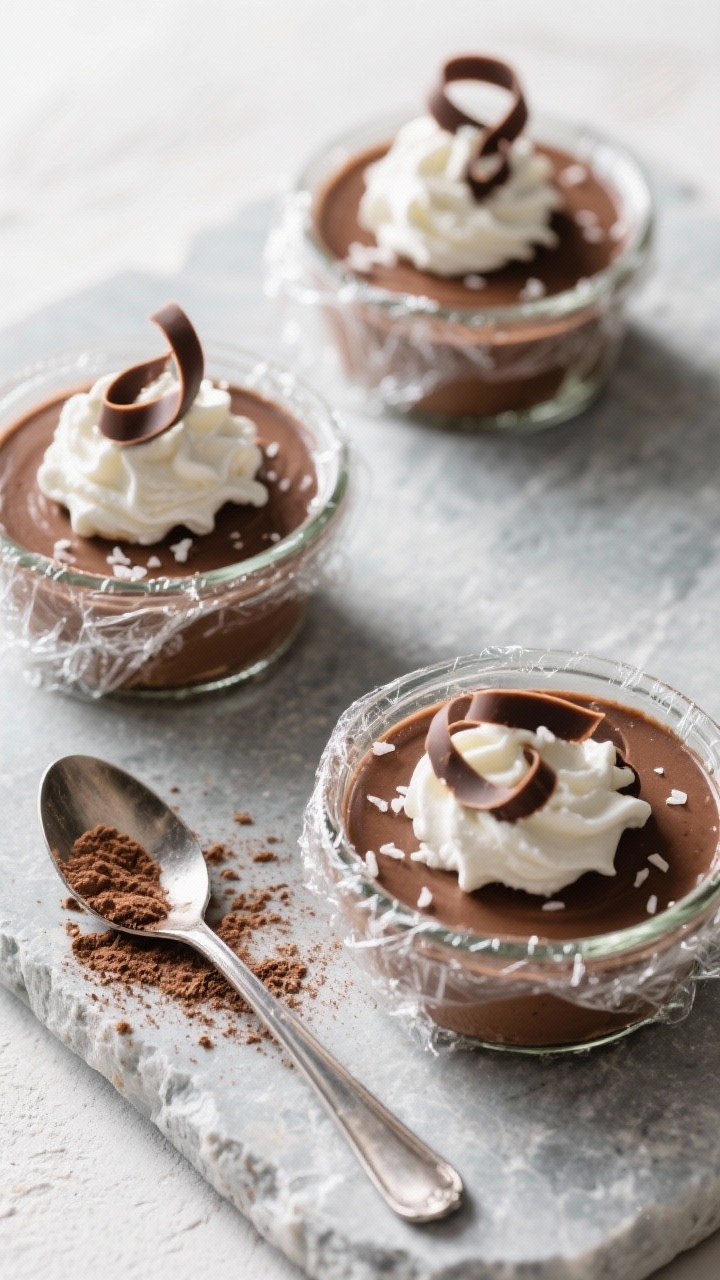
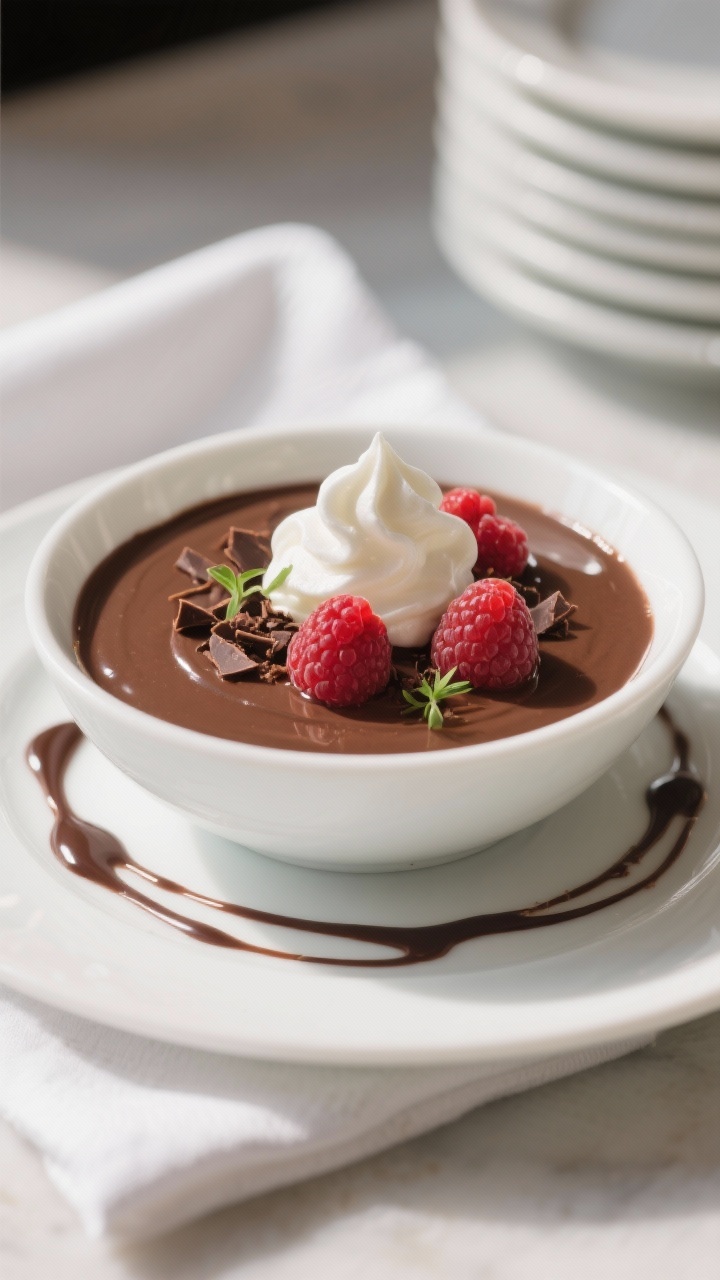
Decide on serving style. For warm pudding, portion into cups and serve right away with a dollop of whipped cream. For chilled pudding, press plastic wrap directly onto the surface to prevent a skin, then refrigerate until set, about 2–3 hours.
-
Garnish and enjoy. Top with whipped cream, chocolate shavings, or a pinch of flaky salt to highlight the chocolate.
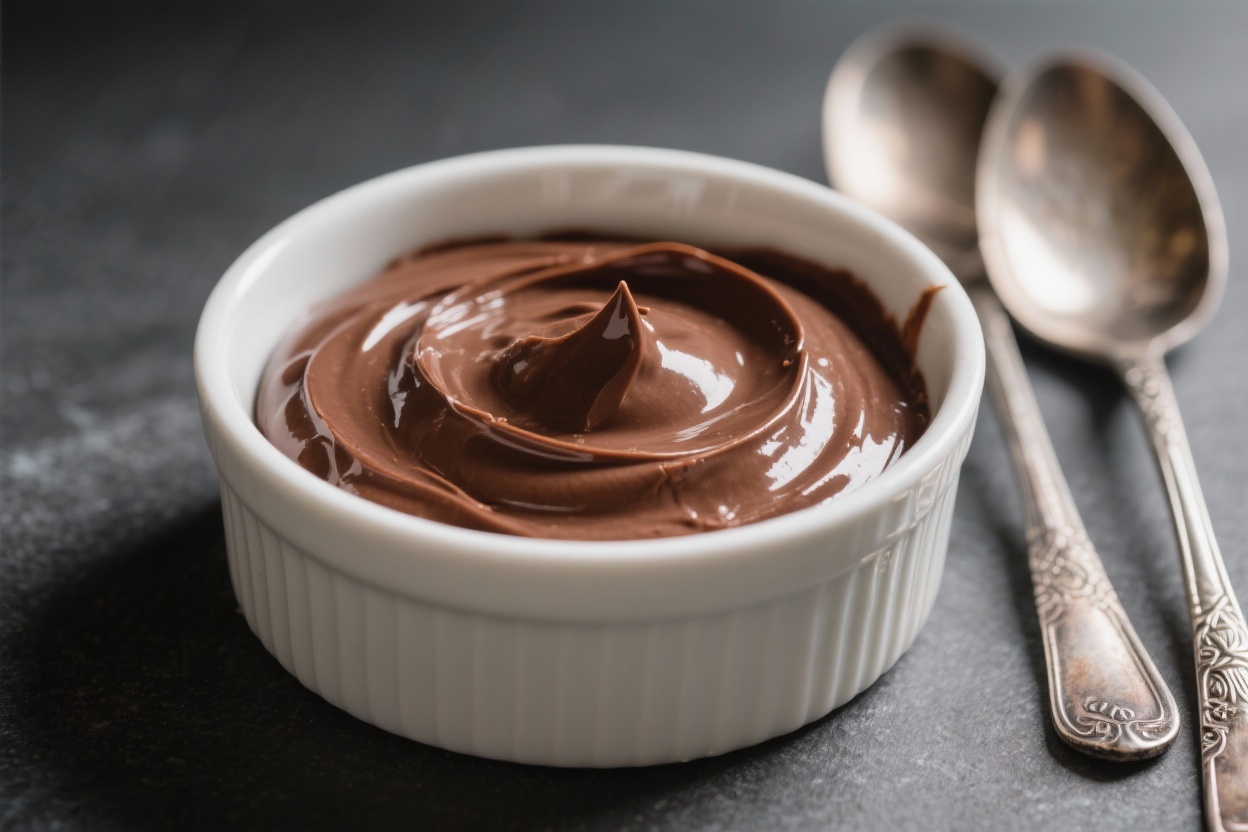
What Makes This Special

This pudding strikes the sweet spot between rich and balanced. It uses both high-quality cocoa powder and real chocolate for depth, giving you a warm, rounded flavor instead of a one-note sweetness.
The technique is straightforward—no complicated steps or tools—just steady whisking and gentle heating. With pantry staples and a few tips, you’ll get a restaurant-quality dessert at home.
It’s also flexible. You can make it dairy-free, adjust the sweetness, or play with toppings from whipped cream to berries and flaky salt.
Plus, it sets up nicely without turning rubbery, so each spoonful feels silky and indulgent.
Shopping List
- Whole milk (2 1/2 cups) – for body and creaminess
- Heavy cream (1/2 cup) – adds a luxurious texture
- Granulated sugar (1/2 cup) – balances the cocoa
- Unsweetened cocoa powder (1/3 cup) – use Dutch-process if you can
- Cornstarch (3 tablespoons) – thickener for that silky set
- Salt (1/4 teaspoon) – sharpens the chocolate flavor
- Egg yolks (3 large) – enriches the pudding and helps it set
- Bittersweet chocolate (3 ounces, finely chopped) – 60–70% cocoa is ideal
- Unsalted butter (2 tablespoons) – for gloss and smooth mouthfeel
- Vanilla extract (1 teaspoon) – rounds out the flavor
- Optional toppings: lightly sweetened whipped cream, shaved chocolate, berries, flaky sea salt
How to Make It
- Whisk the dry base. In a medium saucepan (off heat), whisk sugar, cocoa powder, cornstarch, and salt until no lumps remain. This prevents clumping later.
- Add dairy gradually. Slowly whisk in the milk, a little at a time, until smooth. Then whisk in the cream.
The mixture should look like thin chocolate milk.
- Temper with egg yolks. In a separate bowl, whisk the egg yolks. Ladle in about 1/2 cup of the chocolate mixture, whisking constantly, then another 1/2 cup. Pour the warmed yolks back into the saucepan and whisk well.
- Cook gently. Set the pan over medium heat and whisk constantly, scraping the corners and sides.
After 5–8 minutes, it will begin to bubble and thicken. Keep whisking for 1 minute after the first bubbles to fully activate the cornstarch.
- Finish with chocolate and butter. Remove from heat. Add the chopped bittersweet chocolate, butter, and vanilla.
Let sit 30 seconds, then whisk until smooth and glossy.
- Strain for silkiness. For the smoothest texture, pour the pudding through a fine-mesh sieve into a clean bowl. This removes any stray bits of egg or cocoa lumps.
- Decide on serving style. For warm pudding, portion into cups and serve right away with a dollop of whipped cream. For chilled pudding, press plastic wrap directly onto the surface to prevent a skin, then refrigerate until set, about 2–3 hours.
- Garnish and enjoy. Top with whipped cream, chocolate shavings, or a pinch of flaky salt to highlight the chocolate.
Storage Instructions
Store the pudding in an airtight container or cover each serving with plastic wrap pressed directly onto the surface.
This keeps condensation and skin from forming. It will keep in the fridge for up to 4 days.
Do not freeze, as freezing can cause separation and a grainy texture. If the pudding thickens too much in the fridge, whisk in a splash of cold milk before serving to loosen it slightly.
Benefits of This Recipe
- Foolproof technique. Whisking from the start and cooking gently keeps it smooth with no lumps.
- Big chocolate flavor. Using both cocoa and real chocolate creates depth and a clean finish.
- Flexible and customizable. Easy to make dairy-free, less sweet, or extra rich based on your preferences.
- Make-ahead friendly. It sets beautifully in the fridge and tastes even better after a few hours.
- Simple ingredients. Everything is easy to find and budget-friendly.
Common Mistakes to Avoid
- Overheating the pudding. High heat can scramble the eggs or make the cornstarch break down.
Keep it to medium heat and stir constantly.
- Skipping the tempering step. Adding yolks directly to hot liquid can curdle them. Temper slowly to keep the texture silky.
- Not cooking long enough after thickening. Once it bubbles, give it an extra minute to remove any starchy taste.
- Using poor-quality chocolate. Low-quality bars can taste waxy or overly sweet. Choose a bar with 60–70% cocoa and clean ingredients.
- Forgetting to cover the surface. Without plastic wrap touching the pudding, a thick skin forms and affects the texture.
Alternatives
- Dairy-free version. Use full-fat coconut milk (1 can) plus unsweetened almond or oat milk to reach the total dairy amount.
Swap the butter for coconut oil or a dairy-free butter. Choose dairy-free chocolate.
- Lighter option. Replace the cream with milk and reduce the butter to 1 tablespoon. The texture will be slightly less rich but still smooth.
- Extra-dark pudding. Increase cocoa powder to 1/2 cup and use chocolate at 70–75% cocoa.
You may want to add 1–2 tablespoons more sugar to balance.
- Spiced twist. Add 1/2 teaspoon cinnamon or a pinch of cayenne or espresso powder to enhance the chocolate notes.
- No-egg version. Omit egg yolks and increase cornstarch to 4 tablespoons. The set will be a bit more gelled but still creamy.
FAQ
Can I make this without cornstarch?
Yes. Substitute 3 tablespoons of tapioca starch or 4 tablespoons of potato starch.
The texture will be slightly different, but it will still set well. Avoid using flour, which can taste pasty and requires longer cooking.
Why is my pudding grainy?
Graininess usually comes from overheating, not whisking enough, or using chocolate that seized. Cooking over medium heat and constant whisking help.
Straining the pudding before chilling is a simple fix for lumps.
How sweet is this recipe?
It’s moderately sweet with a strong chocolate backbone. If you prefer sweeter pudding, add 2–3 extra tablespoons of sugar. For a darker, less sweet flavor, use 70% chocolate and keep the sugar as is.
Can I serve it warm?
Absolutely.
Warm chocolate pudding is cozy and delicious. Spoon it into bowls right after cooking and top with whipped cream or a small pat of butter for extra gloss.
What toppings work best?
Lightly sweetened whipped cream, chocolate shavings, crushed cookies, berries, or a pinch of flaky sea salt all pair beautifully. For crunch, try toasted hazelnuts or almonds.
How do I avoid a skin forming?
Press plastic wrap directly onto the surface of the pudding before chilling.
This blocks air from reaching the top. If a skin does form, you can whisk it vigorously to reincorporate, though the texture may be slightly thicker.
Can I use only cocoa powder?
Yes. Increase cocoa powder to 1/2 cup and add 1 tablespoon of butter.
The flavor will be cleaner and slightly less rounded than when combined with real chocolate, but still rich and satisfying.
Is Dutch-process cocoa required?
Not required, but recommended. Dutch-process cocoa delivers a smoother, deeper chocolate taste. Natural cocoa works too; the pudding will be a touch brighter and more cocoa-forward.
Final Thoughts
This rich chocolate pudding hits that sweet spot of comfort and elegance without extra fuss.
With a few pantry staples and a gentle hand at the stove, you’ll get a dessert that feels special any night of the week. Serve it warm or chilled, keep it classic or dress it up—either way, it’s the kind of treat that never goes out of style.
Printable Recipe Card
Want just the essential recipe details without scrolling through the article? Get our printable recipe card with just the ingredients and instructions.