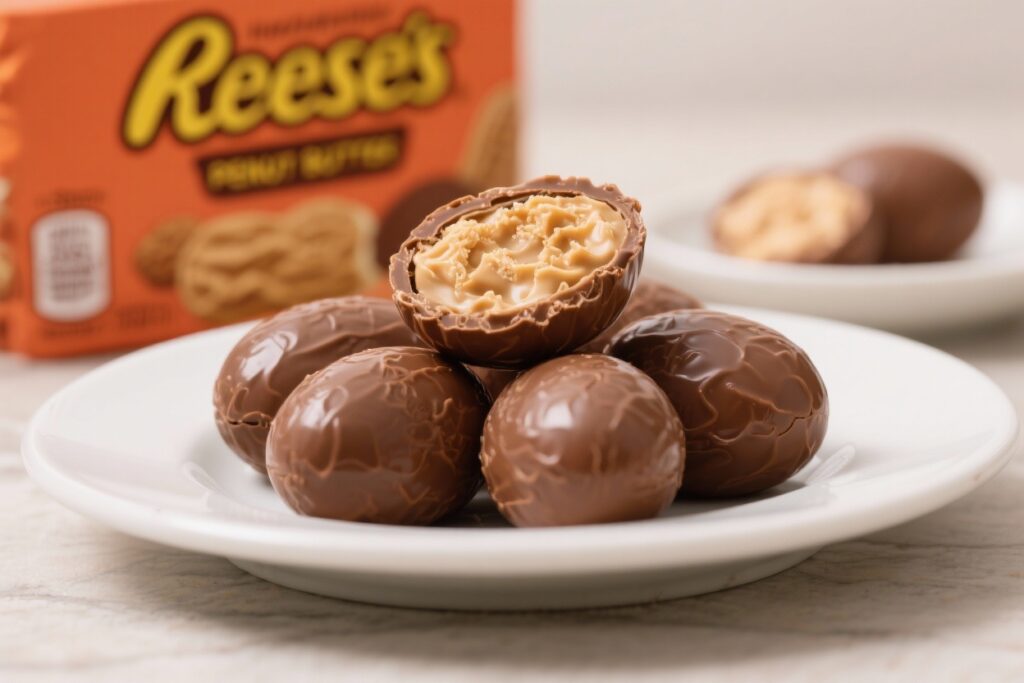
These little peanut butter eggs are pure nostalgia. The creamy, salty-sweet center wrapped in a crisp chocolate shell hits all the right notes. If you love the seasonal Reeses Peanut Butter Eggs, this homemade version will easily become a new tradition.
They come together with pantry basics, and the shape is fun to customize. Make a batch for Easter, birthdays, or just because a chocolate-peanut butter craving strikes.

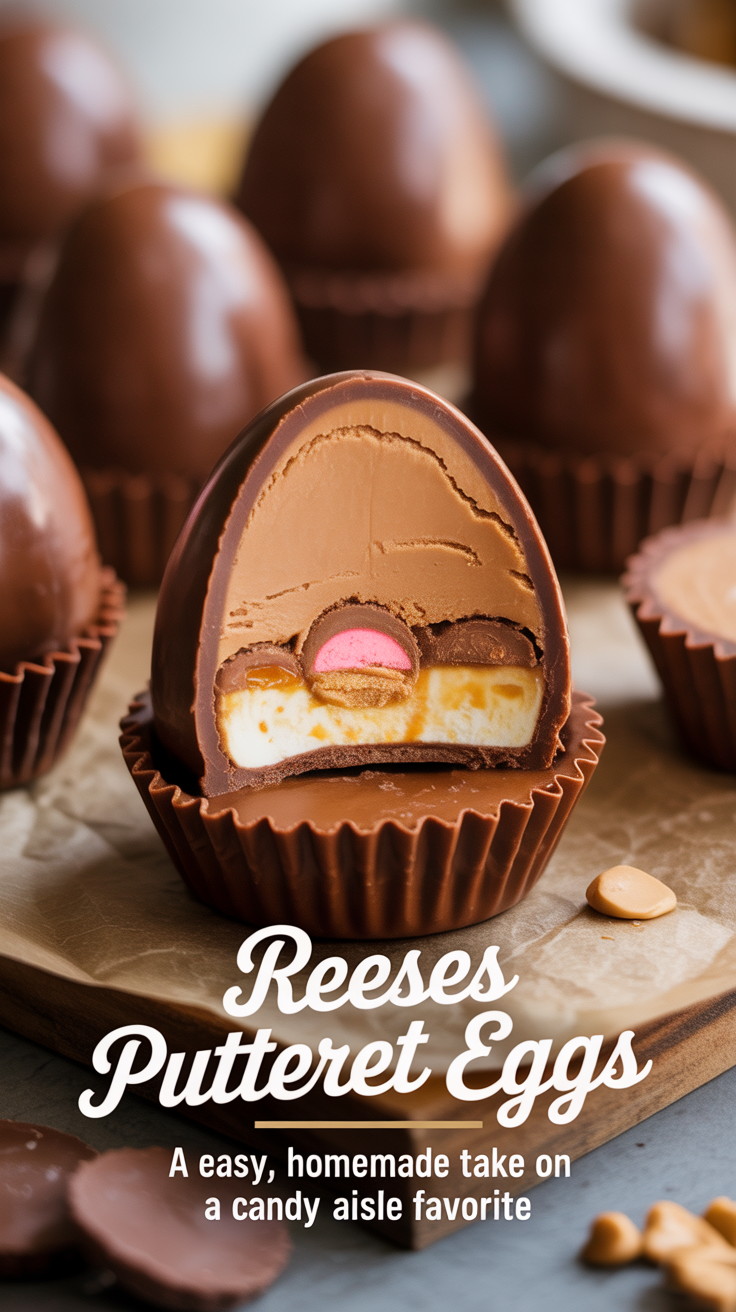
Reeses Peanut Butter Eggs – A Easy, Homemade Take on a Candy Aisle Favorite
Ingredients
Method
-
Make the peanut butter filling: In a mixing bowl, beat 1 cup creamy peanut butter with 4 tablespoons softened unsalted butter until smooth.
Add 1 teaspoon vanilla and a pinch of fine sea salt. Gradually mix in 2 to 2 1/2 cups powdered sugar until a soft dough forms. It should hold together without sticking to your hands.
-
Chill for easy shaping: Press the mixture into a flat disk, wrap, and chill for 20–30 minutes.
This step makes shaping cleaner and faster.
-
Shape the eggs: Line a baking sheet with parchment. Scoop about 1 1/2 tablespoons of filling per egg. Roll into an oval, then gently pinch one end to create an egg shape.
Place on the sheet, then chill for 30 minutes, or freeze for 10–15 minutes, until firm.
-
Melt the chocolate: Add 2 cups chocolate chips (milk, semisweet, or a mix) to a microwave-safe bowl. Heat in 20-second bursts, stirring after each, until smooth. Stir in 1–2 teaspoons coconut oil for a thinner, glossier coating.
Alternatively, use a double boiler over low heat.
-
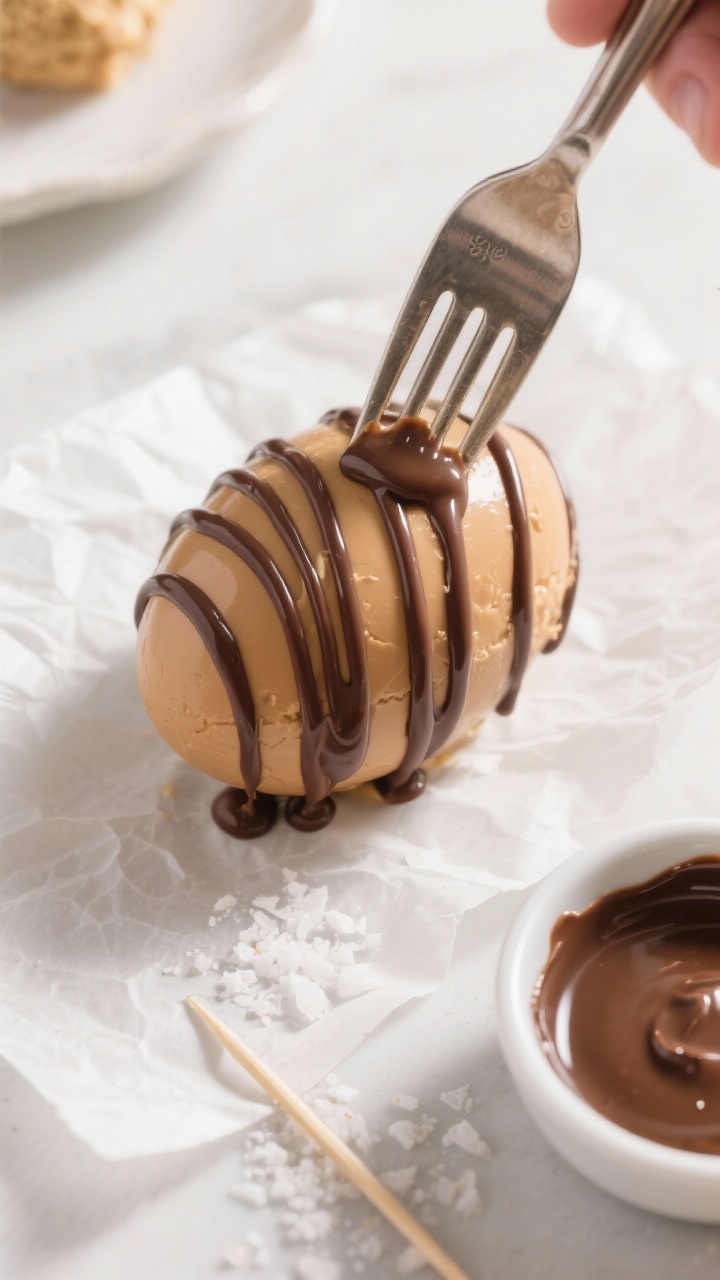
Dipping time: Working with a few centers at a time (keep the rest chilled), dip each egg into the melted chocolate using a fork. Tap off excess by gently bouncing the fork against the bowl’s edge. Slide the coated egg back onto the parchment using a toothpick or another fork.
-
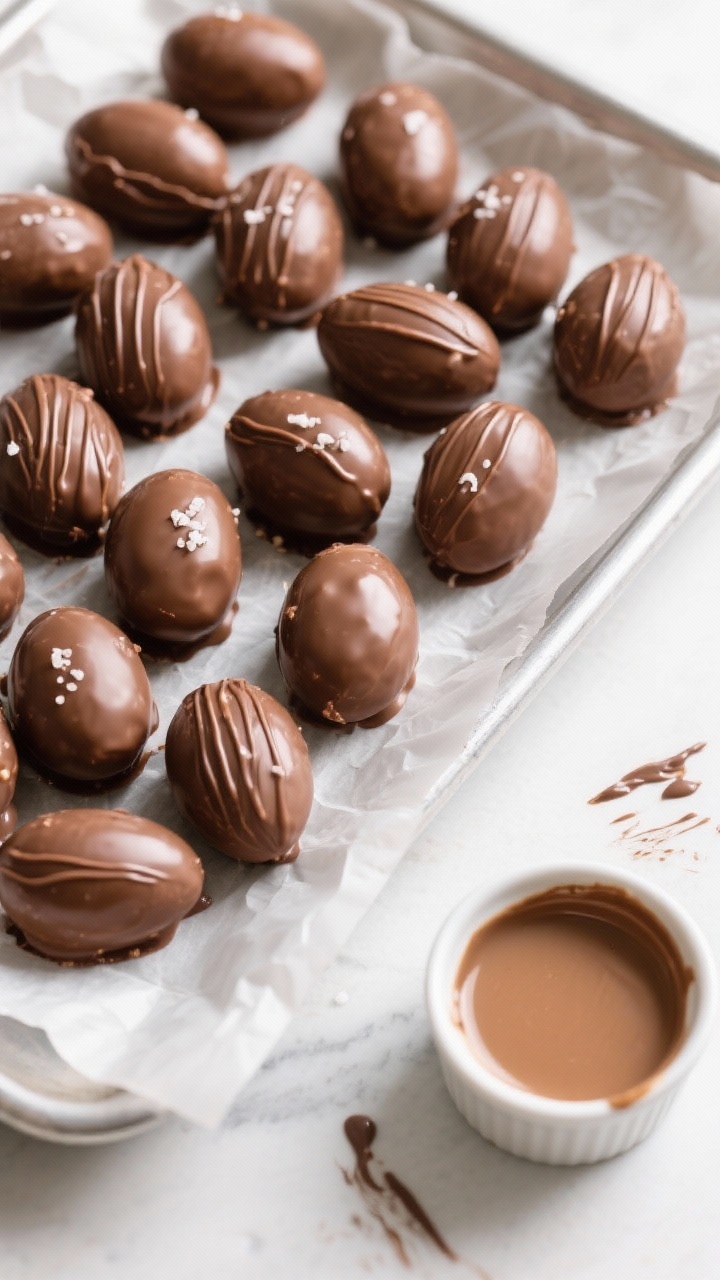
Decorate if you like: While the coating is still wet, sprinkle with flaky salt or add a drizzle of contrasting chocolate.
For the classic ridged look, wait until the coating just starts to set, then use a fork to draw lines across the top.
-
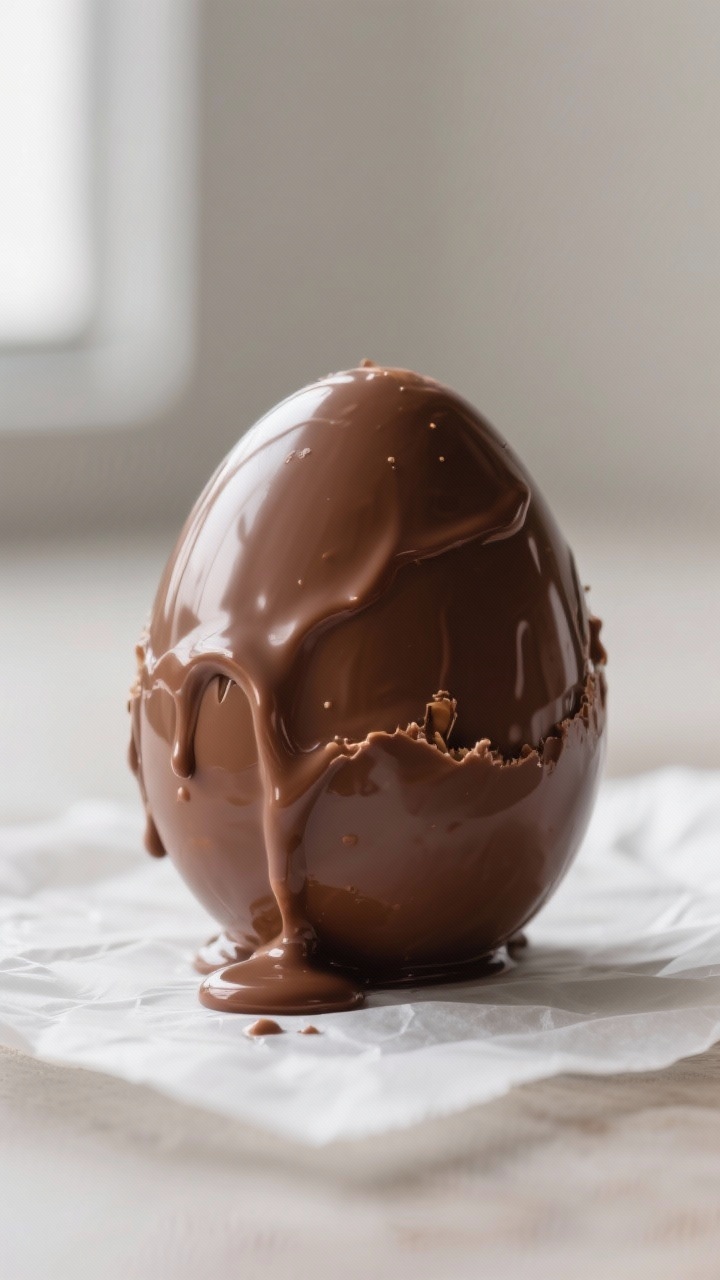
Set and store: Let the eggs sit at room temperature until set, or pop the tray into the fridge for 10–15 minutes to speed things up. Once firm, transfer to an airtight container.
What Makes This Special
Homemade Reeses Peanut Butter Eggs taste fresher and richer than store-bought, with a soft center that melts just right. You control the sweetness, the thickness of the chocolate, and even the size.
They’re also easier than they look—no candy thermometer, no complicated techniques, and minimal equipment. Plus, they freeze beautifully, so you can stash a few for later. It’s a simple project with a big payoff.
Shopping List
- Creamy peanut butter (not natural; a no-stir variety works best)
- Unsalted butter
- Powdered sugar
- Vanilla extract
- Fine sea salt (optional, but recommended)
- Milk chocolate chips or melting wafers
- Semisweet chocolate chips (optional, for a darker coating or mixing with milk chocolate)
- Coconut oil or neutral oil (optional, for smoother dipping)
- Flaky salt (optional, for topping)
Instructions
- Make the peanut butter filling: In a mixing bowl, beat 1 cup creamy peanut butter with 4 tablespoons softened unsalted butter until smooth.
Add 1 teaspoon vanilla and a pinch of fine sea salt. Gradually mix in 2 to 2 1/2 cups powdered sugar until a soft dough forms. It should hold together without sticking to your hands.
- Chill for easy shaping: Press the mixture into a flat disk, wrap, and chill for 20–30 minutes.
This step makes shaping cleaner and faster.
- Shape the eggs: Line a baking sheet with parchment. Scoop about 1 1/2 tablespoons of filling per egg. Roll into an oval, then gently pinch one end to create an egg shape.
Place on the sheet, then chill for 30 minutes, or freeze for 10–15 minutes, until firm.
- Melt the chocolate: Add 2 cups chocolate chips (milk, semisweet, or a mix) to a microwave-safe bowl. Heat in 20-second bursts, stirring after each, until smooth. Stir in 1–2 teaspoons coconut oil for a thinner, glossier coating.
Alternatively, use a double boiler over low heat.
- Dipping time: Working with a few centers at a time (keep the rest chilled), dip each egg into the melted chocolate using a fork. Tap off excess by gently bouncing the fork against the bowl’s edge. Slide the coated egg back onto the parchment using a toothpick or another fork.
- Decorate if you like: While the coating is still wet, sprinkle with flaky salt or add a drizzle of contrasting chocolate.
For the classic ridged look, wait until the coating just starts to set, then use a fork to draw lines across the top.
- Set and store: Let the eggs sit at room temperature until set, or pop the tray into the fridge for 10–15 minutes to speed things up. Once firm, transfer to an airtight container.
Keeping It Fresh
Store the eggs in an airtight container in the fridge for up to 2 weeks. Place parchment between layers to prevent sticking.
For longer storage, freeze for up to 2 months. Thaw in the fridge for the best texture. Avoid leaving them out in warm rooms, as the chocolate can bloom or smudge.

Benefits of This Recipe
- Budget-friendly: You get a big batch for less than buying seasonal candy.
- Customizable sweetness: Use more or less powdered sugar to suit your taste.
- Diet-flexible: Easy swaps make these gluten-free or dairy-free.
- No special tools: A bowl, spoon, and microwave are enough.
- Great make-ahead treat: They hold well in the fridge or freezer.
- Kid-friendly project: Simple steps and fun shaping make it ideal for helpers.
What Not to Do
- Don’t use natural peanut butter that separates. The oil can make the filling greasy and unstable.
- Don’t skip chilling the centers. Warm filling will fall apart in the chocolate.
- Don’t overheat the chocolate. It will seize or burn.
Short bursts and stirring are key.
- Don’t rush the set time. Moving the eggs too soon leads to fingerprints and smudges.
- Don’t make the coating too thick. A thinner shell keeps the bite balanced and easy to eat.
Alternatives
- Nut and seed swaps: Use almond butter, cashew butter, or sunflower seed butter. For runnier butters, add extra powdered sugar until it holds shape.
- Dairy-free: Use dairy-free chocolate and swap the butter for coconut oil or a vegan butter stick.
- Less sweet: Start with 1 3/4 cups powdered sugar and add more only as needed.
- Texture twist: Stir in 1/4 cup finely crushed graham crackers or crisped rice for light crunch.
- Flavor upgrades: Add 1/2 teaspoon espresso powder, a pinch of cinnamon, or a splash of maple extract to the filling.
- Decor options: Colored drizzle, sprinkles, or a half-dip for a two-tone look.
FAQ
Can I use natural peanut butter?
You can, but it’s tricky. Stir it very well to reincorporate the oil, and be ready to add more powdered sugar for structure.
For the most consistent results, use a no-stir creamy peanut butter.
How do I keep the chocolate from cracking?
Make sure the centers aren’t rock-hard when dipping. If they’re frozen solid, let them rest at room temperature for 2–3 minutes before coating, so the temperature difference isn’t extreme.
What if my chocolate gets too thick?
Stir in 1–2 teaspoons coconut oil or a small knob of cocoa butter to thin it. Reheat in very short bursts, stirring between each, until smooth and fluid.
Can I make these without refined sugar?
Powdered sugar is what gives the filling its structure.
If you want to avoid refined sugar, try a powdered coconut sugar (blitz coconut sugar with a bit of cornstarch in a blender) or use almond flour plus a touch of maple syrup, but expect a different texture.
How many eggs does this make?
It usually makes about 18–24 medium eggs, depending on size. You can double or halve the recipe easily.
Do I need to temper the chocolate?
No. For a simple home treat, melted chips work fine.
If you want a snappier, glossy shell at room temperature, you can temper, but it’s optional.
Why is my filling crumbly?
It probably needs more moisture. Add a teaspoon of melted butter or peanut butter and mix again. If it’s sticky, add a bit more powdered sugar.
Can I add a crunchy peanut layer?
Absolutely.
Mix in 2–3 tablespoons finely chopped roasted peanuts to the filling or sprinkle them on top while the chocolate is wet.
Wrapping Up
Homemade Reeses Peanut Butter Eggs are simple, satisfying, and endlessly customizable. With a few basic ingredients and a short chill, you’ll have a tray of treats that rival the store-bought kind. Keep a stash in the freezer for quick gifts, dessert emergencies, or a sweet afternoon break.
Once you try them, they’ll become a go-to recipe you’ll make again and again.
Printable Recipe Card
Want just the essential recipe details without scrolling through the article? Get our printable recipe card with just the ingredients and instructions.