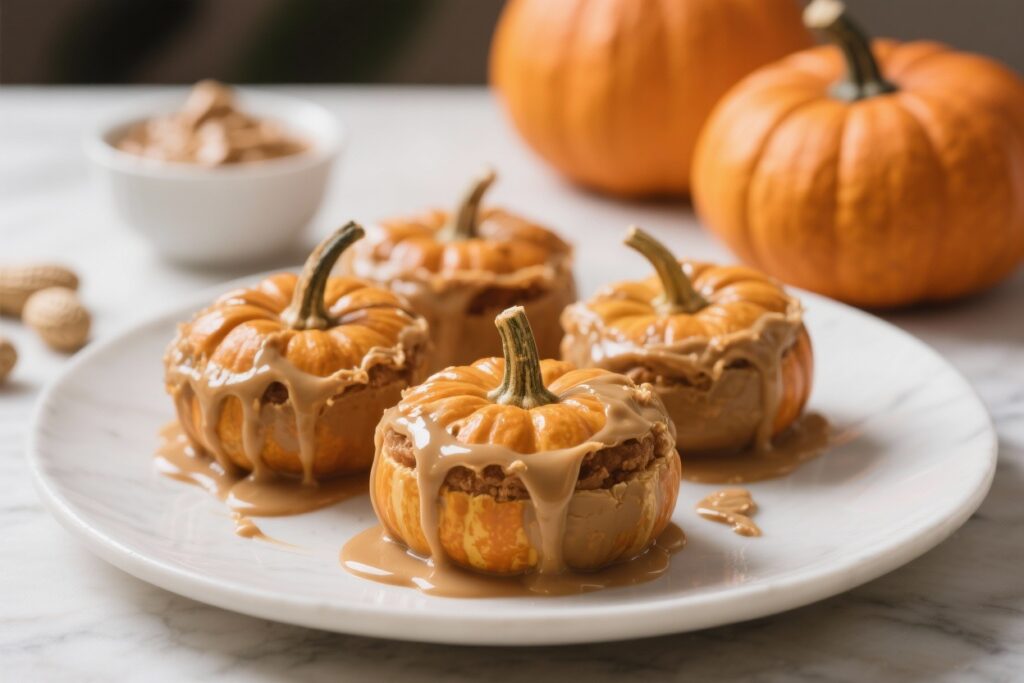
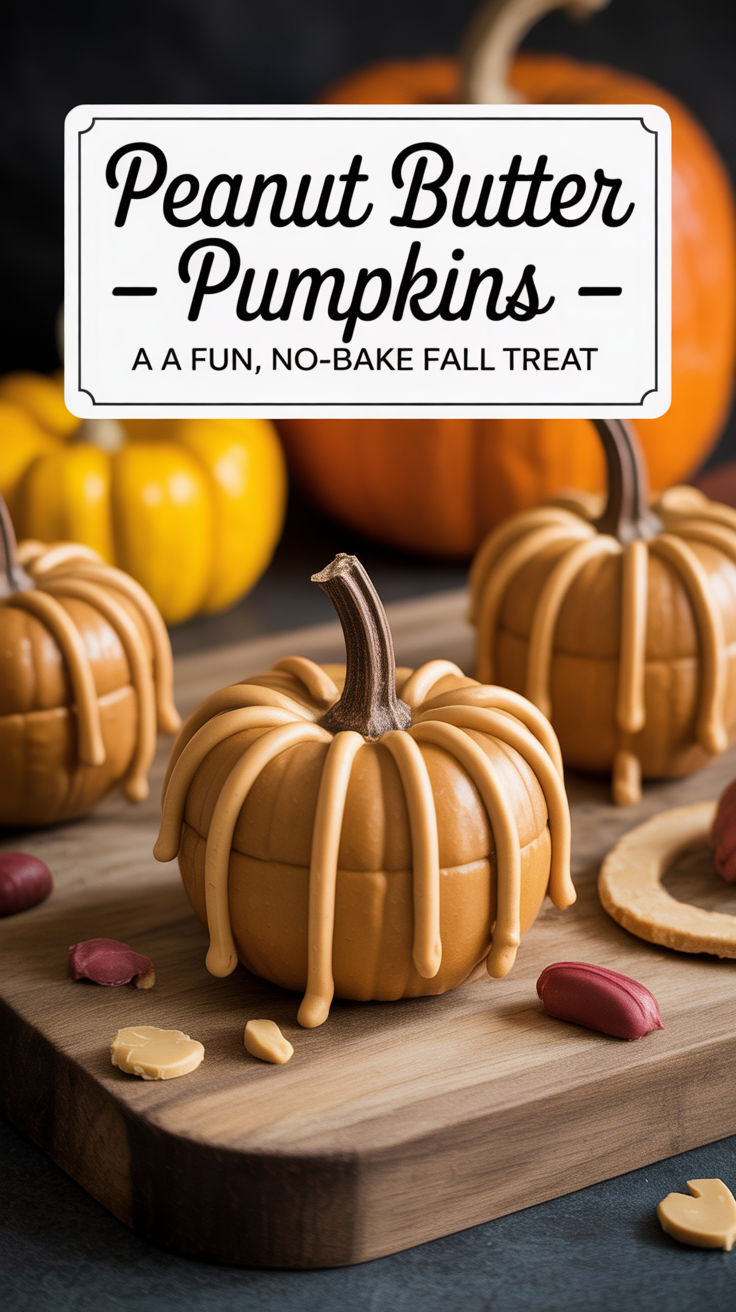
Peanut Butter Pumpkins are the kind of snack that make fall feel extra cozy. They’re cute, easy to make, and taste like a cross between a Reese’s cup and a bite of pumpkin patch fun. No oven, no fuss—just a few pantry staples and a little shaping.
Whether you’re making them for a party, a classroom treat, or a movie night, they always get attention. Kids can help, adults love them, and they disappear fast.

Ingredients
Method
-
Make the peanut butter base. In a mixing bowl, beat peanut butter and softened butter until smooth and creamy.
Add vanilla and salt, then mix again.
-
Add the sugar. Gradually add powdered sugar, mixing until a soft, moldable dough forms. It should be pliable, not sticky. If it’s tacky, add another tablespoon or two of powdered sugar.
-
Tint the dough. Add orange gel food coloring and knead it in until the color is even.
Start with a few drops and add more for a deeper pumpkin shade.
-
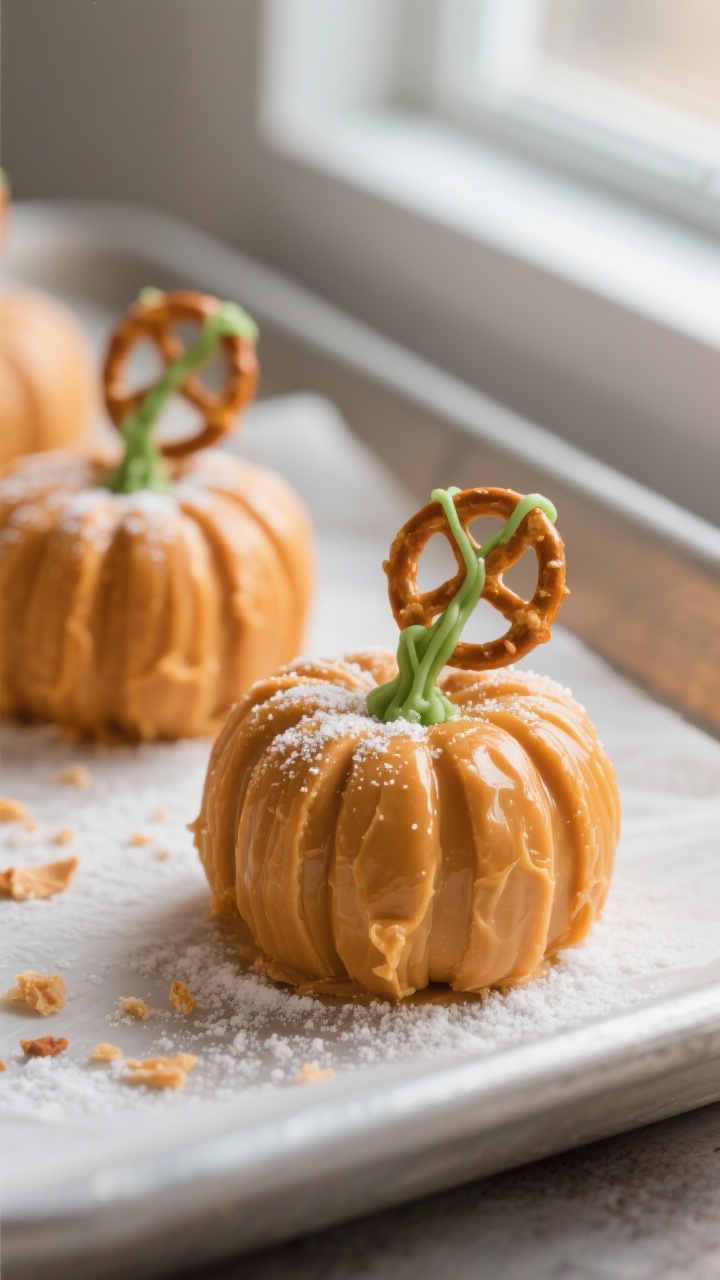
Shape the pumpkins. Scoop about 1 tablespoon of dough and roll into a ball. Use a toothpick or a butter knife to press gentle vertical lines around the sides to mimic pumpkin ridges.
-
Add the stems. Insert a small piece of pretzel stick or candy at the top as the stem. Place shaped pumpkins on a parchment-lined tray.
-
Chill to firm up. Refrigerate for 20–30 minutes so they hold their shape while you prepare the chocolate.
-
Melt the chocolate. In a microwave-safe bowl, combine chocolate chips and coconut oil.
Heat in 20–30 second bursts, stirring between each, until smooth and glossy.
-
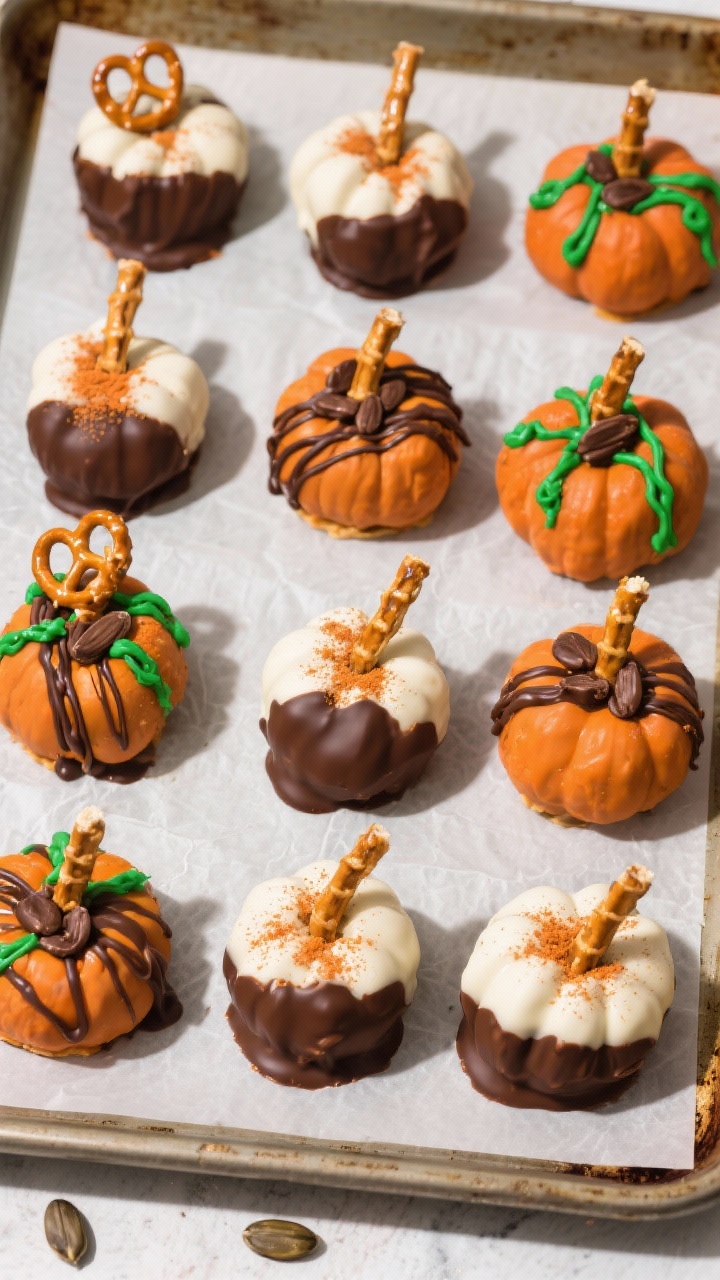
Decorate. Drizzle the chocolate over the pumpkins or dip the bottoms for a two-tone look. If you want vines, pipe a little green icing around the stem.
-
Set and serve. Return pumpkins to the fridge for 10–15 minutes to set the chocolate. Serve slightly chilled or at room temperature.
What Makes This Special
These little pumpkins are all about simple ingredients and playful presentation. You’re building a soft peanut butter “dough,” rolling it into pumpkin shapes, and finishing with a quick chocolate drizzle or dip.
They look like tiny pumpkins but taste like creamy peanut butter candy. The recipe is forgiving, customizable, and perfect for make-ahead treats. Plus, they’re no-bake and take under an hour from start to finish.
What You’ll Need
- 1 cup creamy peanut butter (not natural; use shelf-stable for best texture)
- 4 tablespoons unsalted butter, softened
- 2 cups powdered sugar, plus extra if needed
- 1 teaspoon vanilla extract
- 1/4 teaspoon fine salt (skip if using salted butter)
- 6–8 drops orange gel food coloring (or a mix of red/yellow)
- 1 cup chocolate chips (semi-sweet or milk)
- 2 teaspoons coconut oil or neutral oil (for smoother chocolate)
- Stems: mini pretzel sticks, chocolate-covered sunflower seeds, or small pieces of Tootsie Roll
- Optional decorations: green icing or melted white chocolate tinted green for “vines”
Step-by-Step Instructions

- Make the peanut butter base. In a mixing bowl, beat peanut butter and softened butter until smooth and creamy.
Add vanilla and salt, then mix again.
- Add the sugar. Gradually add powdered sugar, mixing until a soft, moldable dough forms. It should be pliable, not sticky. If it’s tacky, add another tablespoon or two of powdered sugar.
- Tint the dough. Add orange gel food coloring and knead it in until the color is even.
Start with a few drops and add more for a deeper pumpkin shade.
- Shape the pumpkins. Scoop about 1 tablespoon of dough and roll into a ball. Use a toothpick or a butter knife to press gentle vertical lines around the sides to mimic pumpkin ridges.
- Add the stems. Insert a small piece of pretzel stick or candy at the top as the stem. Place shaped pumpkins on a parchment-lined tray.
- Chill to firm up. Refrigerate for 20–30 minutes so they hold their shape while you prepare the chocolate.
- Melt the chocolate. In a microwave-safe bowl, combine chocolate chips and coconut oil.
Heat in 20–30 second bursts, stirring between each, until smooth and glossy.
- Decorate. Drizzle the chocolate over the pumpkins or dip the bottoms for a two-tone look. If you want vines, pipe a little green icing around the stem.
- Set and serve. Return pumpkins to the fridge for 10–15 minutes to set the chocolate. Serve slightly chilled or at room temperature.
How to Store
- Refrigerator: Store in an airtight container for up to 1 week.
Layer with parchment to prevent sticking.
- Freezer: Freeze on a baking sheet until firm, then transfer to a freezer bag. Keeps well for up to 2 months. Thaw in the fridge.
- Room temperature: Safe for a few hours at a party, but they’ll soften if the room is warm.
Benefits of This Recipe
- No-bake and quick: Great for busy schedules and last-minute gatherings.
- Kid-friendly: Simple steps make it easy for little helpers.
- Customizable: Adjust sweetness, color, and toppings to your taste.
- Budget-friendly: Uses common pantry items—no special equipment needed.
- Make-ahead friendly: Holds up well in the fridge or freezer.
Pitfalls to Watch Out For
- Using natural peanut butter: It can be too oily or loose, making the dough unstable.
Use a no-stir, shelf-stable brand.
- Too much food coloring: Liquid coloring can water down the dough. Use gel coloring to keep it firm.
- Overheating chocolate: It can seize or burn. Melt in short bursts and stir often.
- Skipping the chill: Warm dough loses shape and won’t hold the ridges.
A short chill makes a big difference.
- Heavy hands with powdered sugar: Adding too much makes the pumpkins crumbly. Aim for soft and pliable.
Variations You Can Try
- Spiced Pumpkin: Add 1/2 teaspoon pumpkin pie spice or cinnamon to the dough for a warm, cozy flavor.
- Salted Caramel: Drizzle with caramel and sprinkle with flaky sea salt before chilling.
- Chocolate Inside: Press a few mini chocolate chips into the center of each ball before shaping.
- Crunchy Twist: Fold in crushed graham crackers or crispy rice cereal for texture.
- Nut-Free Option: Use sunflower seed butter or cookie butter; add extra powdered sugar if the dough is soft.
- White Chocolate Look: Dip the tops in white chocolate and add a light orange dusting with edible powder.
FAQ
Can I use natural peanut butter?
Yes, but it may be too oily and soft. If you do, add extra powdered sugar and chill longer.
Shelf-stable creamy peanut butter gives the most reliable texture.
What if I don’t have gel food coloring?
You can use liquid coloring, but add it sparingly and compensate with a bit more powdered sugar. Paprika gives a natural warm tint, though it adds mild flavor.
How do I make them dairy-free?
Use a dairy-free butter substitute and dairy-free chocolate chips. Check labels to be sure they’re certified vegan if needed.
Can I make these ahead for a party?
Absolutely.
Make them up to 3 days in advance and store in the fridge. Add final chocolate drizzle the day of if you want a super glossy finish.
How big should each pumpkin be?
About 1 tablespoon of dough per pumpkin works well. You’ll get bite-size treats that hold their shape and set quickly.
My dough is crumbly.
What should I do?
Knead in 1–2 teaspoons of milk or a little more peanut butter until it comes together. Add slowly to avoid making it sticky.
How do I keep the ridges from smudging?
Chill briefly after shaping, then add stems and decorations. Handle them with cool hands or use gloves to avoid warmth softening the surface.
What’s the best chocolate for dipping?
Semi-sweet chocolate balances the sweetness nicely.
Add a bit of coconut oil for a smoother, thinner coating that sets with a slight sheen.
Final Thoughts
Peanut Butter Pumpkins bring all the charm of fall with almost no effort. They’re playful to make, easy to customize, and dependable crowd-pleasers. Keep a batch in the fridge during pumpkin season, and you’ll always have a sweet treat ready for guests—or for yourself.
Simple, nostalgic, and delicious: that’s their magic.

Printable Recipe Card
Want just the essential recipe details without scrolling through the article? Get our printable recipe card with just the ingredients and instructions.