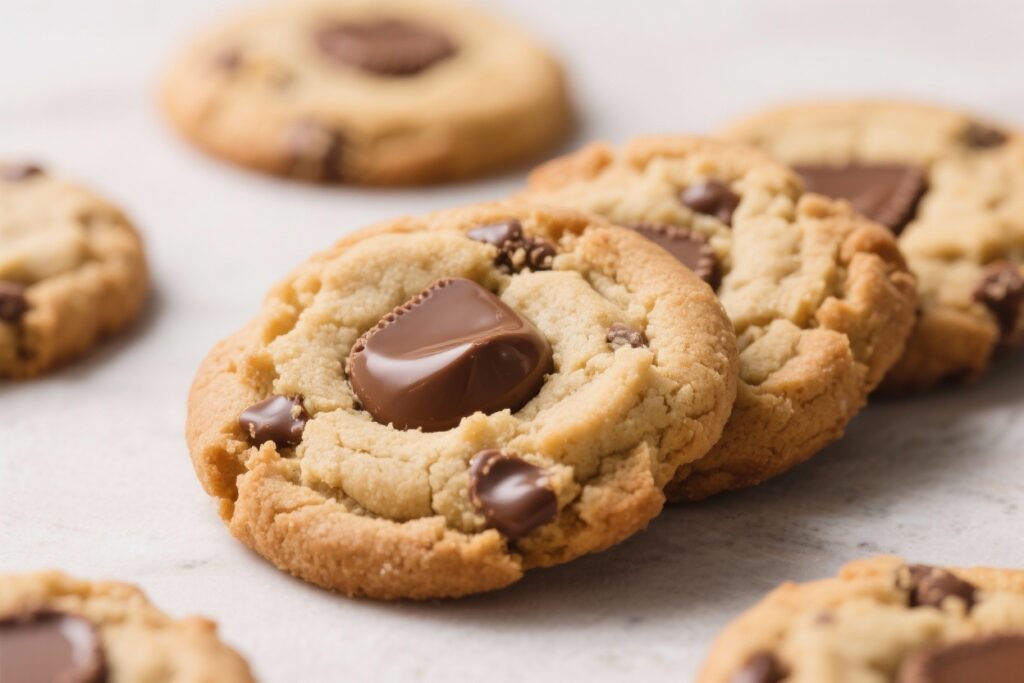
Peanut Butter Cup Cookies are the kind of dessert that makes people smile before they even take a bite. They’re soft, chewy, and packed with melty chocolate and creamy peanut butter. If you love classic peanut butter cookies and Reese’s cups, this is the best of both worlds.
They’re simple enough for a weeknight treat and impressive enough for a party. Plus, the mini peanut butter cups make them feel a little special without any extra fuss.

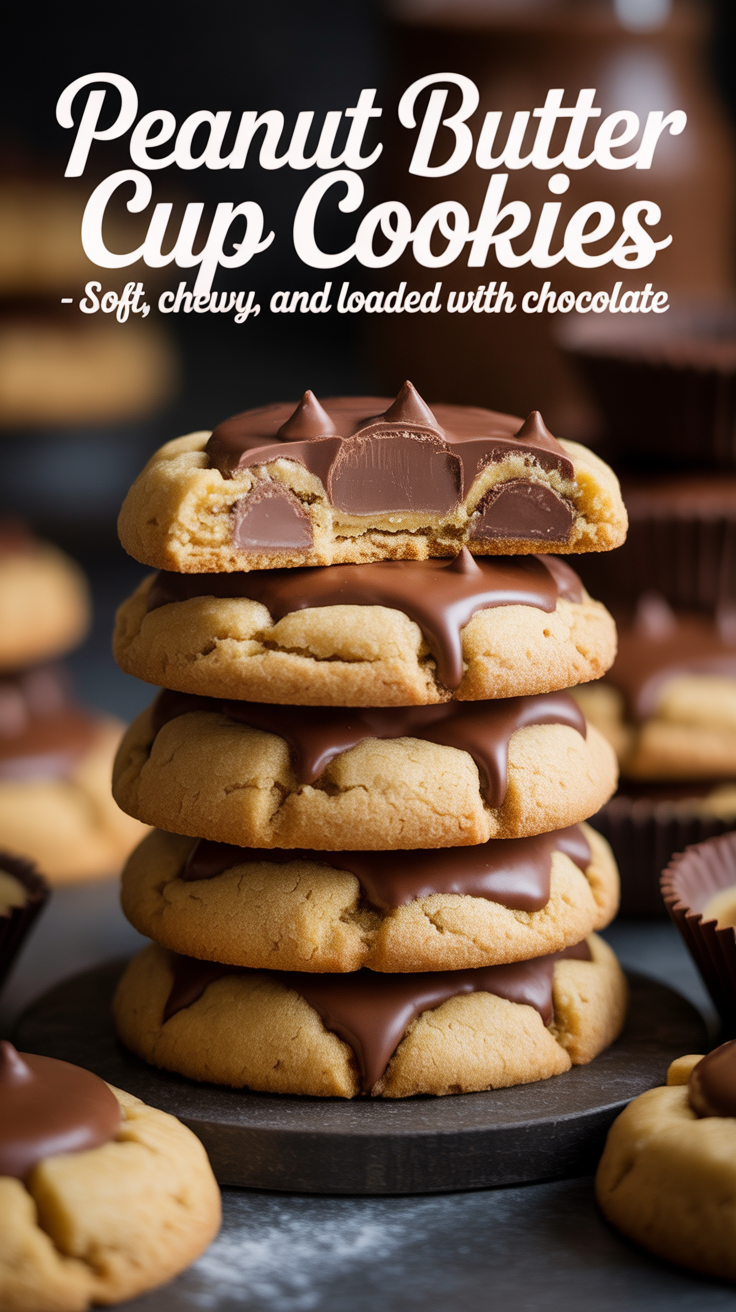
Peanut Butter Cup Cookies – Soft, Chewy, and Loaded With Chocolate
Ingredients
Method
-
Prep your pans. Line two baking sheets with parchment paper or silicone mats.
Unwrap the mini peanut butter cups and freeze them for 15 minutes. This helps them keep their shape when pressed into hot cookies.
-
Mix dry ingredients. In a small bowl, whisk together the flour, baking soda, baking powder, and salt. Set aside.
-
Cream butter and sugars. In a large bowl, beat the softened butter, peanut butter, granulated sugar, and brown sugar until light and fluffy, about 2–3 minutes.
This traps air and makes softer cookies.
-
Add egg and vanilla. Beat in the egg and vanilla until fully combined, scraping down the bowl as needed.
-
Combine wet and dry. Add the flour mixture to the wet ingredients and mix on low just until no dry streaks remain. Do not overmix.
-
Chill the dough. Cover and chill the dough for 20–30 minutes. This keeps the cookies thick and chewy.
-
Preheat the oven. Heat to 350°F (175°C) while the dough chills.
-
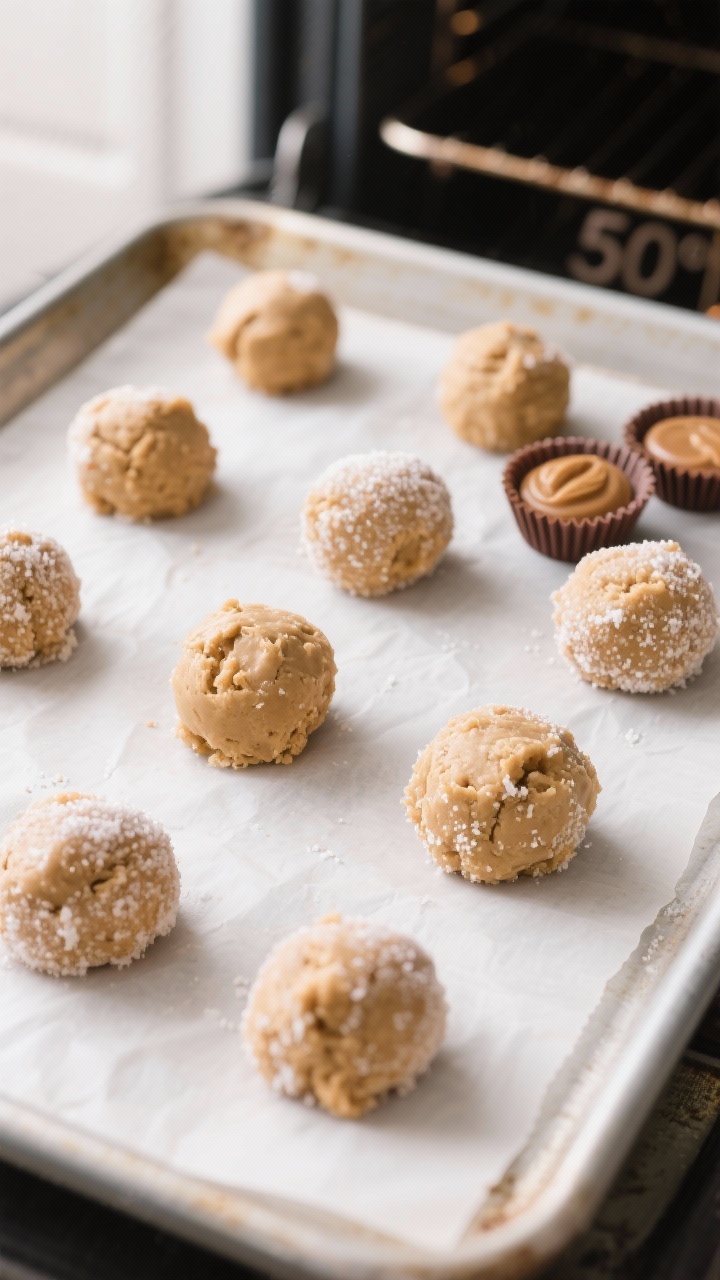
Portion the dough. Scoop the dough into 1-tablespoon balls.
If you like, roll each ball in granulated sugar for a lightly crisp exterior.
-
Bake. Arrange dough balls 2 inches apart on the prepared sheets. Bake 8–10 minutes, just until edges are set and tops look slightly puffy. They should still look a touch underbaked in the center.
-
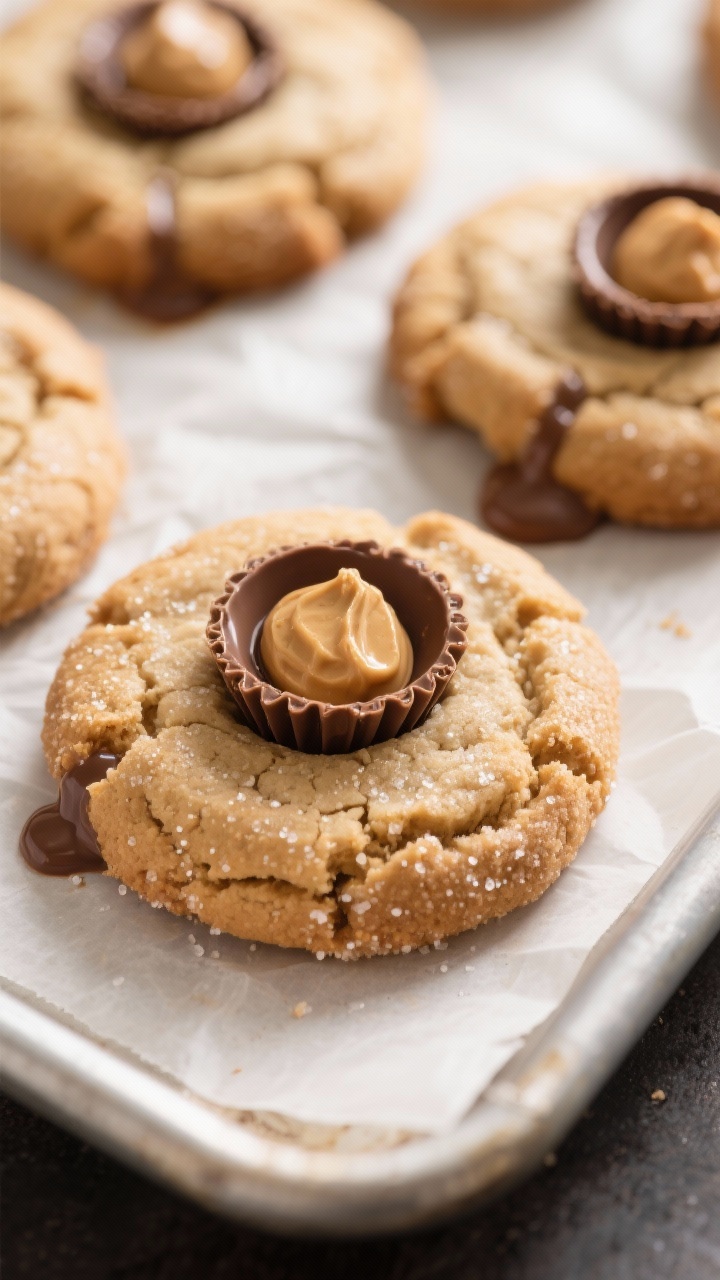
Press in the cups. Remove the cookies from the oven and immediately press one mini peanut butter cup into the center of each cookie.
The edges will crack slightly—that’s perfect.
-
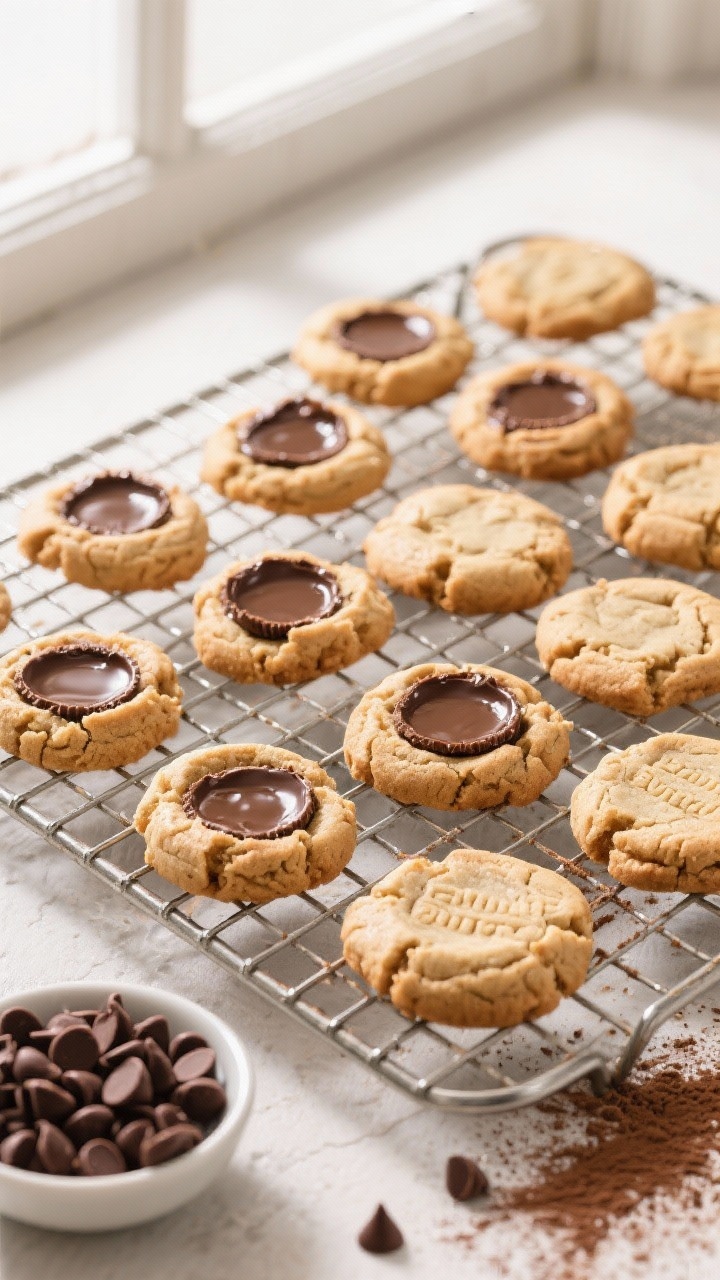
Set and cool. Let the cookies cool on the sheet for 5–10 minutes to allow the chocolate to soften and settle. Transfer to a wire rack to cool completely.
-
Serve. Enjoy warm for melty chocolate centers or let them set for a neater bite.
Why This Recipe Works
This recipe builds on a tried-and-true peanut butter cookie base with the perfect balance of fat, sugar, and flour for a soft, tender texture. The dough is sturdy enough to hold a mini peanut butter cup, but still bakes up chewy with lightly crisp edges.
Using both brown and granulated sugar gives the cookies moisture and flavor depth. Chilling the dough helps prevent spreading, so the cookies stay thick and soft. And the mini peanut butter cups melt just enough to create a gooey center without falling apart.
What You’ll Need
- 1/2 cup (1 stick) unsalted butter, softened
- 1/2 cup creamy peanut butter (not natural, for best texture)
- 1/2 cup granulated sugar
- 1/2 cup packed light brown sugar
- 1 large egg, room temperature
- 1 teaspoon vanilla extract
- 1 1/4 cups all-purpose flour
- 1/2 teaspoon baking soda
- 1/4 teaspoon baking powder
- 1/4 teaspoon fine salt
- About 24–30 mini peanut butter cups, unwrapped (Reese’s or similar)
- Optional: 1/4 cup granulated sugar for rolling
How to Make It
- Prep your pans. Line two baking sheets with parchment paper or silicone mats.
Unwrap the mini peanut butter cups and freeze them for 15 minutes. This helps them keep their shape when pressed into hot cookies.
- Mix dry ingredients. In a small bowl, whisk together the flour, baking soda, baking powder, and salt. Set aside.
- Cream butter and sugars. In a large bowl, beat the softened butter, peanut butter, granulated sugar, and brown sugar until light and fluffy, about 2–3 minutes.
This traps air and makes softer cookies.
- Add egg and vanilla. Beat in the egg and vanilla until fully combined, scraping down the bowl as needed.
- Combine wet and dry. Add the flour mixture to the wet ingredients and mix on low just until no dry streaks remain. Do not overmix.
- Chill the dough. Cover and chill the dough for 20–30 minutes. This keeps the cookies thick and chewy.
- Preheat the oven. Heat to 350°F (175°C) while the dough chills.
- Portion the dough. Scoop the dough into 1-tablespoon balls.
If you like, roll each ball in granulated sugar for a lightly crisp exterior.
- Bake. Arrange dough balls 2 inches apart on the prepared sheets. Bake 8–10 minutes, just until edges are set and tops look slightly puffy. They should still look a touch underbaked in the center.
- Press in the cups. Remove the cookies from the oven and immediately press one mini peanut butter cup into the center of each cookie.
The edges will crack slightly—that’s perfect.
- Set and cool. Let the cookies cool on the sheet for 5–10 minutes to allow the chocolate to soften and settle. Transfer to a wire rack to cool completely.
- Serve. Enjoy warm for melty chocolate centers or let them set for a neater bite.
Storage Instructions
- Room temperature: Store in an airtight container for up to 4 days. Layer with parchment to prevent sticking.
- Refrigerator: Not necessary, but they’ll keep up to a week.
Bring to room temp before serving for best texture.
- Freezer (baked): Freeze in a zip-top bag for up to 2 months. Thaw at room temperature, then warm for 5 minutes at 300°F if you want soft, melty centers.
- Freezer (unbaked dough): Freeze scooped dough balls on a tray, then transfer to a bag. Bake from frozen at 350°F, adding 1–2 minutes.

Benefits of This Recipe
- Low effort, big payoff: Simple pantry ingredients and an easy method yield bakery-level cookies.
- Soft and chewy texture: The dough’s sugar balance and a short chill keep the cookies tender inside with light crisp edges.
- Kid- and crowd-friendly: The mini peanut butter cups make these fun and instantly recognizable.
- Freezer-friendly: Bake ahead or prep the dough for last-minute cookies anytime.
- Reliable and flexible: Works with different peanut butter cups, chocolate chips, or candy centers.
Common Mistakes to Avoid
- Using natural peanut butter: The oil separation can lead to greasy, crumbly cookies.
Choose a no-stir, creamy peanut butter.
- Skipping the chill: Warm dough spreads too much and won’t hold the candy center well.
- Overbaking: Pull them when the edges set but the centers still look soft. They finish on the hot sheet.
- Pressing candy too late: Press the peanut butter cups into the cookies right out of the oven so they nestle in nicely.
- Overmixing the dough: This can make the cookies tough. Mix just until combined.
Recipe Variations
- Chocolate drizzle: After cooling, drizzle with melted semisweet chocolate for a bakery look.
- Salted finish: Sprinkle a few flakes of sea salt over the hot cookies after pressing in the cups.
- Chocolate dough swirl: Replace 2 tablespoons of flour with cocoa powder for a chocolate-peanut butter twist.
- Stuffed surprise: Wrap a small square of chocolate or a teaspoon of chocolate hazelnut spread inside each dough ball before baking.
- Mini muffin pan version: Bake the dough in a mini muffin tin and press the cups in after baking for a classic “blossom” look with sturdy edges.
- Gluten-free swap: Use a 1:1 gluten-free baking flour with xanthan gum.
Chill the dough a bit longer to help it set.
FAQ
Can I use natural peanut butter?
You can, but the texture may be oily and crumbly. For best results, use a creamy, no-stir peanut butter like Skippy or Jif.
Do I have to chill the dough?
It’s strongly recommended. A 20–30 minute chill yields thicker, softer cookies and keeps the centers from spreading too thin.
What size peanut butter cups work best?
Mini peanut butter cups are ideal.
Standard-size cups are too large for a single cookie and can make them collapse.
Why did my cookies turn out dry?
They were likely overbaked or had too much flour. Spoon and level your flour, and pull the cookies when the centers still look slightly soft.
Can I add chocolate chips to the dough?
Yes. Add up to 1/2 cup mini chocolate chips for extra chocolate in every bite.
Reduce the candy cups slightly if you don’t want them too sweet.
How do I keep the peanut butter cups from melting too much?
Freeze the cups for 15 minutes before baking. Press them in right away, then let the cookies sit on the sheet to set before moving.
Can I make these ahead?
Yes. Bake and freeze, or freeze the dough balls.
Either way, you’ll have fresh cookies with minimal effort whenever you want them.
Wrapping Up
Peanut Butter Cup Cookies are a simple treat with classic flavors and a guaranteed wow factor. The dough comes together quickly, and the mini peanut butter cups make them feel special without extra work. Keep a batch in the freezer, and you’re never far from a warm, gooey cookie.
Whether it’s for a bake sale, a party, or a quiet night in, this recipe delivers every time.
Printable Recipe Card
Want just the essential recipe details without scrolling through the article? Get our printable recipe card with just the ingredients and instructions.