
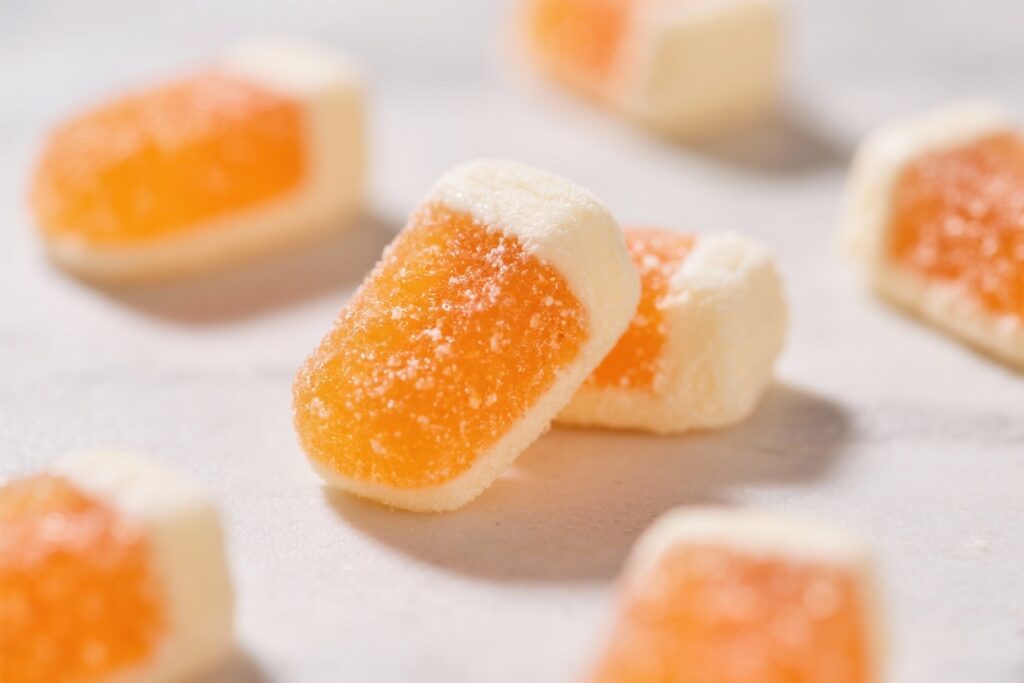
If you grew up loving orange creamsicles, these gummies will feel like a throwback in the best way. They’re soft, bouncy, and taste like sunshine with a creamy finish. Best of all, they’re easy to make with basic ingredients and no fancy equipment.
These little bites are perfect for lunchboxes, afternoon pick-me-ups, or a fun weekend project. Once you try them, you’ll find yourself making a batch “just because.”
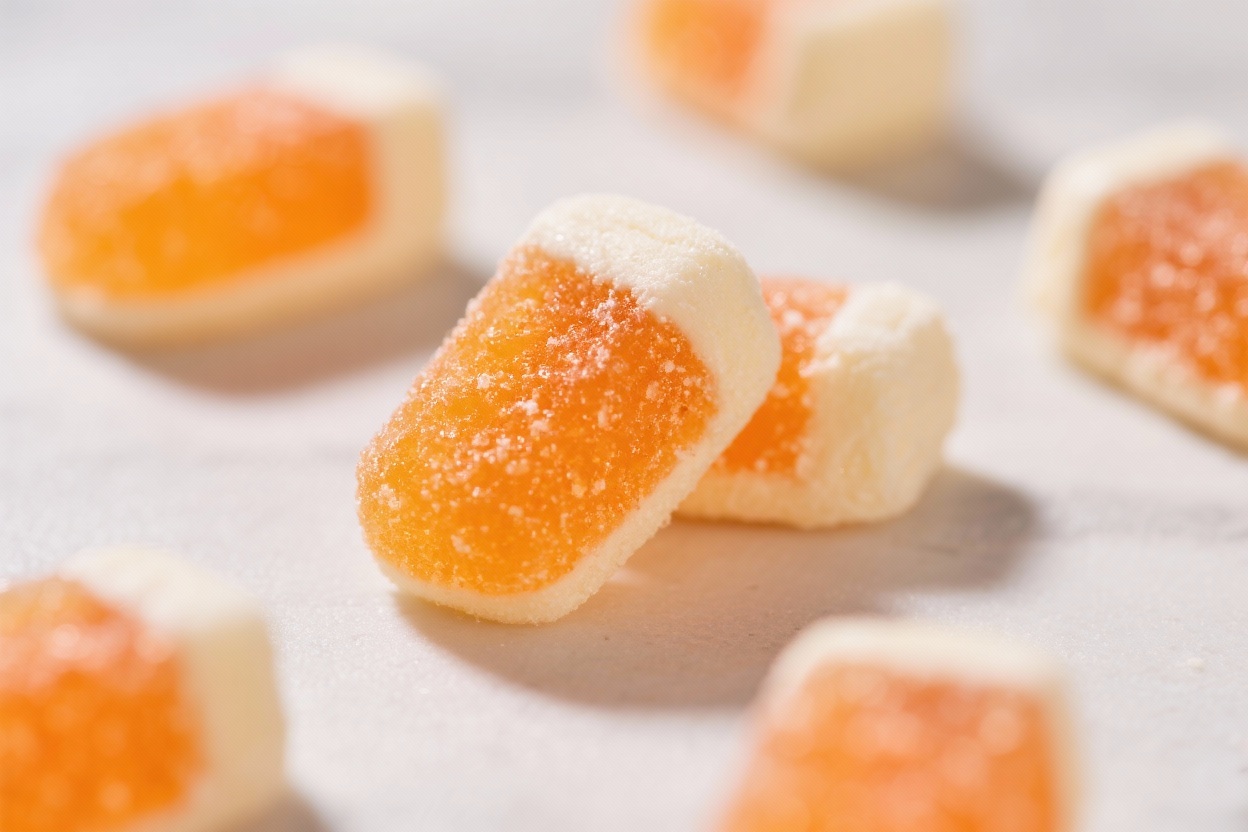
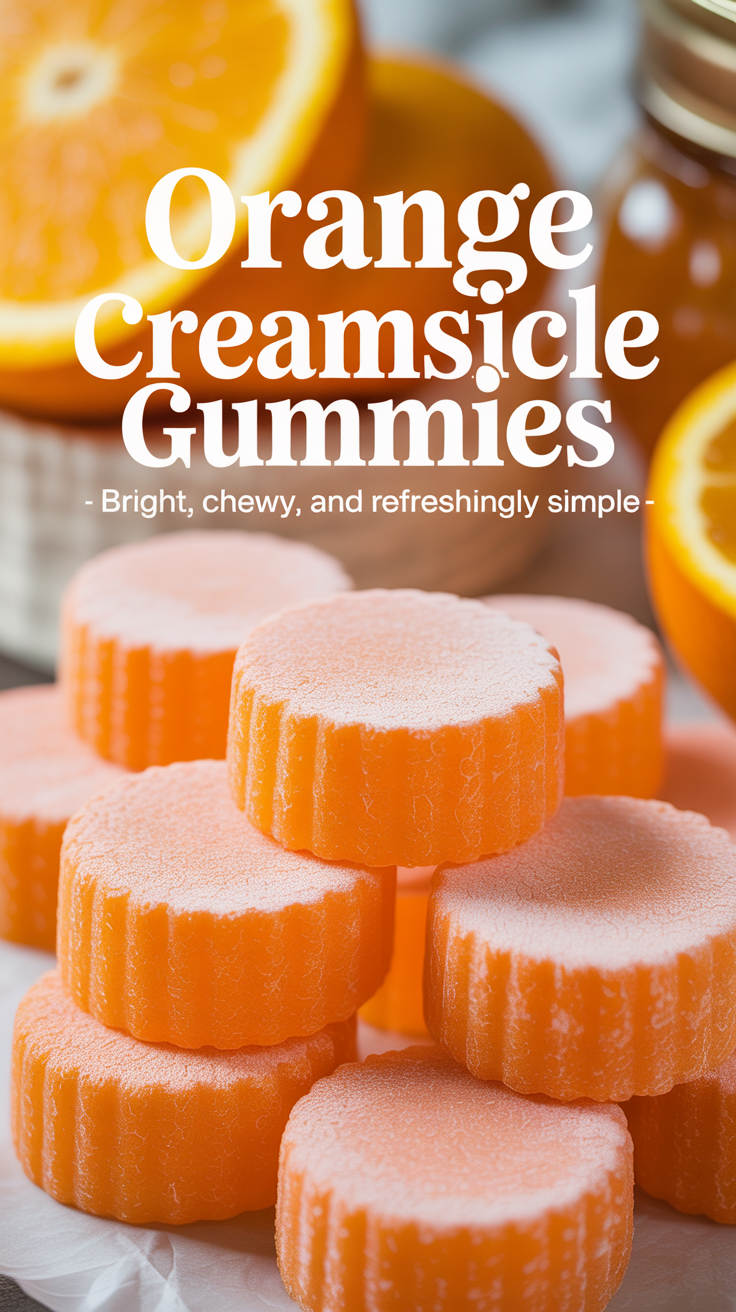
Orange Creamsicle Gummies – Bright, Chewy, and Refreshingly Simple
Ingredients
Method
-
Prep the molds: Lightly grease silicone gummy molds or an 8×8-inch pan. A thin film of oil helps the gummies pop out cleanly.
-
Warm the base: In a small saucepan, add orange juice, coconut milk or cream, sweetener, vanilla, lemon juice (if using), orange zest, and a pinch of salt. Warm over low heat until just steamy, not boiling.
-
Bloom the gelatin: Sprinkle gelatin evenly over the warm mixture.
Let it sit undisturbed for 3–4 minutes so it hydrates.
-
Dissolve gently: Whisk over low heat until the gelatin fully dissolves. Do not boil. The liquid should be smooth with no graininess.
-
Taste and adjust: Check sweetness and tang.
Add a touch more honey or lemon if needed. Keep the mixture warm so it doesn’t start setting.
-
Pour and settle: Carefully pour into molds or the pan. Tap gently to release air bubbles.
-
Chill: Refrigerate for 60–90 minutes, or until the gummies are firm and springy to the touch.
-
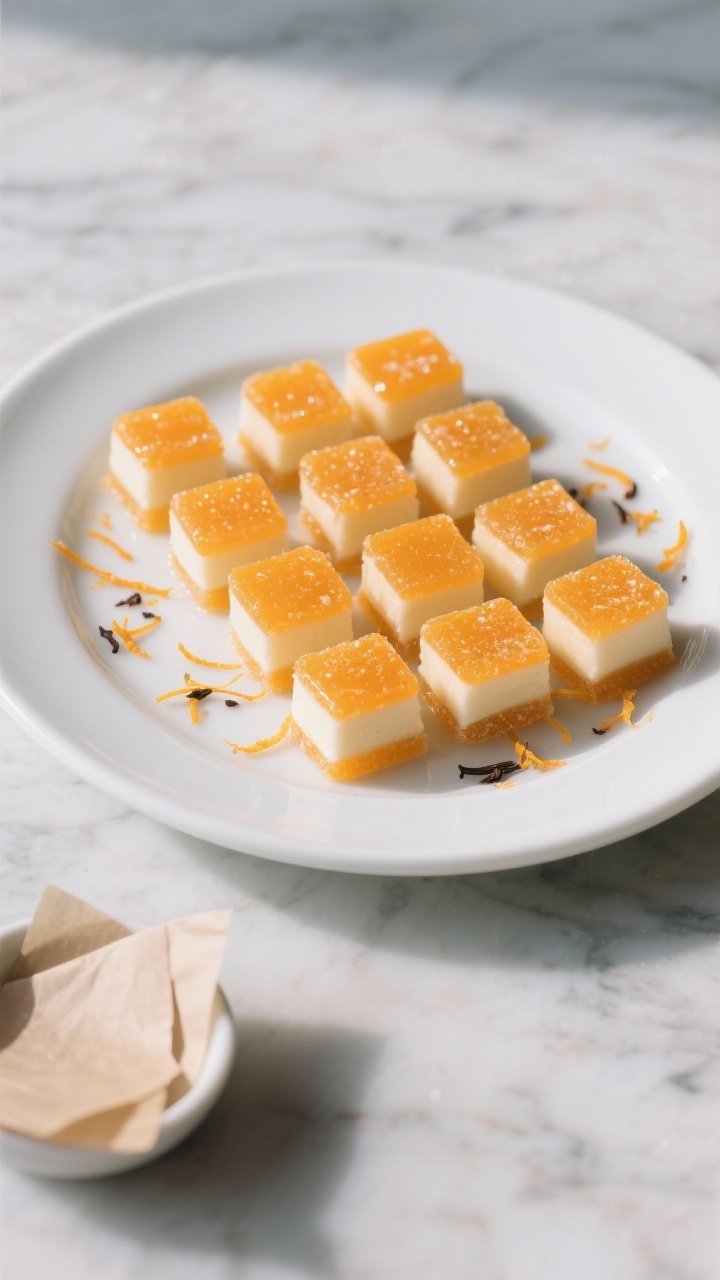
Unmold: If using a pan, loosen the edges and cut into bite-size squares.
Silicone molds should release easily with a little flex.
-
Enjoy or store: Eat right away or transfer to an airtight container with parchment between layers to prevent sticking.
Why This Recipe Works
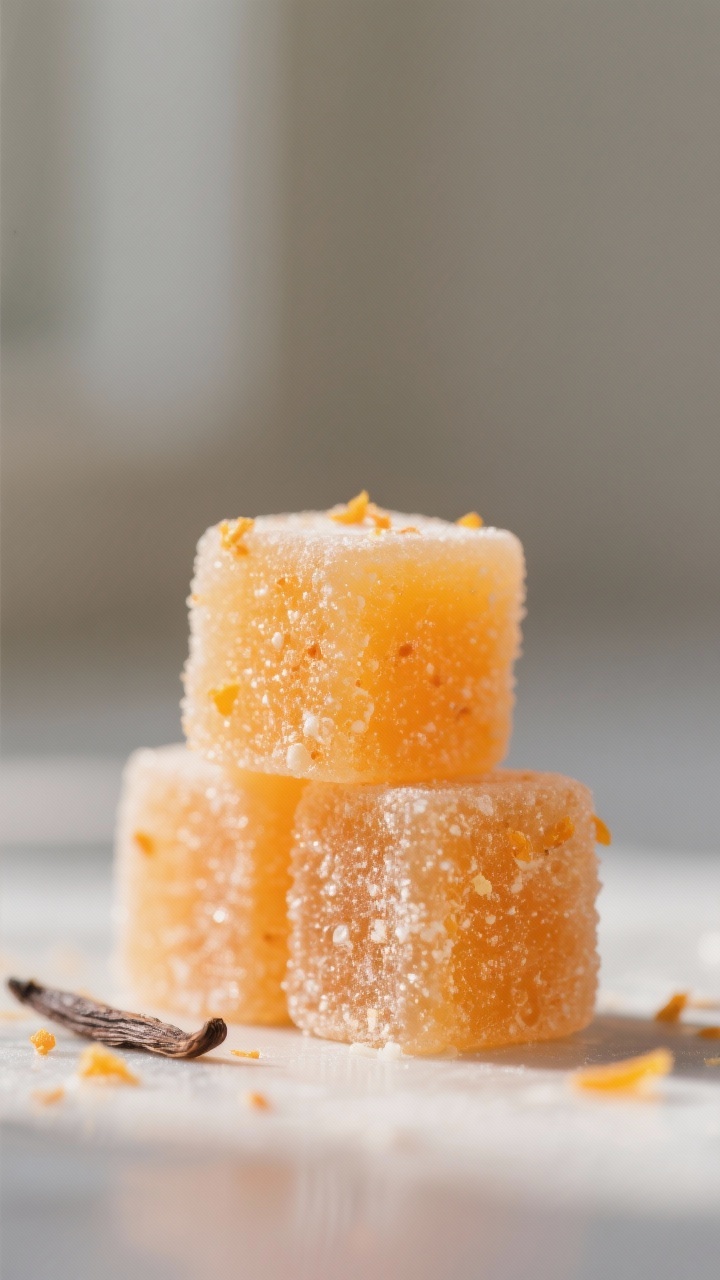
- Simple ingredients, big flavor: Orange juice brings a bright citrus taste, while vanilla and cream add that classic creamsicle vibe.
- Reliable texture: Gelatin sets the gummies firmly without making them rubbery. The ratio here is dialed in for a soft, chewy bite.
- Quick to make: The mixture comes together in minutes and sets in about an hour in the fridge.
- Easy to customize: You can swap juices, adjust sweetness, or use dairy-free options without losing the creamy effect.
- Kid- and adult-friendly: Sweet enough to satisfy, but not cloying.
They’re a fun, portable treat.
Ingredients
- 1 cup orange juice, preferably freshly squeezed (or a no-pulp, 100% juice)
- 1/4 cup full-fat coconut milk or heavy cream
- 2–3 tablespoons honey, maple syrup, or sugar, to taste
- 1 teaspoon vanilla extract
- 1 tablespoon lemon juice (optional, for brightness)
- 3 tablespoons unflavored gelatin (about 3 packets)
- 1–2 teaspoons finely grated orange zest (optional, for extra citrus aroma)
- Pinch of salt
- Neutral oil or cooking spray for the molds
How to Make It
- Prep the molds: Lightly grease silicone gummy molds or an 8×8-inch pan. A thin film of oil helps the gummies pop out cleanly.
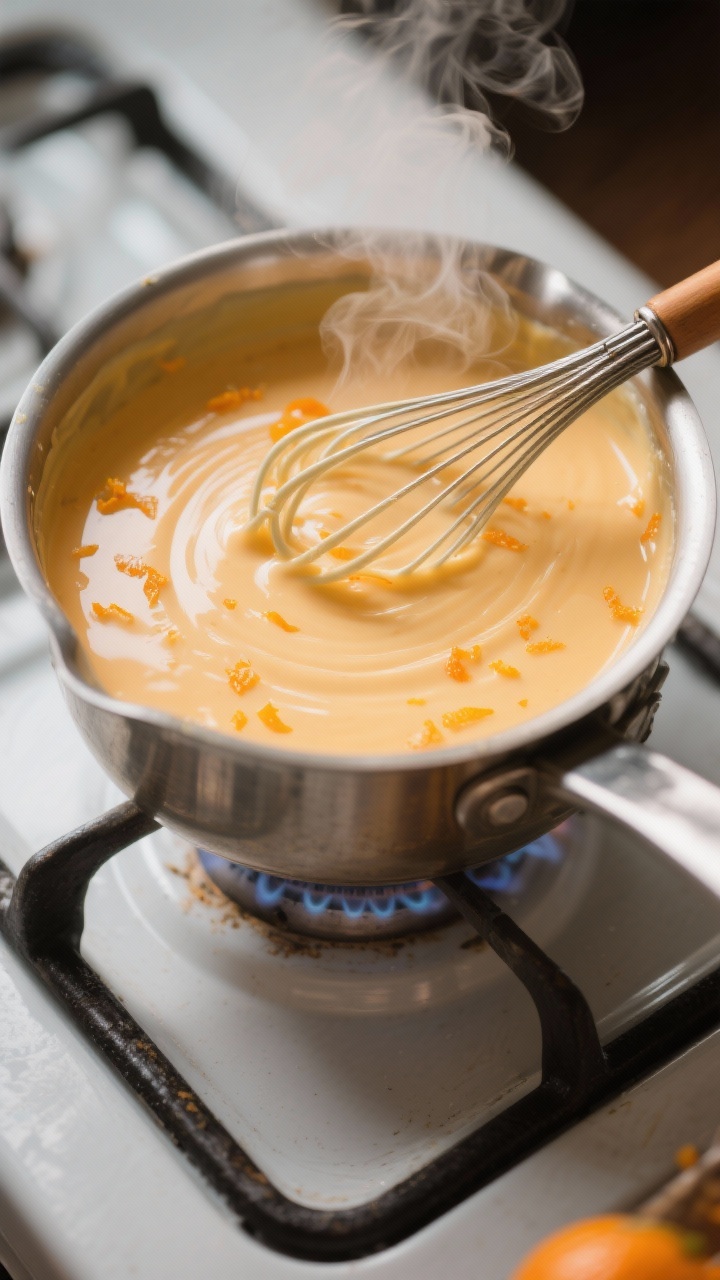
- Warm the base: In a small saucepan, add orange juice, coconut milk or cream, sweetener, vanilla, lemon juice (if using), orange zest, and a pinch of salt. Warm over low heat until just steamy, not boiling.
- Bloom the gelatin: Sprinkle gelatin evenly over the warm mixture.
Let it sit undisturbed for 3–4 minutes so it hydrates.
- Dissolve gently: Whisk over low heat until the gelatin fully dissolves. Do not boil. The liquid should be smooth with no graininess.
- Taste and adjust: Check sweetness and tang.
Add a touch more honey or lemon if needed. Keep the mixture warm so it doesn’t start setting.
- Pour and settle: Carefully pour into molds or the pan. Tap gently to release air bubbles.
- Chill: Refrigerate for 60–90 minutes, or until the gummies are firm and springy to the touch.
- Unmold: If using a pan, loosen the edges and cut into bite-size squares.
Silicone molds should release easily with a little flex.
- Enjoy or store: Eat right away or transfer to an airtight container with parchment between layers to prevent sticking.
Keeping It Fresh
- Refrigeration is key: Store gummies in an airtight container in the fridge for up to 7–10 days.
- Layer smartly: Use parchment between layers to avoid sticking, especially if your kitchen runs warm.
- Avoid the freezer: Freezing can make gelatin weep and turn the texture icy or grainy once thawed.
- Keep moisture low: Don’t store with fresh fruit slices; they release water and can make gummies slimy.
Health Benefits
- Protein boost from gelatin: Gelatin provides amino acids that support skin, hair, nails, and joint health.
- Vitamin C from orange juice: Helps support immunity and collagen production, especially if you use fresh juice.
- Lower in additives: Homemade gummies skip artificial colors and flavors. You control the sweetness and ingredients.
- Dairy-free option: Coconut milk keeps the creamy texture without lactose, making these more accessible for many diets.
Common Mistakes to Avoid
- Boiling the mixture: High heat can weaken gelatin’s setting power and dull the fresh citrus flavor.
- Skipping the bloom: If you don’t let gelatin hydrate, it clumps and won’t dissolve smoothly.
- Using too much juice pulp: Pulp can separate and create a grainy texture. Strain if needed.
- Not measuring gelatin accurately: Too little yields loose gummies; too much turns them rubbery.
Stick to the recipe first.
- Rushing the chill: Gummies need time to set. If they’re soft or sticky, give them another 30 minutes in the fridge.
Recipe Variations
- Dairy-free creamsicle: Use full-fat coconut milk and a touch of extra vanilla for a lush, dairy-free finish.
- Probiotic twist: After the mixture cools to lukewarm, whisk in a few tablespoons of plain yogurt. It adds tang, but make sure the liquid isn’t hot or you’ll curdle the dairy.
- Vanilla bean: Swap vanilla extract for scraped vanilla bean or vanilla paste for a stronger, speckled vanilla note.
- Orange-lime zing: Add 1–2 teaspoons of lime juice and a pinch of lime zest for a citrusy edge.
- Sweetener swaps: Use agave or a low-carb sweetener that dissolves well.
If using erythritol, warm it thoroughly to avoid graininess.
- Vitamin boost: Stir in a vitamin C powder made for culinary use after the mixture cools slightly. Avoid heat-sensitive supplements unless labeled for cooking.
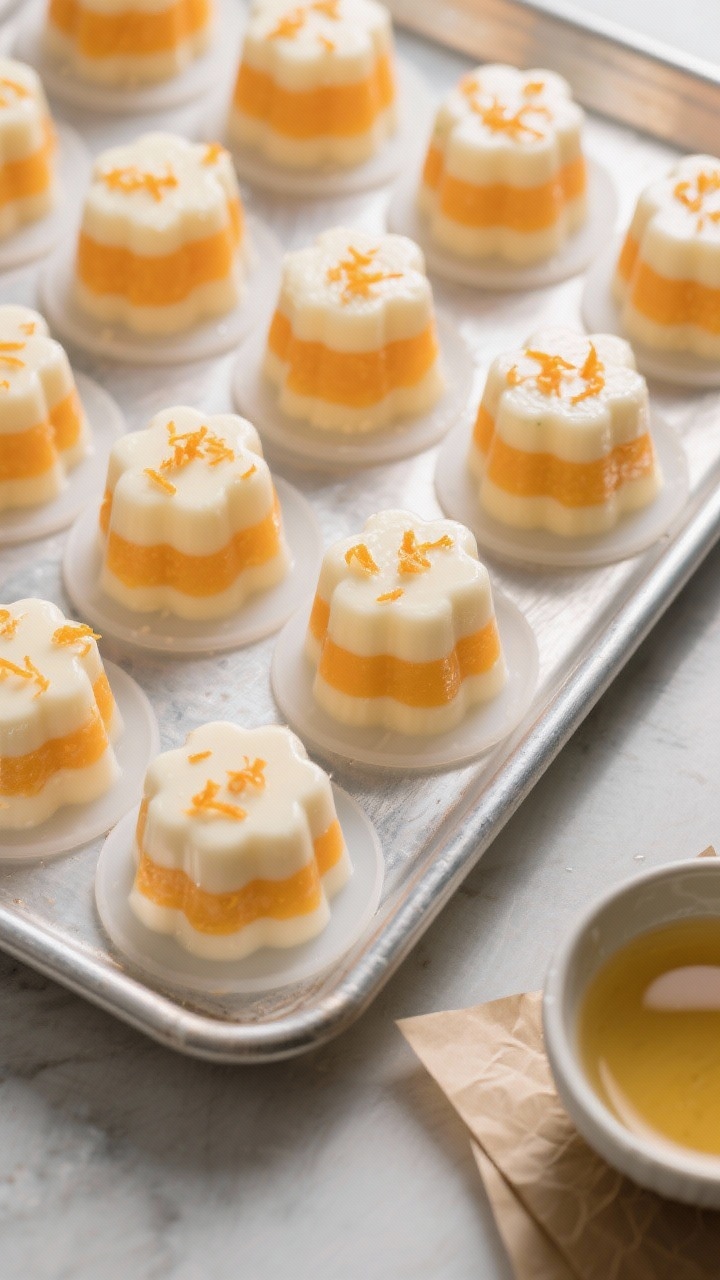
- Layered look: Pour half the mixture into the molds, chill 10–15 minutes, then whisk the remaining mixture and pour on top for a two-tone effect.
FAQ
Can I use orange soda instead of juice?
Using soda will add carbonation and extra sweetness, but the bubbles can create holes and an odd texture. If you try it, let the soda go flat first and reduce the sweetener.
How do I make these vegan?
Gelatin is not vegan.
You can experiment with agar-agar, but the texture is more brittle and less bouncy. Start with 1–1.5 teaspoons agar powder and simmer it for at least 2 minutes to activate, then set expectations for a firmer bite.
Why did my gummies turn out cloudy?
Cream or coconut milk naturally makes the mixture opaque. If you want clearer gummies, reduce or skip the creamy component, increase orange juice slightly, and drop the vanilla.
Can I use bottled orange juice?
Yes.
Choose 100% juice with no added sugar. If it’s very tart, increase the sweetener a bit. If it’s pulpy, strain for a smoother texture.
How do I prevent a skin from forming on top?
Pour promptly and tap the molds to release bubbles.
If you’re chilling in a pan, press a piece of plastic wrap directly on the surface before refrigerating.
What if I don’t have molds?
Use a lightly greased 8×8-inch pan or even a loaf pan. After setting, turn out onto a cutting board and slice into squares or strips.
Why are my gummies sticky?
They may be under-set or warm. Chill longer, and store with parchment between layers.
A very humid fridge can also cause stickiness; try a drier compartment.
Can I add food coloring?
Absolutely. A drop or two of natural orange or yellow coloring will brighten the hue. Go light to keep the look soft and creamsicle-like.
Wrapping Up
Orange Creamsicle Gummies taste like a nostalgic summer treat, but they’re made with simple, real ingredients.
The texture is soft and springy, the flavor is bright and creamy, and the process is easy enough for a weeknight. Keep a batch in the fridge for quick snacks, lunchbox surprises, or a sweet finish after dinner. Once you master the base, play with the variations and make them your own.
Enjoy the cheerful bite in every piece.
Printable Recipe Card
Want just the essential recipe details without scrolling through the article? Get our printable recipe card with just the ingredients and instructions.