
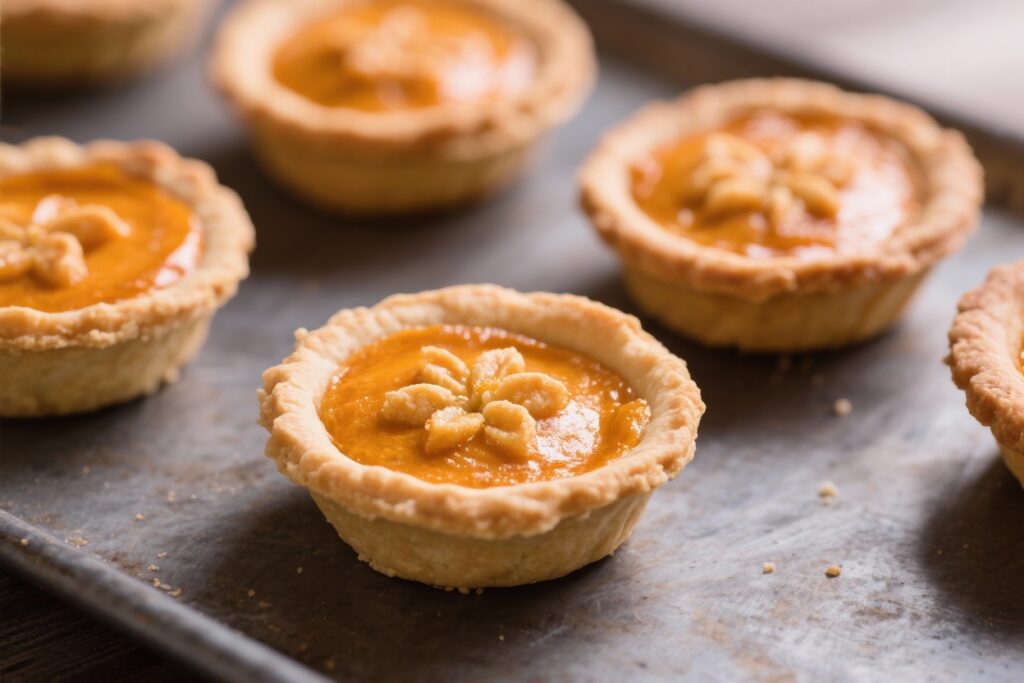
These mini pumpkin pies bring all the warm, spiced comfort of classic pumpkin pie in a tidy, handheld size. They bake faster, travel well, and look great on a dessert table. Whether you’re hosting a holiday dinner or craving a cozy fall treat, these little pies deliver big flavor without the fuss.
The crust stays flaky, the filling is silky, and each bite feels like a sweet, seasonal hug. They’re also easy to customize, so you can make a batch that suits everyone.
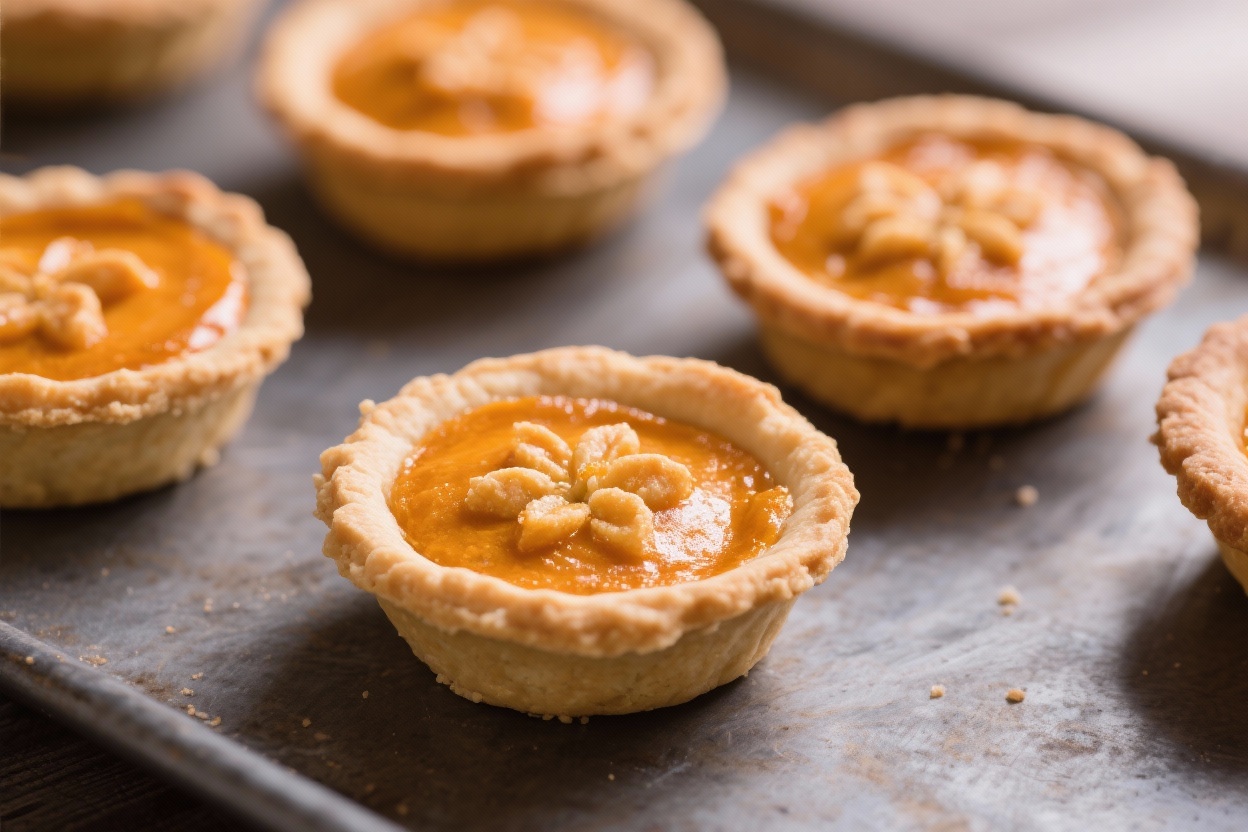
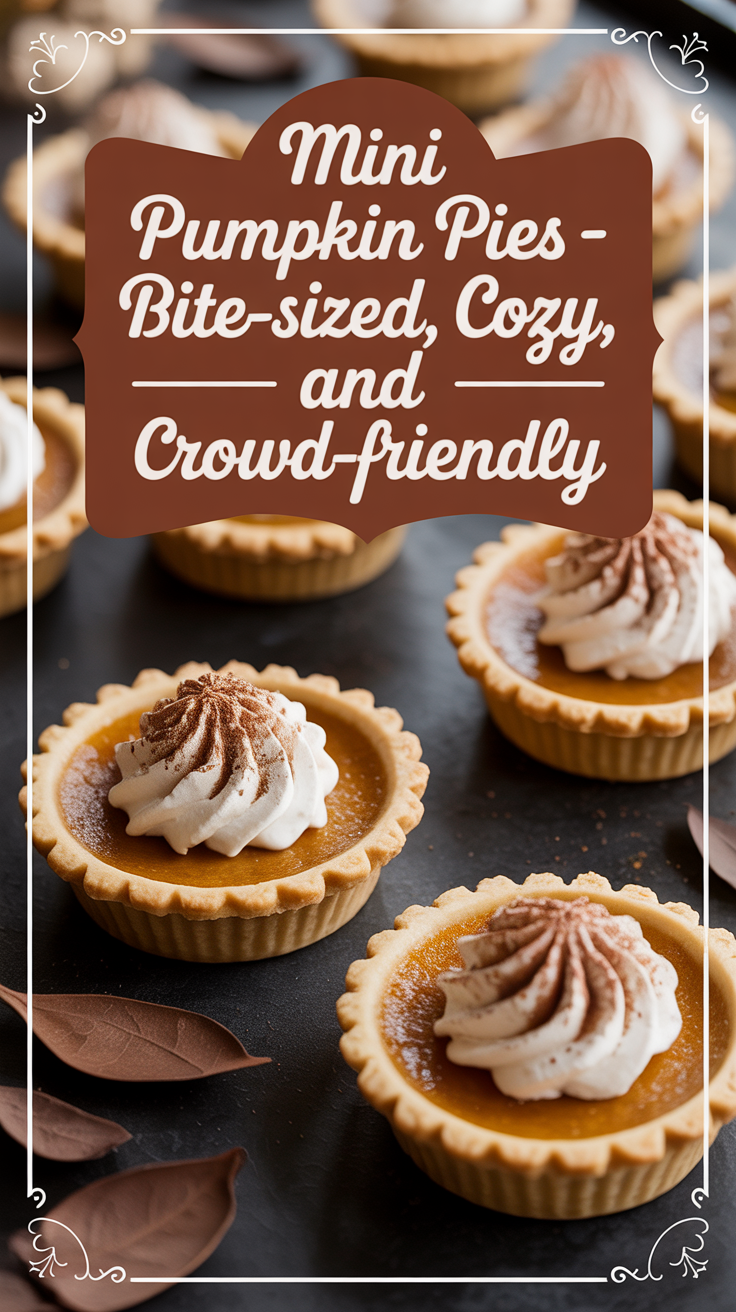
Mini Pumpkin Pies – Bite-Sized, Cozy, and Crowd-Friendly
Ingredients
Method
-
Prep the oven and pan: Heat your oven to 375°F (190°C). Lightly grease a standard 12-cup muffin tin.
-
Cut the crusts: Unroll the pie crusts and use a 3.5–4-inch round cutter (or a jar lid) to cut out circles.
Gently press each round into the muffin cups, letting the dough come slightly above the rim.
-
Chill the crust: Pop the pan in the fridge for 10 minutes. Cold dough = flakier crust.
-
Mix the filling: In a bowl, whisk pumpkin puree, brown sugar, granulated sugar, 1 egg, evaporated milk, pumpkin pie spice, cinnamon, vanilla, and salt until smooth and well combined.
-
Optional egg wash: Beat the remaining egg with 1 tablespoon water. Brush lightly on the crust edges for a golden finish.
-
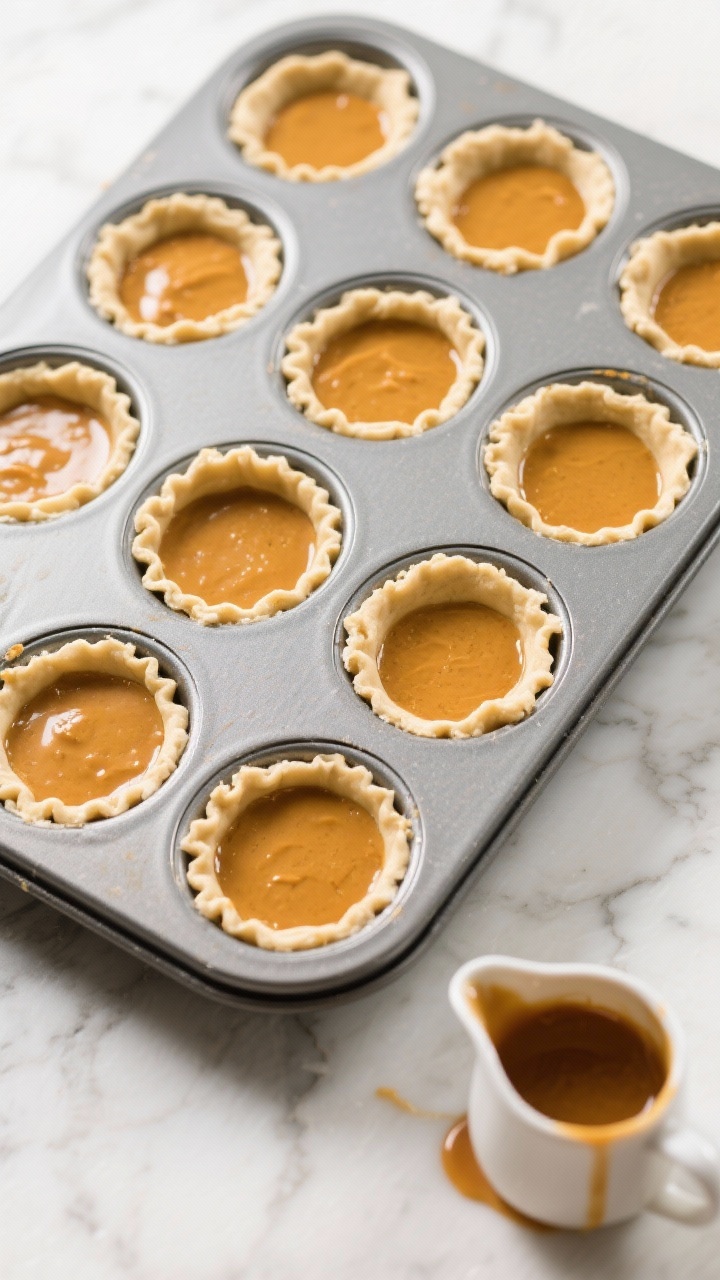
Fill the shells: Pour filling into each crust, about 2/3 to 3/4 full. Leave a little space for the filling to puff slightly.
-
Bake: Place on the center rack and bake 20–24 minutes.
The filling should be set at the edges with a slight jiggle in the center, and the crust should be lightly golden.
-
Cool completely: Let the pies cool in the pan for 10 minutes, then gently loosen with a butter knife and move to a rack. Cool fully to help the filling set.
-
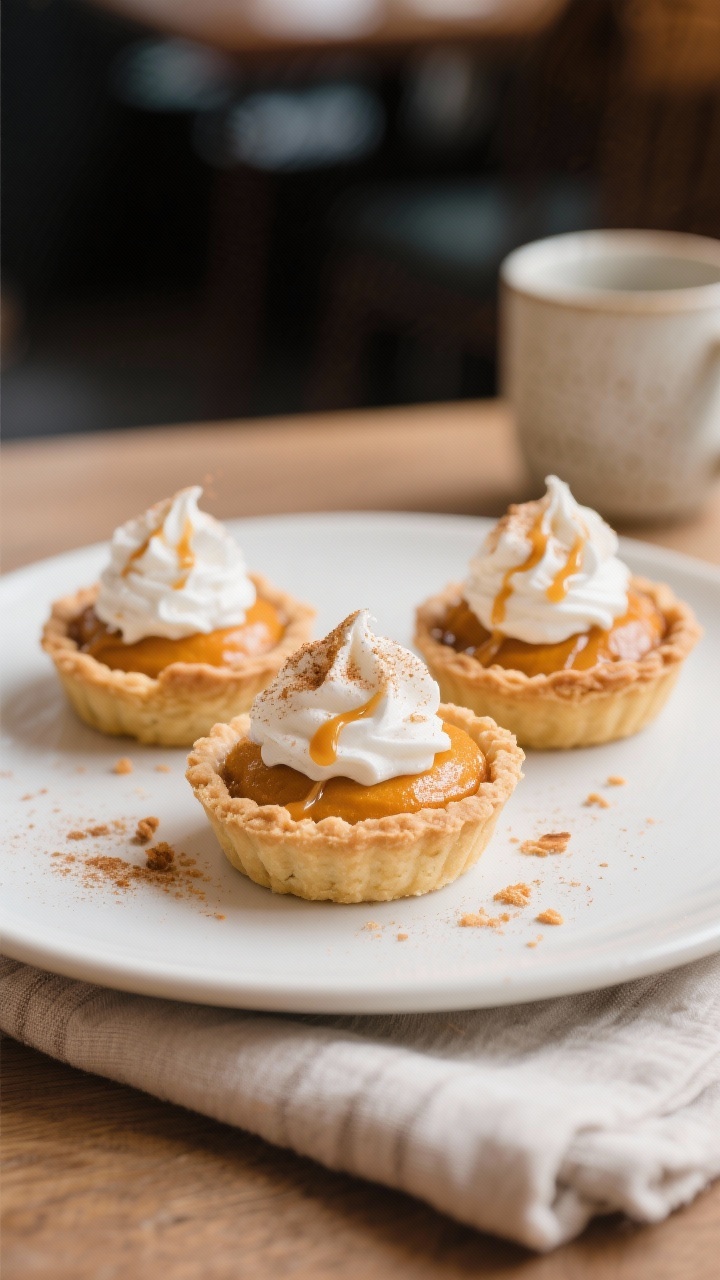
Finish and serve: Add whipped cream, a sprinkle of cinnamon, or a drizzle of caramel. Serve at room temperature or lightly chilled.
What Makes This Special

- Perfectly portioned: No slicing or plates needed—just grab and enjoy.
- Quicker to bake: Smaller pies mean shorter oven time and more reliable results.
- Great texture: Crisp edges, smooth filling, and a gentle spice balance.
- Make-ahead friendly: They chill well and keep their structure and flavor.
- Easy to scale: Make a dozen, or double it for a crowd.
Shopping List
- Pie crust: 2 refrigerated pie crusts (or homemade)
- Pumpkin puree: 1 cup (not pumpkin pie filling)
- Brown sugar: 1/3 cup, packed
- Granulated sugar: 2 tablespoons
- Eggs: 2 large (one for filling, one for optional egg wash)
- Evaporated milk or half-and-half: 3/4 cup
- Pumpkin pie spice: 1 1/2 teaspoons
- Ground cinnamon: 1/2 teaspoon (boosts warmth)
- Vanilla extract: 1 teaspoon
- Salt: 1/4 teaspoon
- Optional toppings: Whipped cream, cinnamon sugar, or caramel drizzle
- For the pan: Nonstick spray or softened butter
How to Make It
- Prep the oven and pan: Heat your oven to 375°F (190°C). Lightly grease a standard 12-cup muffin tin.
- Cut the crusts: Unroll the pie crusts and use a 3.5–4-inch round cutter (or a jar lid) to cut out circles.
Gently press each round into the muffin cups, letting the dough come slightly above the rim.
- Chill the crust: Pop the pan in the fridge for 10 minutes. Cold dough = flakier crust.
- Mix the filling: In a bowl, whisk pumpkin puree, brown sugar, granulated sugar, 1 egg, evaporated milk, pumpkin pie spice, cinnamon, vanilla, and salt until smooth and well combined.
- Optional egg wash: Beat the remaining egg with 1 tablespoon water. Brush lightly on the crust edges for a golden finish.
- Fill the shells: Pour filling into each crust, about 2/3 to 3/4 full. Leave a little space for the filling to puff slightly.
- Bake: Place on the center rack and bake 20–24 minutes.
The filling should be set at the edges with a slight jiggle in the center, and the crust should be lightly golden.
- Cool completely: Let the pies cool in the pan for 10 minutes, then gently loosen with a butter knife and move to a rack. Cool fully to help the filling set.
- Finish and serve: Add whipped cream, a sprinkle of cinnamon, or a drizzle of caramel. Serve at room temperature or lightly chilled.
Keeping It Fresh
- Short-term storage: Refrigerate in an airtight container for up to 4 days.
Place parchment between layers to protect the crust.
- Freezing: Freeze on a baking sheet until solid, then transfer to a freezer bag. They keep well for up to 2 months.
- Reheating: Warm in a 300°F (150°C) oven for 8–10 minutes to refresh the crust. Avoid the microwave—it can make the crust soggy.
- Toppings: Add whipped cream just before serving so it stays light and fluffy.
Benefits of This Recipe
- Faster than a full-size pie: Less bake time, same cozy flavor.
- Better portion control: Each pie is a tidy serving.
- Beginner-friendly: Simple steps with a reliable, creamy filling.
- Versatile: Works with store-bought crust, dairy-free swaps, and different toppings.
- Kid-approved: Fun size, gentle spice, not overly sweet.
What Not to Do
- Don’t overfill: The filling will rise slightly; too much can spill and burn.
- Don’t skip chilling the crust: Warm dough shrinks and turns tough.
- Don’t overbake: Overcooking makes the filling crack and the crust dry.
- Don’t use pumpkin pie filling: It’s pre-sweetened and spiced, which throws off the balance.
- Don’t add whipped cream too early: It melts and softens the crust in the fridge.
Recipe Variations
- Gingersnap crust: Skip pie dough.
Mix 1 1/2 cups crushed gingersnaps with 4 tablespoons melted butter, press into greased muffin cups, and par-bake 5 minutes before filling.
- Dairy-free: Use full-fat coconut milk instead of evaporated milk. The flavor pairs nicely with pumpkin.
- Maple-sweetened: Replace granulated sugar with 2–3 tablespoons pure maple syrup. Reduce evaporated milk by 1–2 tablespoons to keep texture smooth.
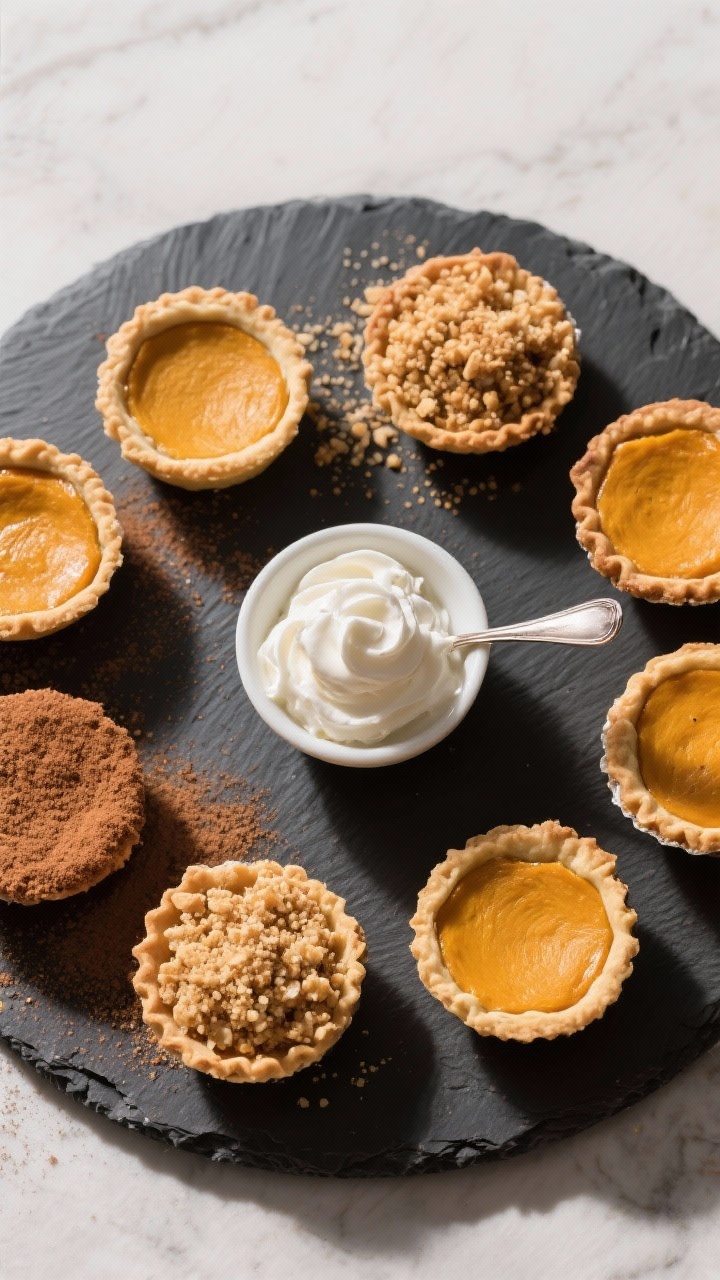
- Streusel topping: Combine 1/4 cup flour, 2 tablespoons brown sugar, 2 tablespoons cold butter, and a pinch of cinnamon.
Sprinkle on top before baking.
- Extra spice: Add a pinch of ground ginger and cloves if you like a bolder profile.
- Gluten-free: Use a gluten-free crust or the gingersnap version with gluten-free cookies.
FAQ
Can I make the filling ahead?
Yes. Mix the filling up to 24 hours in advance and store it covered in the fridge. Give it a quick whisk before filling the crusts.
How do I know when they’re done?
The edges should look set and the center should have a gentle jiggle.
A toothpick won’t be reliable here, so go by the look and a light wobble. If the centers are soupy, give them a few more minutes.
Can I use fresh pumpkin?
Absolutely. Roast, puree, and strain it to remove excess moisture.
Homemade puree can be slightly wetter, so you may need to bake a minute or two longer.
What if I don’t have pumpkin pie spice?
Use 1 teaspoon cinnamon, 1/4 teaspoon nutmeg, 1/8 teaspoon ginger, and a small pinch of cloves or allspice. Adjust to taste.
Do I need to blind-bake the crust?
Not for this recipe. The small size bakes the crust and filling nicely together.
If you want extra crispness, chill thoroughly and brush with egg wash before filling.
Why did my pies crack?
They were likely overbaked or cooled too quickly. Pull them when slightly wobbly and let them cool in the pan for 10 minutes before moving to a rack.
How many does this make?
Typically 12 mini pies using a standard muffin pan. If your cups are shallow or deep, yield may vary slightly.
Can I make these in a mini muffin tin?
Yes.
Cut 2.5–3-inch rounds, fill just over halfway, and bake 12–15 minutes. Keep a close eye to avoid overbaking.
Final Thoughts
Mini pumpkin pies give you all the cozy flavor of a classic pie in an easy, sharable format. They’re quick to bake, simple to store, and a guaranteed hit at gatherings.
Keep the crust cold, don’t overfill, and pull them when the centers still have a soft wobble. Add a dollop of whipped cream, and you’ve got the perfect little bite of fall—any time of year.
Printable Recipe Card
Want just the essential recipe details without scrolling through the article? Get our printable recipe card with just the ingredients and instructions.