
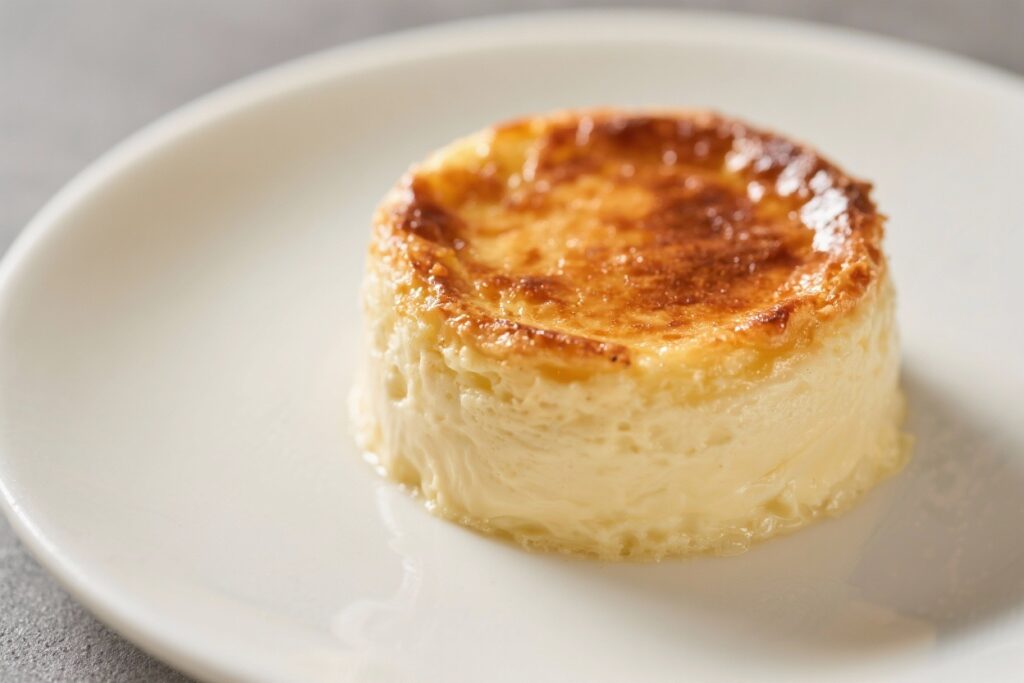
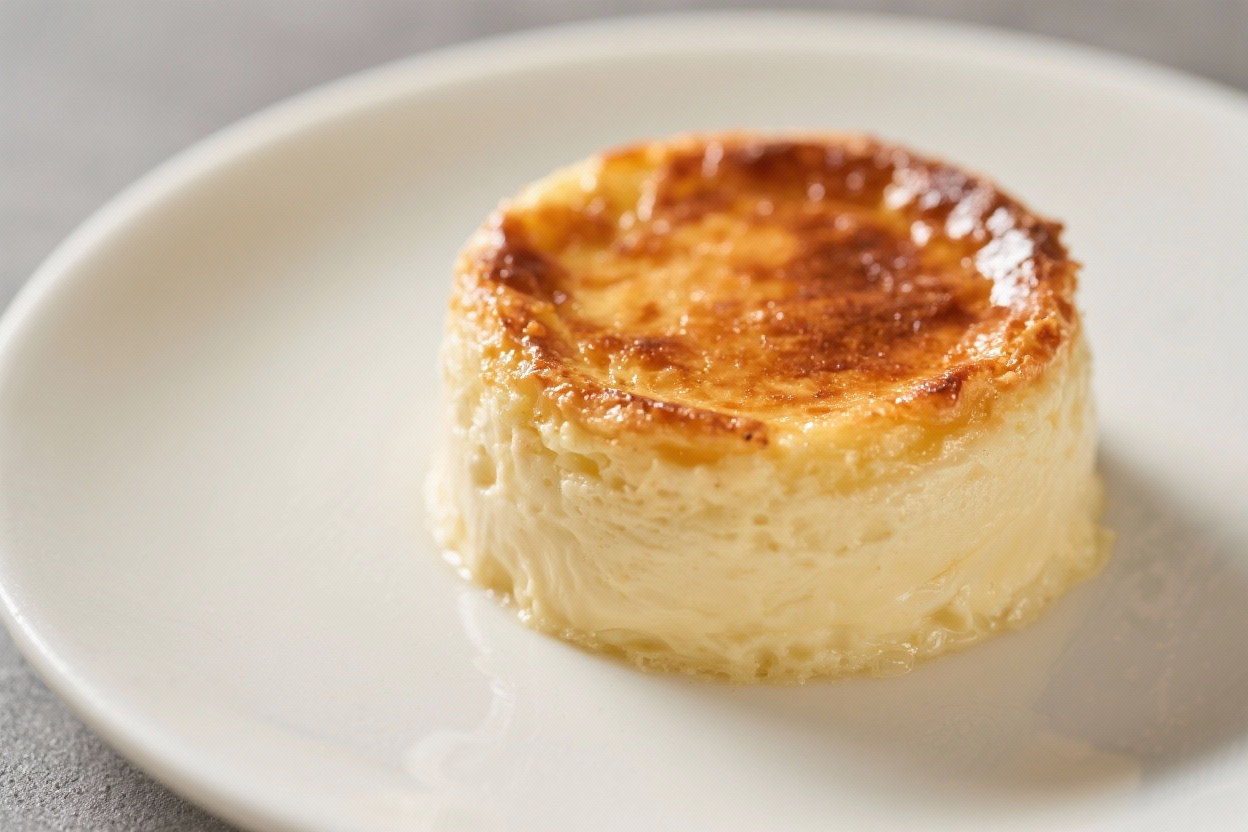
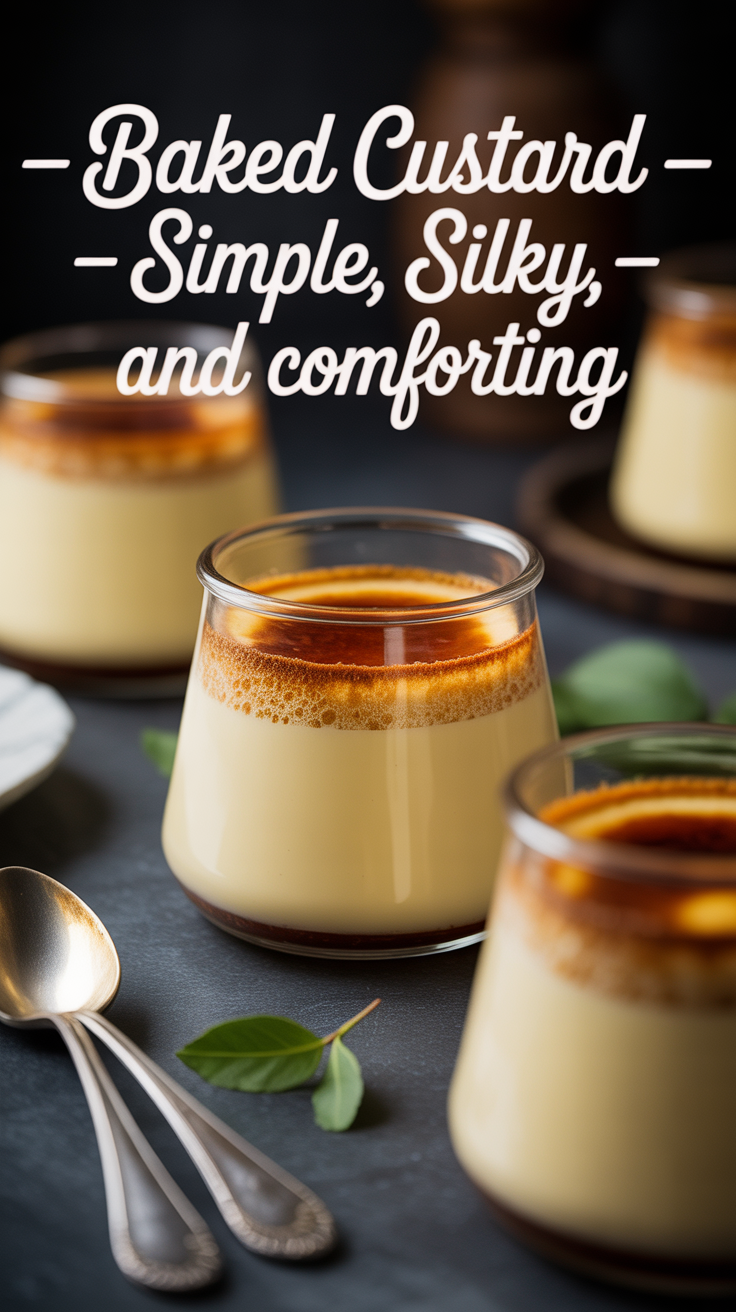
Baked custard is one of those desserts that feels like a warm blanket on a cool night. It’s smooth, lightly sweet, and scented with vanilla—nothing fancy, just honest comfort. You don’t need special equipment or tricky techniques, and it relies on basic pantry ingredients.
The texture is delicate and creamy, with a gentle wobble that’s incredibly satisfying. Whether you’re serving it for a weeknight treat or a simple dinner party dessert, it never disappoints.
Ingredients
Method
-
Preheat and prep: Heat your oven to 325°F (160°C). Arrange 4 to 6 small ramekins in a deep baking dish or use one 1 1/2-quart baking dish.
-
Warm the milk: In a small saucepan, warm the milk over low heat until it’s steaming but not boiling.
You should see wisps of steam. Remove from heat.
-
Whisk the base: In a mixing bowl, whisk the eggs, sugar, vanilla, and salt until just combined. Don’t whip in too much air.
-
Temper the eggs: Slowly pour the warm milk into the egg mixture, whisking steadily.
This prevents curdling and keeps the custard smooth.
-
Strain for silkiness: Pour the mixture through a fine-mesh sieve into a large measuring cup or bowl with a spout. This catches any bubbles or egg bits.
-
Fill the dishes: Divide the custard among the ramekins (or pour into the baking dish). If using, sprinkle a little nutmeg or cinnamon on top.
-
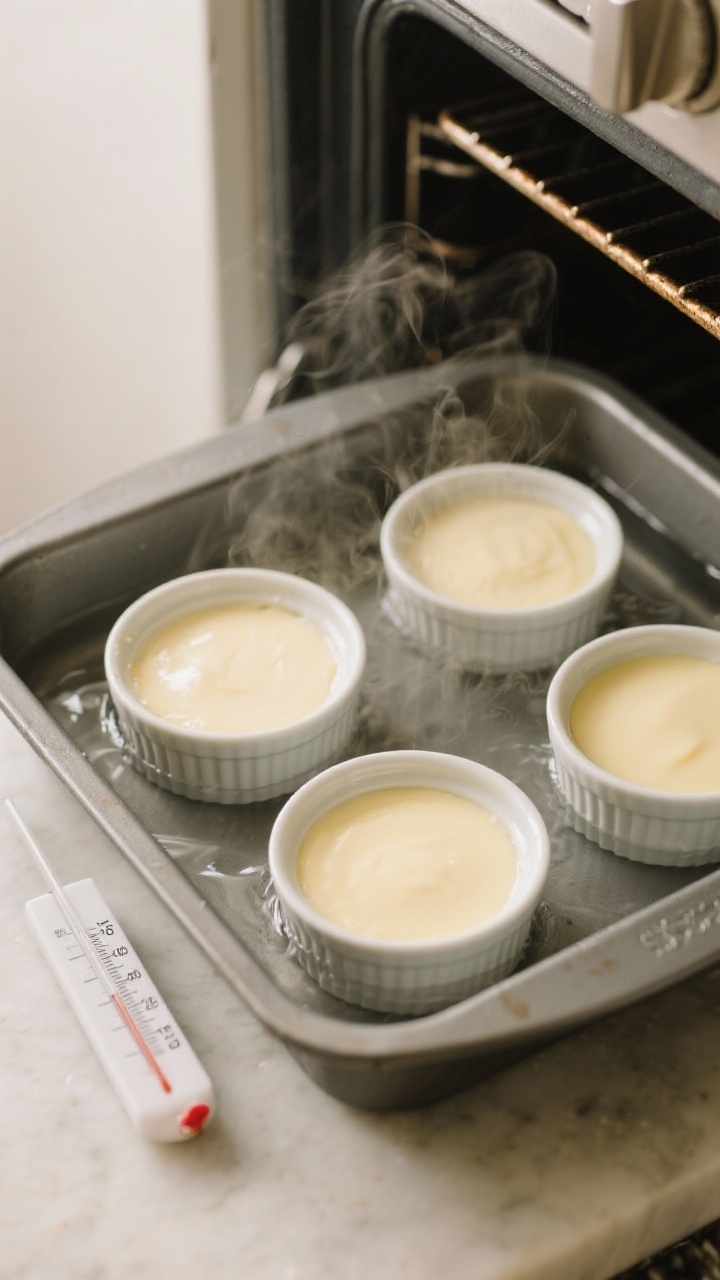
Set up the water bath: Place the baking dish in the oven.
Carefully pour hot water into the dish around the ramekins until it reaches about halfway up the sides.
-
Bake gently: Bake for 30–40 minutes for small ramekins or 45–55 minutes for a larger dish. The custard should be set at the edges and slightly jiggly in the center.
-
Check doneness: A knife inserted near the center should come out mostly clean, or an instant-read thermometer should read about 170–175°F (77–80°C).
-
Cool and serve: Remove ramekins from the water bath. Let cool 15–20 minutes.
Serve warm, at room temperature, or chill for at least 2 hours for a firmer texture.
What Makes This Recipe So Good
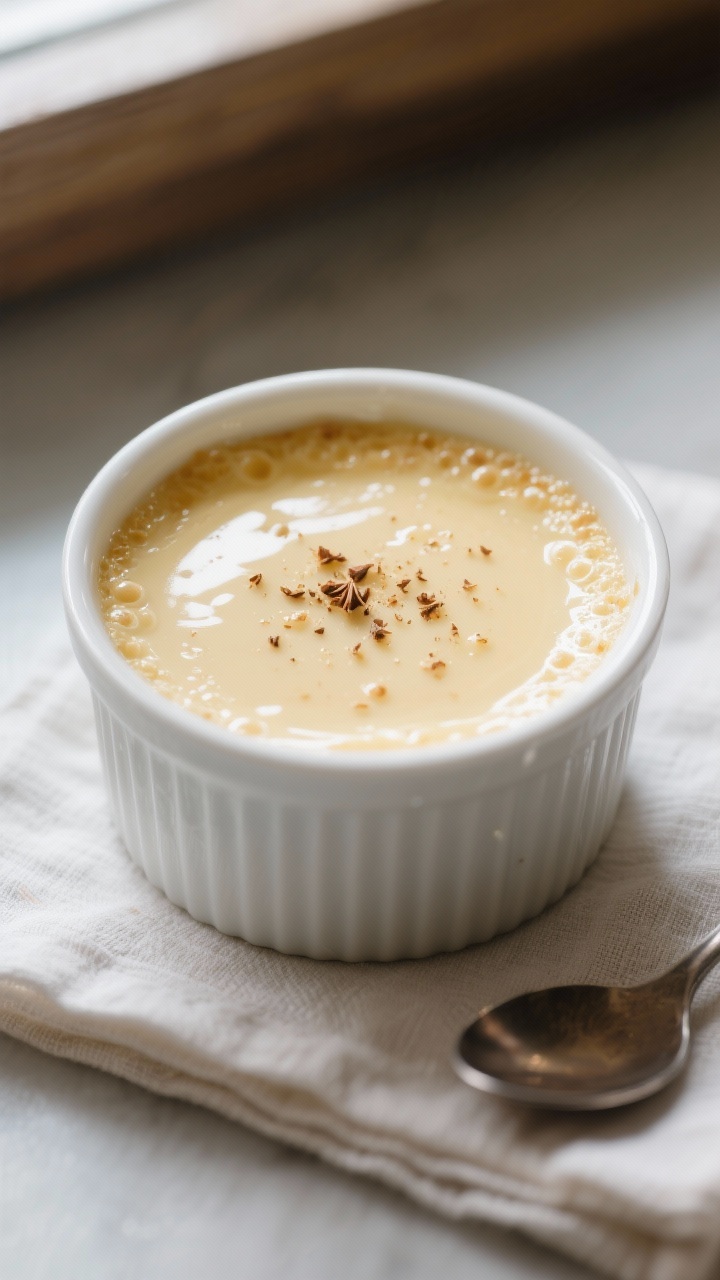
- Approachable ingredients: Eggs, milk, sugar, and vanilla—things you likely already have.
- Silky texture: The water bath helps the custard bake gently, giving it a smooth, creamy finish.
- Low effort, high reward: Minimal prep and easy cleanup for a dessert that feels special.
- Balanced sweetness: Not overly sweet, so the vanilla and milk shine through.
- Versatile: Great warm or chilled, plain or topped with fruit, caramel, or a pinch of nutmeg.
Shopping List
- 4 large eggs
- 2 cups whole milk (or half-and-half for richer custard)
- 1/3 cup granulated sugar
- 2 teaspoons pure vanilla extract
- Pinch of fine salt
- Freshly grated nutmeg or ground cinnamon (optional, for topping)
- Hot water (for the water bath)
Step-by-Step Instructions
- Preheat and prep: Heat your oven to 325°F (160°C). Arrange 4 to 6 small ramekins in a deep baking dish or use one 1 1/2-quart baking dish.
- Warm the milk: In a small saucepan, warm the milk over low heat until it’s steaming but not boiling.
You should see wisps of steam. Remove from heat.
- Whisk the base: In a mixing bowl, whisk the eggs, sugar, vanilla, and salt until just combined. Don’t whip in too much air.
- Temper the eggs: Slowly pour the warm milk into the egg mixture, whisking steadily.
This prevents curdling and keeps the custard smooth.
- Strain for silkiness: Pour the mixture through a fine-mesh sieve into a large measuring cup or bowl with a spout. This catches any bubbles or egg bits.
- Fill the dishes: Divide the custard among the ramekins (or pour into the baking dish). If using, sprinkle a little nutmeg or cinnamon on top.
- Set up the water bath: Place the baking dish in the oven.
Carefully pour hot water into the dish around the ramekins until it reaches about halfway up the sides.
- Bake gently: Bake for 30–40 minutes for small ramekins or 45–55 minutes for a larger dish. The custard should be set at the edges and slightly jiggly in the center.
- Check doneness: A knife inserted near the center should come out mostly clean, or an instant-read thermometer should read about 170–175°F (77–80°C).
- Cool and serve: Remove ramekins from the water bath. Let cool 15–20 minutes.
Serve warm, at room temperature, or chill for at least 2 hours for a firmer texture.
Keeping It Fresh
Refrigerate promptly: Once cooled, cover the custards and refrigerate for up to 3 days. Keep them tightly wrapped to prevent absorbing fridge odors.
Avoid freezing: Freezing changes the texture and can cause weeping once thawed, so it’s best enjoyed fresh or chilled from the fridge.
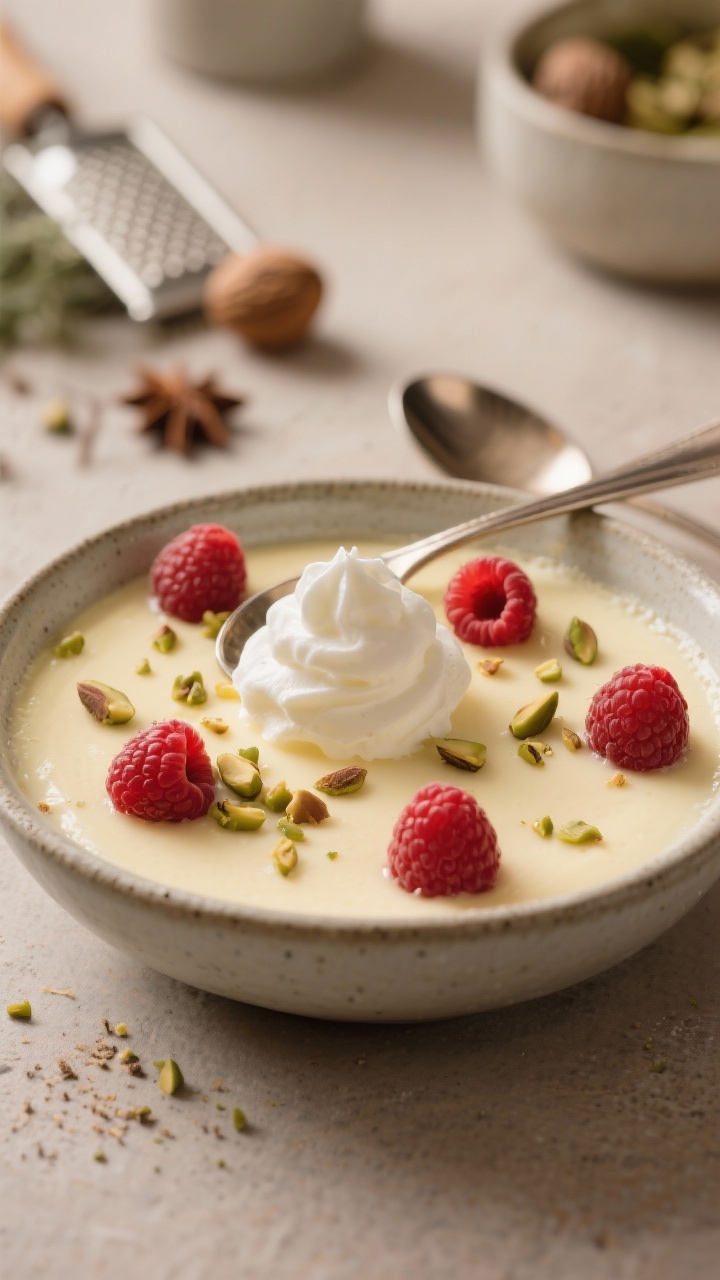
Serve smart: Add toppings like fruit or whipped cream just before serving so the custard stays glossy and smooth.
Why This is Good for You
Protein-rich: Eggs provide a steady source of protein, making this dessert more satisfying than many sugary options.
Calcium boost: Milk adds calcium and vitamin D, which supports bone health.
Portion-friendly: Because it’s rich yet balanced, small servings are satisfying, helping keep portions in check.
Customizable sweetness: You control the sugar. You can reduce it slightly if you prefer a mildly sweet dessert.
Common Mistakes to Avoid
- Skipping the water bath: Direct heat can cause curdling and a grainy texture.
The bath keeps the heat gentle and even.
- Overbaking: If it’s fully firm in the oven, it will be dry. Pull it when the center still jiggles slightly.
- Boiling the milk: Too-hot milk can scramble the eggs when tempering. Aim for steaming, not boiling.
- Over-whisking: Excess air leads to bubbles and a spongy texture.
Whisk only until combined.
- Not straining: Straining removes any eggy bits and ensures a silky finish.
Variations You Can Try
- Citrus zest: Add 1 teaspoon of lemon or orange zest to the egg mixture for a bright twist.
- Maple or honey: Swap part of the sugar with maple syrup or honey for deeper flavor. Reduce overall sugar slightly to balance sweetness.
- Spiced custard: Stir in a pinch of ground cardamom, nutmeg, or cinnamon for a cozy flavor profile.
- Coconut: Use half coconut milk and half dairy milk, plus a splash of coconut extract.
- Chocolate: Whisk 2–3 tablespoons of cocoa powder into the warm milk and add an extra tablespoon of sugar.
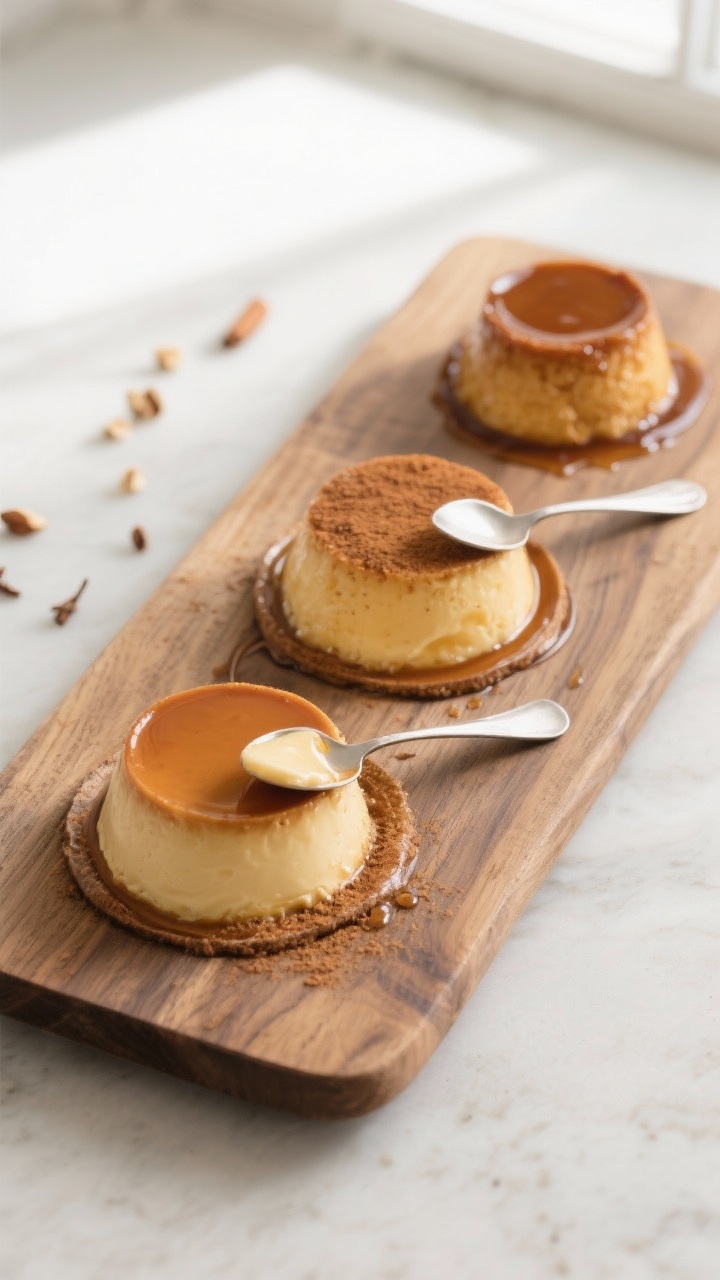
- Caramel base: Pour a thin layer of caramel into each ramekin before adding custard for a flan-like vibe.
- Dairy-free: Try full-fat canned coconut milk and a plant-based sweetener. Texture will be richer and slightly different, but still delicious.
FAQ
Can I use low-fat milk?
Yes, but the custard will be less creamy.
Whole milk or half-and-half gives the best texture. If using 2% milk, consider adding one extra egg yolk for richness.
How do I prevent the top from forming a skin?
Cover warm custards gently with foil while they cool, or chill them covered. Serving with a dusting of nutmeg or a spoon of whipped cream also helps.
What size ramekins should I use?
Six-ounce ramekins are standard and bake evenly.
You can use 4-ounce ramekins for smaller portions; just start checking for doneness a bit earlier.
Why did my custard curdle?
It likely baked too hot or too long, or the milk was too hot when added to the eggs. Use the water bath, keep the oven at 325°F, and temper slowly.
Can I make it ahead?
Absolutely. Bake, cool, cover, and refrigerate for up to 3 days.
For the best texture, let it sit at room temperature for 10–15 minutes before serving.
How do I know it’s done without overbaking?
Look for set edges and a gentle jiggle in the center. An instant-read thermometer reading around 170–175°F is a reliable guide.
What can I serve with baked custard?
Fresh berries, sliced stone fruit, a drizzle of caramel, toasted nuts, or a dollop of lightly sweetened whipped cream all work beautifully.
In Conclusion
Baked custard is proof that simple ingredients can create something special. With a gentle bake and a few easy steps, you get a dessert that’s smooth, comforting, and timeless.
Keep it classic, or try a variation to make it your own. Either way, it’s a recipe you’ll reach for again and again.
Printable Recipe Card
Want just the essential recipe details without scrolling through the article? Get our printable recipe card with just the ingredients and instructions.