
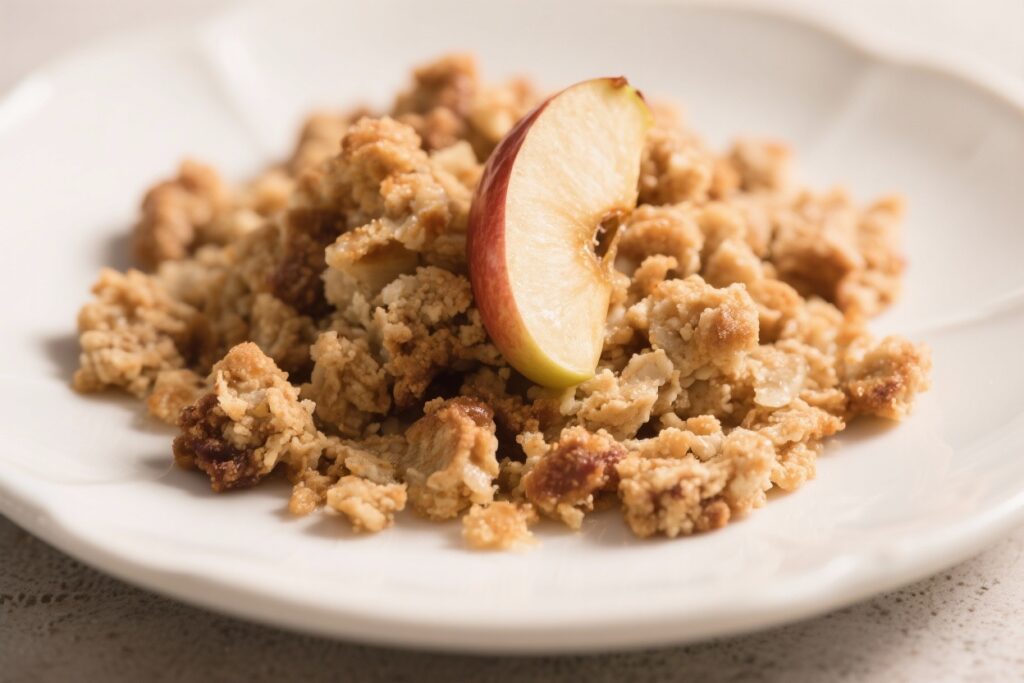
Apple crisp is one of those desserts that feels like home. It’s simple to make, smells incredible in the oven, and gives you a perfect mix of tender apples and a golden, buttery topping. You don’t need special equipment or fancy ingredients—just basic pantry staples and a good baking dish.
Whether you’re serving it warm with ice cream or eating it straight from the pan the next day, it’s a crowd-pleaser every time.
Ingredients
Method
-
Heat the oven. Preheat to 350°F (175°C). Grease a 9×13-inch baking dish or similar oven-safe pan.
-
Prep the apples. Peel, core, and slice the apples into even, thin slices. Consistent thickness helps them cook evenly.
-
Mix the filling. In a large bowl, combine apples with granulated sugar, brown sugar, cinnamon, nutmeg (if using), vanilla, lemon juice, cornstarch (or flour), and salt.
Toss until the slices are coated and glossy.
-
Make the topping. In another bowl, whisk oats, flour, brown sugar, cinnamon, and salt. Add the cold butter. Use a pastry cutter or your fingers to rub the butter in until the mixture forms pea-sized clumps.
Stir in nuts if using.
-
Assemble. Spread the apple mixture into the prepared baking dish. Sprinkle the oat topping evenly over the apples, covering the surface.
-
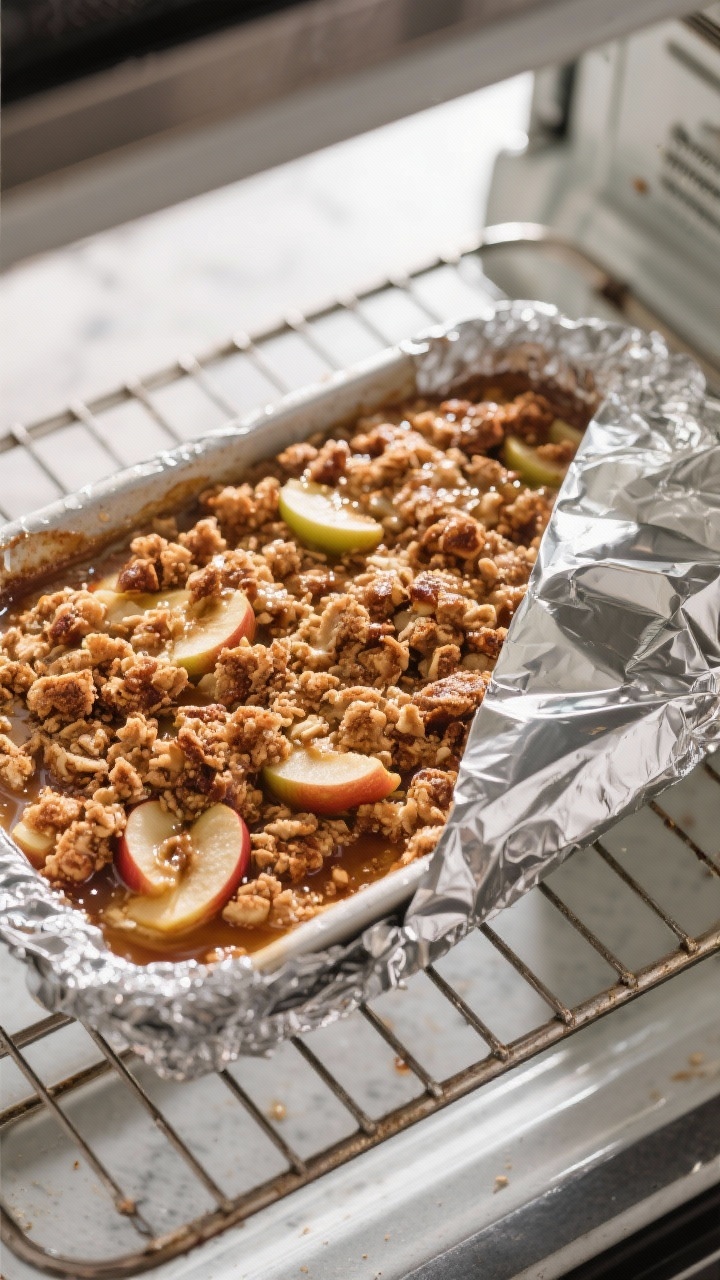
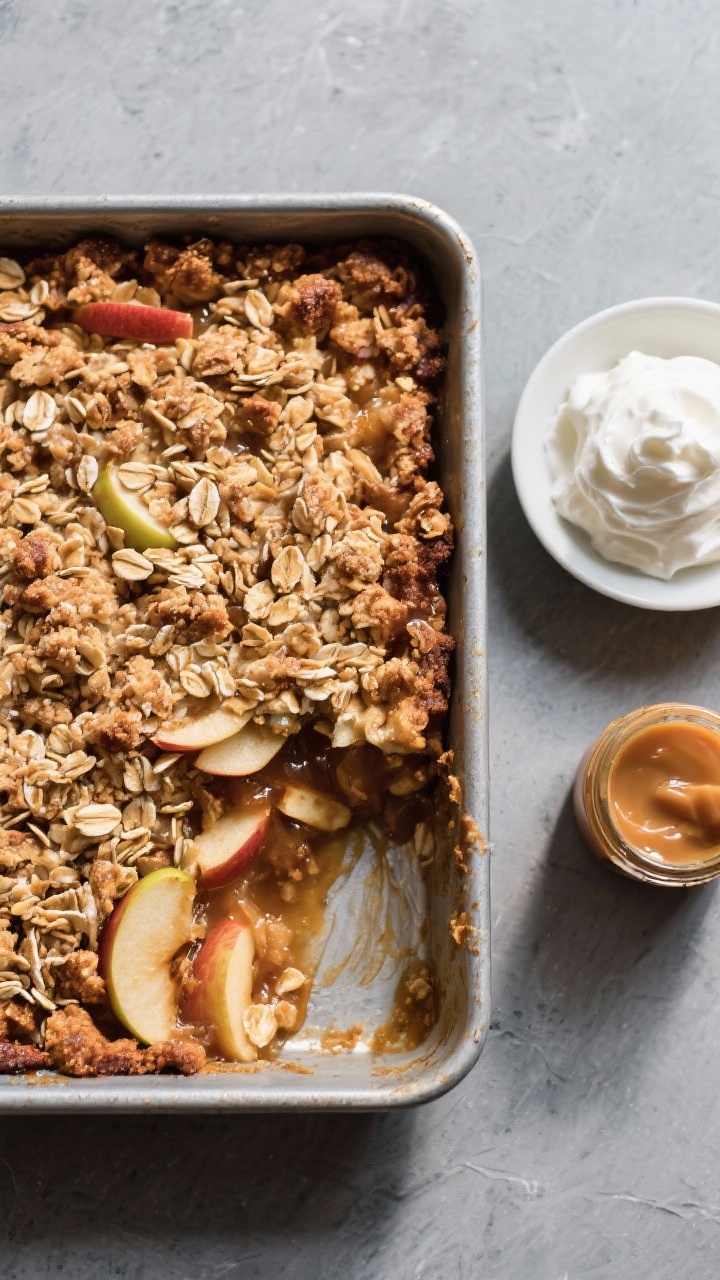
Bake. Bake for 40–50 minutes, until the topping is deep golden and the filling is bubbling around the edges. If the topping browns too quickly, tent loosely with foil for the last 10–15 minutes.
-
Rest. Let the crisp cool for 10–15 minutes.
This helps the juices thicken and makes serving easier.
-
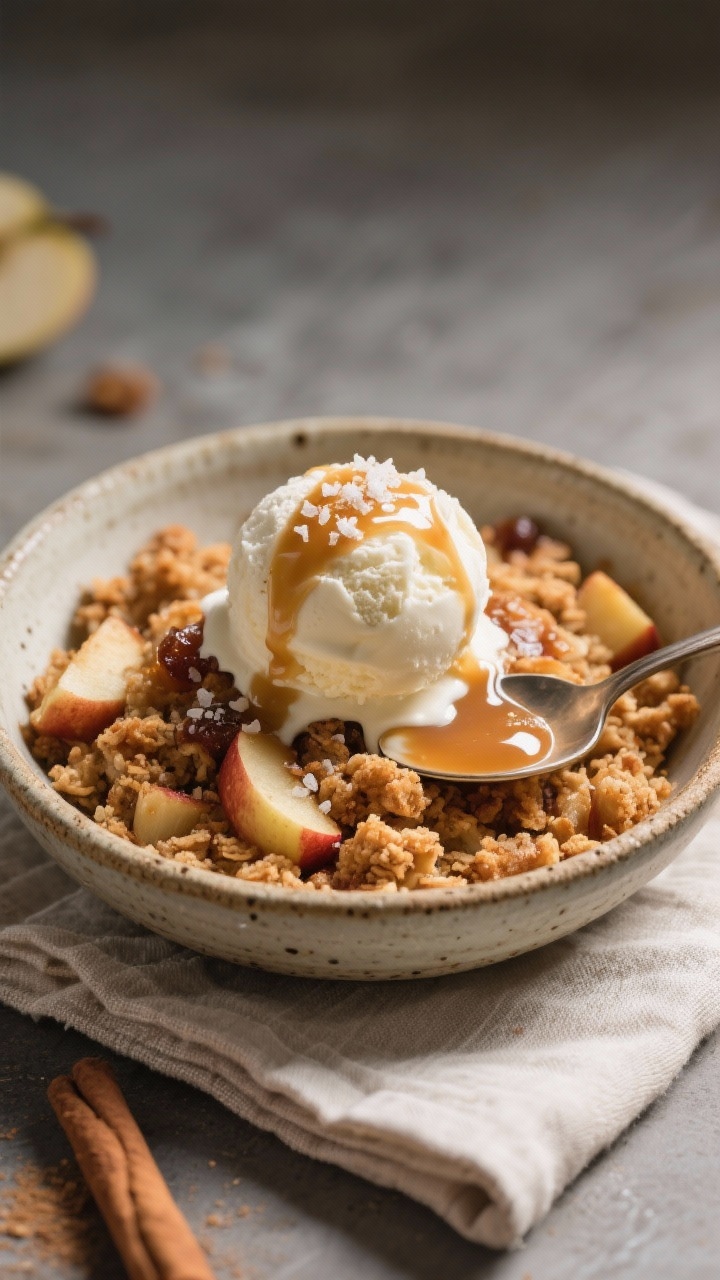
Serve. Spoon into bowls and top with ice cream or whipped cream, if you like.
What Makes This Special
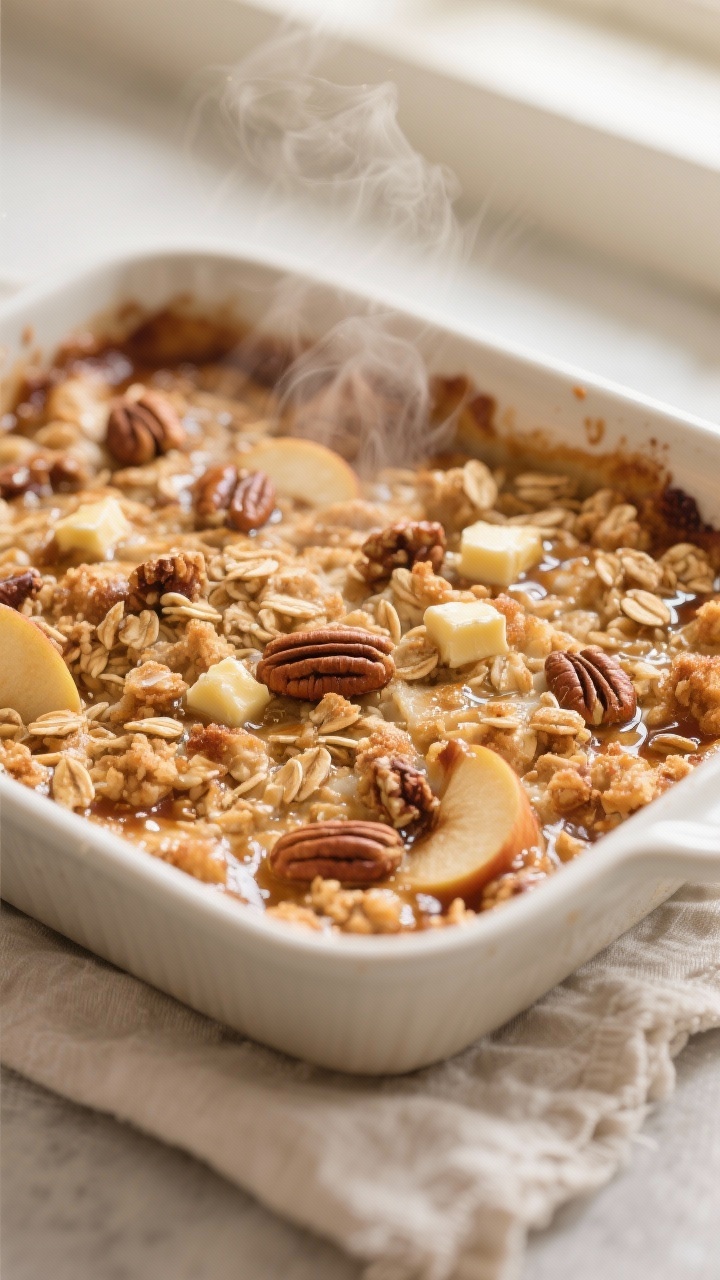
This apple crisp highlights the best parts of fall baking without the fuss of a pie crust. The topping turns into a crunchy, caramelized blanket over the fruit, while the apples soften into a jammy, cinnamon-scented filling. It’s flexible, too—you can adjust the sugar, swap spices, or mix in nuts and still get a great result.
Best of all, it scales easily for weeknights or holidays.
Ingredients
- 6–7 medium apples (about 2 1/2 pounds), peeled, cored, and sliced 1/4-inch thick; a mix of tart and sweet apples works best
- 2 tablespoons granulated sugar (adjust to taste based on apple sweetness)
- 2 tablespoons brown sugar
- 1 1/2 teaspoons ground cinnamon
- 1/4 teaspoon ground nutmeg (optional)
- 1 teaspoon vanilla extract
- 1 tablespoon lemon juice
- 2 tablespoons cornstarch or 3 tablespoons all-purpose flour (for thickening)
- 1/4 teaspoon fine salt
For the topping:
- 1 cup old-fashioned rolled oats
- 3/4 cup all-purpose flour
- 2/3 cup light brown sugar, packed
- 1/2 teaspoon ground cinnamon
- 1/4 teaspoon fine salt
- 1/2 cup unsalted butter (1 stick), cold and cut into small cubes
- 1/2 cup chopped pecans or walnuts (optional, for extra crunch)
To serve (optional): Vanilla ice cream, lightly sweetened whipped cream, or a drizzle of caramel sauce.
Instructions
- Heat the oven. Preheat to 350°F (175°C). Grease a 9×13-inch baking dish or similar oven-safe pan.
- Prep the apples. Peel, core, and slice the apples into even, thin slices. Consistent thickness helps them cook evenly.
- Mix the filling. In a large bowl, combine apples with granulated sugar, brown sugar, cinnamon, nutmeg (if using), vanilla, lemon juice, cornstarch (or flour), and salt.
Toss until the slices are coated and glossy.
- Make the topping. In another bowl, whisk oats, flour, brown sugar, cinnamon, and salt. Add the cold butter. Use a pastry cutter or your fingers to rub the butter in until the mixture forms pea-sized clumps.
Stir in nuts if using.
- Assemble. Spread the apple mixture into the prepared baking dish. Sprinkle the oat topping evenly over the apples, covering the surface.
- Bake. Bake for 40–50 minutes, until the topping is deep golden and the filling is bubbling around the edges. If the topping browns too quickly, tent loosely with foil for the last 10–15 minutes.
- Rest. Let the crisp cool for 10–15 minutes.
This helps the juices thicken and makes serving easier.
- Serve. Spoon into bowls and top with ice cream or whipped cream, if you like.
Keeping It Fresh
– Room temperature: If your kitchen is cool, cover the cooled crisp and keep it on the counter for up to 24 hours. – Refrigerator: Store covered for 3–4 days. The topping may soften a bit, but it will still taste great. – Reheat: Warm individual portions in the microwave for 30–60 seconds, or re-crisp the whole pan in a 300°F (150°C) oven for 10–15 minutes. – Freezing: Freeze the baked crisp, tightly wrapped, for up to 3 months. Reheat from frozen at 325°F (165°C) until hot and bubbly.
You can also freeze the topping separately and assemble fresh with apples later.
Why This is Good for You
– Fiber from apples and oats: Apples bring soluble fiber, and oats add whole-grain goodness that helps keep you satisfied. – Balanced sweetness: The natural sugars in apples mean you can use less added sugar. Adjust based on the fruit’s flavor. – Customizable fats: Butter gives classic flavor, but you can swap part of it with coconut oil for a different profile. Nuts add healthy fats and extra crunch. – Real ingredients: Whole apples, oats, and spices offer more nutrients and flavor than packaged desserts.
Pitfalls to Watch Out For
– Watery filling: Juicy apples need cornstarch or flour.
Don’t skip the thickener, and bake until you see bubbling. – Soggy topping: The butter must be cold when you mix the topping. Warm butter melts too fast and prevents crispness. – Uneven apple slices: Thick chunks won’t soften in time. Aim for consistent, thin slices. – Underseasoned apples: Taste a slice before baking.
If the apples are very tart, add a touch more sugar; if they’re sweet, cut back. – Overcrowded pan: A too-small dish can steam the topping. Use the right size so the heat can circulate.
Alternatives
– Gluten-free: Use certified gluten-free oats and a cup-for-cup gluten-free flour blend. – Dairy-free: Swap butter for cold coconut oil or a firm vegan butter. – No oats: Replace oats with an equal amount of flour and add 1/4 cup chopped nuts for texture. – Different fruits: Try half apples and half pears, or add a handful of fresh cranberries for a tart pop. – Spice twists: Add cardamom, ginger, or a pinch of clove. A splash of bourbon or apple brandy in the filling is lovely for adults. – Lower sugar: Cut the sugars by 25–30% if using very sweet apples like Fuji or Gala.
What’s the best type of apple for apple crisp?
A mix works best.
Combine tart apples like Granny Smith with sweeter varieties like Honeycrisp or Pink Lady. The blend gives you bright flavor and good texture.
Do I need to peel the apples?
Peeling gives a softer, more classic filling. If you prefer more texture, you can leave the skins on—just wash well and slice thinly.
How do I know when it’s done?
Look for a deeply golden topping and visible bubbling around the edges.
A fork should slide into the apples easily without resistance.
Can I make it ahead?
Yes. Assemble the filling and topping separately, refrigerate both, and combine just before baking. Or assemble fully, refrigerate up to 12 hours, and bake cold (add a few extra minutes).
Why is my topping not crisp?
The butter might have been too warm, or the topping was packed too tightly.
Keep butter cold, work it into pea-sized pieces, and sprinkle loosely over the apples.
Final Thoughts
Apple crisp is the kind of dessert you can make on a busy weeknight and still feel proud to serve. It’s forgiving, flexible, and easy to adapt to your tastes. With a short list of ingredients and a few smart techniques, you get a warm, fragrant dish that hits all the cozy notes.
Keep this recipe in your rotation—you’ll find yourself making it more often than you expect.
Printable Recipe Card
Want just the essential recipe details without scrolling through the article? Get our printable recipe card with just the ingredients and instructions.