
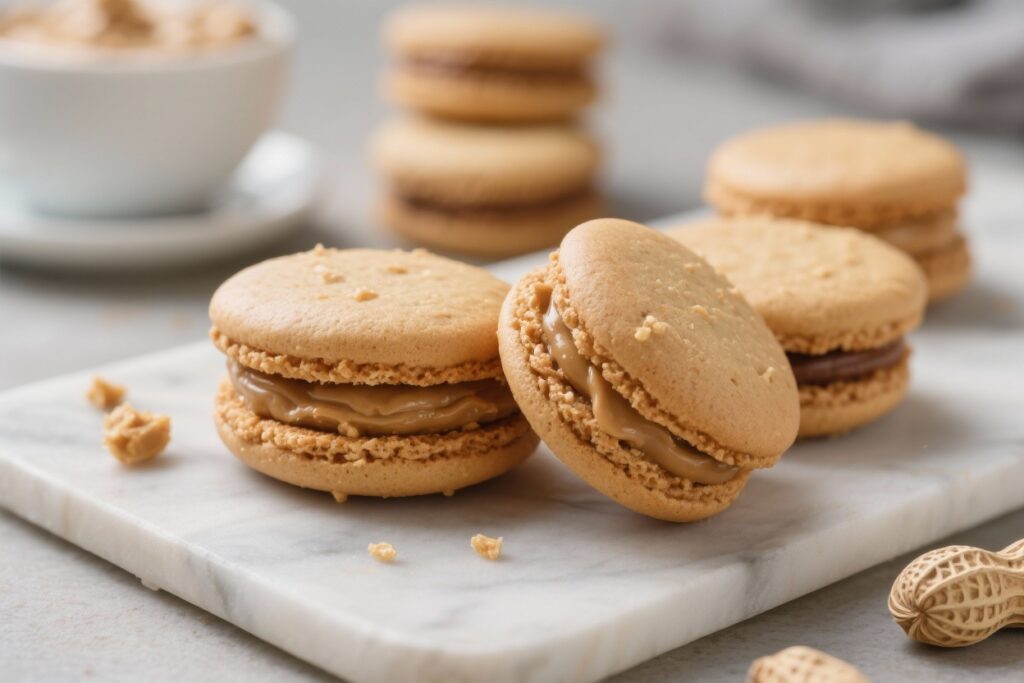
Peanut butter whoopie pies are the kind of treat that feels like a hug. Soft, cake-like cookies sandwich a creamy peanut butter filling that’s sweet, salty, and totally satisfying. They’re nostalgic, but still special enough for birthdays, bake sales, or a cozy weekend project.
If you love peanut butter cookies and cream-filled desserts, this recipe brings the best of both worlds into one bite. You don’t need fancy tools, just a bowl, a whisk, and a love for peanut butter.
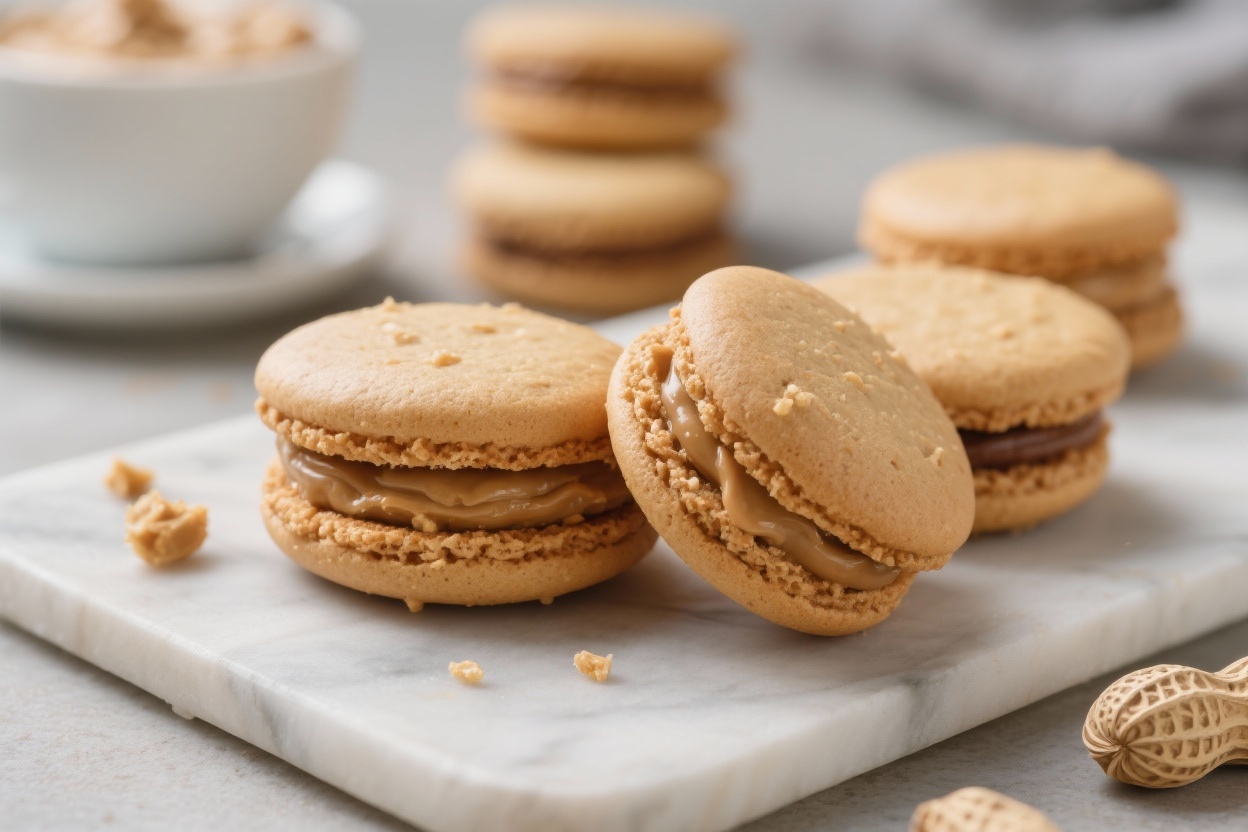
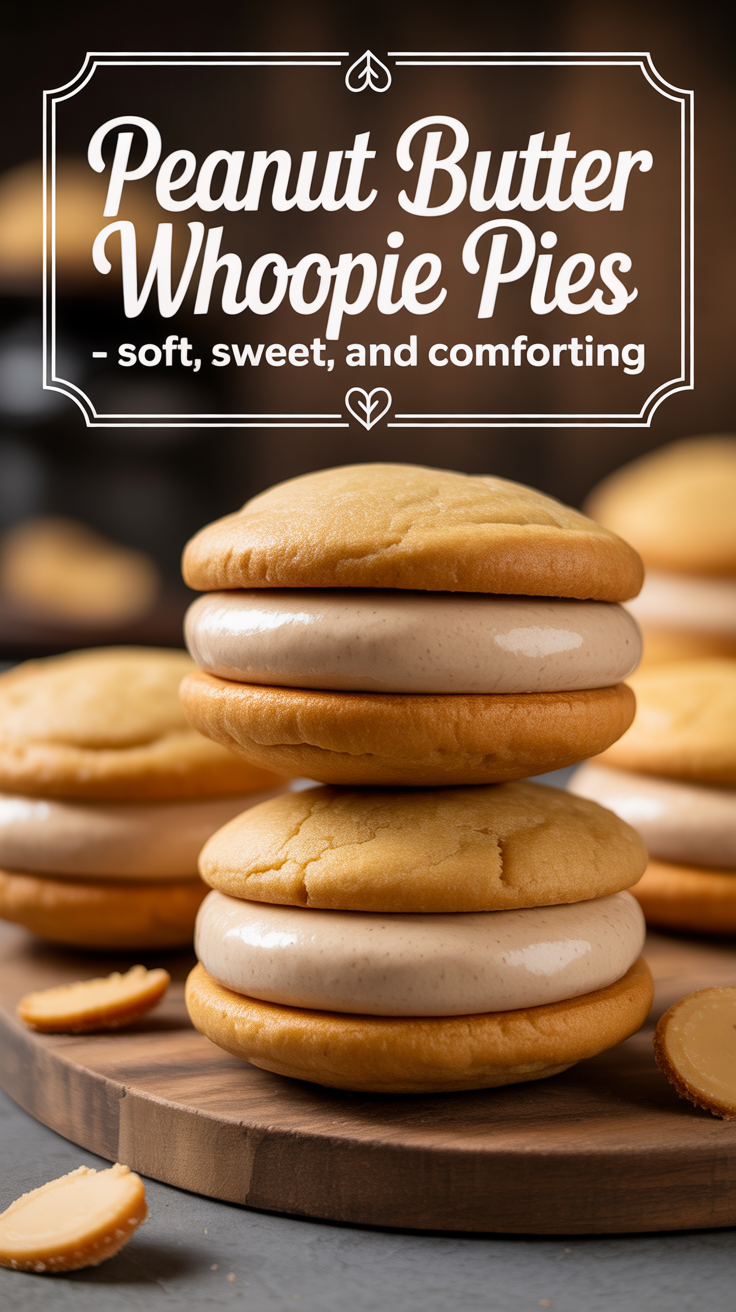
Peanut Butter Whoopie Pies – Soft, Sweet, and Comforting
Ingredients
Method
-
Preheat and prep: Heat the oven to 350°F (175°C). Line two baking sheets with parchment paper or silicone mats.
-
Mix dry ingredients: In a bowl, whisk flour, baking powder, baking soda, and salt. Set aside.
-
Cream the fats and sugars: In a large bowl, beat the butter, oil, granulated sugar, and brown sugar until smooth and slightly fluffy, about 2 minutes.
-
Add peanut butter: Beat in the creamy peanut butter until fully combined and silky.
-
Add eggs and vanilla: Mix in the eggs one at a time, then add vanilla.
Scrape the bowl to make sure everything is evenly mixed.
-
Add dry ingredients and buttermilk: Add half the dry mixture, then the buttermilk, then the remaining dry ingredients. Mix on low until just combined. The batter will be thick but scoopable.
-
Scoop: Using a 1 1/2-tablespoon scoop (about a heaping tablespoon), drop mounds onto the baking sheets, leaving 2 inches between each.
For even rounds, smooth the tops lightly with a damp fingertip.
-
Bake: Bake 9–11 minutes, until the tops are set and spring back lightly when touched. They should not brown deeply. Rotate pans halfway through for even baking.
-
Cool: Let the cakes rest on the sheet for 5 minutes, then transfer to a rack to cool completely.
-
Make the filling: Beat butter and peanut butter until creamy.
Add powdered sugar in two additions, mixing on low. Add vanilla, salt, and 1–3 tablespoons cream to reach a fluffy, spreadable consistency.
-
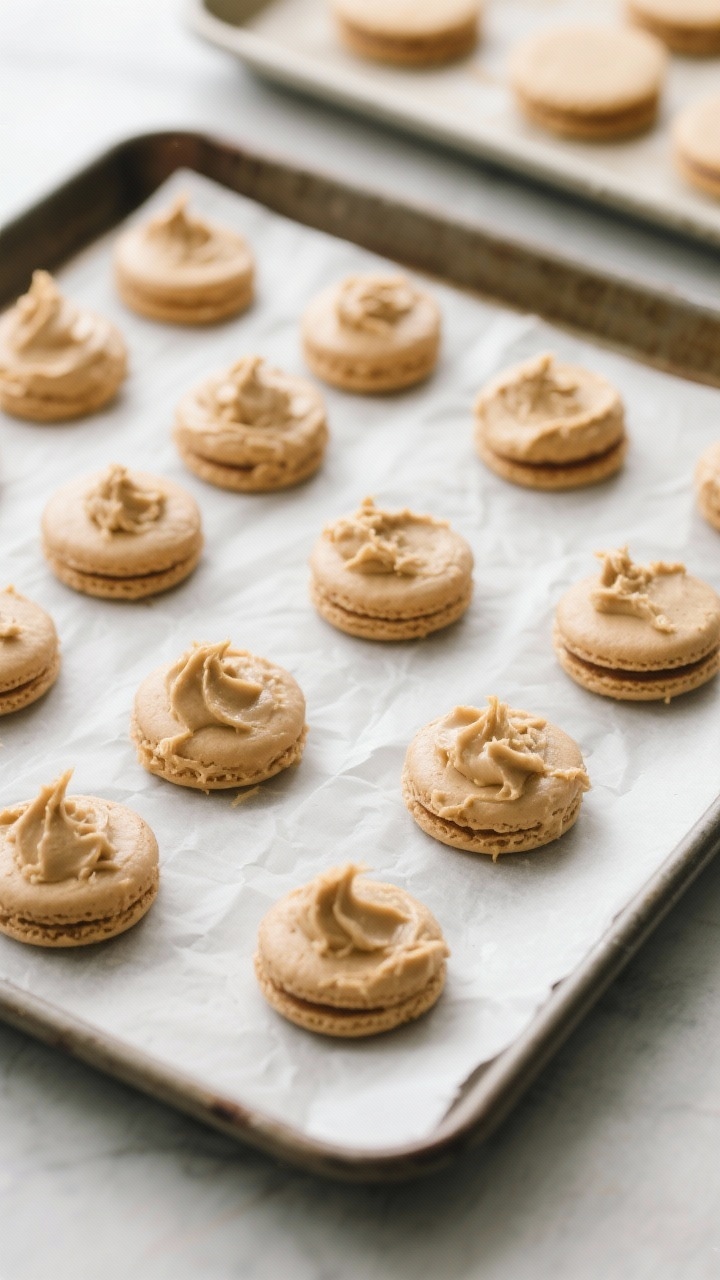
Pair and fill: Match cakes by size. Pipe or spread about 1–2 tablespoons of filling on the flat side of one cake, then sandwich with another.
Press gently to spread the filling to the edges.
-
Set and serve: Let the whoopie pies sit for 15 minutes to set. Enjoy at room temperature for the best texture.
Why This Recipe Works
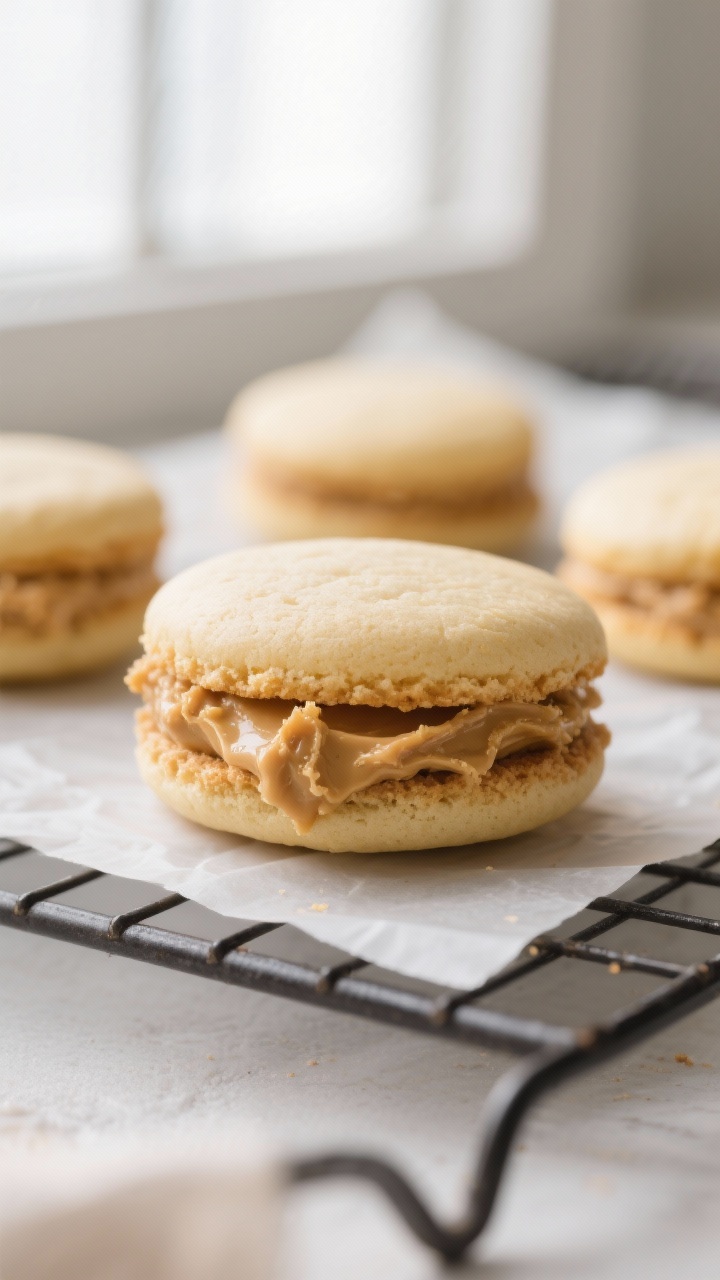
These whoopie pies are tender because the batter uses both butter and oil. Butter adds flavor, while oil keeps the cakes soft for days.
A touch of brown sugar deepens the flavor and helps keep them moist.
The filling is made with peanut butter, butter, powdered sugar, and a splash of cream. It pipes easily and sets just enough so the pies hold together, but still squish softly when you bite in. A hint of vanilla keeps the peanut butter flavor balanced and warm.
Finally, the recipe bakes at a moderate temperature to prevent doming.
That means you get flat, sandwich-ready cakes without trimming.
Ingredients
For the Peanut Butter Cakes
- 1 3/4 cups (220 g) all-purpose flour
- 1 teaspoon baking powder
- 1/2 teaspoon baking soda
- 1/2 teaspoon fine sea salt
- 1/2 cup (1 stick/113 g) unsalted butter, softened
- 1/4 cup (60 ml) neutral oil (canola or vegetable)
- 1/2 cup (100 g) granulated sugar
- 1/2 cup (100 g) packed light brown sugar
- 3/4 cup (190 g) creamy peanut butter (not natural)
- 2 large eggs, room temperature
- 1 teaspoon vanilla extract
- 1/2 cup (120 ml) buttermilk, room temperature
For the Peanut Butter Filling
- 1/2 cup (1 stick/113 g) unsalted butter, softened
- 3/4 cup (190 g) creamy peanut butter
- 2 cups (240 g) powdered sugar, sifted
- 1–3 tablespoons heavy cream or milk
- 1 teaspoon vanilla extract
- Pinch of salt (to taste)
Step-by-Step Instructions
- Preheat and prep: Heat the oven to 350°F (175°C). Line two baking sheets with parchment paper or silicone mats.
- Mix dry ingredients: In a bowl, whisk flour, baking powder, baking soda, and salt. Set aside.
- Cream the fats and sugars: In a large bowl, beat the butter, oil, granulated sugar, and brown sugar until smooth and slightly fluffy, about 2 minutes.
- Add peanut butter: Beat in the creamy peanut butter until fully combined and silky.
- Add eggs and vanilla: Mix in the eggs one at a time, then add vanilla.
Scrape the bowl to make sure everything is evenly mixed.
- Add dry ingredients and buttermilk: Add half the dry mixture, then the buttermilk, then the remaining dry ingredients. Mix on low until just combined. The batter will be thick but scoopable.
- Scoop: Using a 1 1/2-tablespoon scoop (about a heaping tablespoon), drop mounds onto the baking sheets, leaving 2 inches between each.
For even rounds, smooth the tops lightly with a damp fingertip.
- Bake: Bake 9–11 minutes, until the tops are set and spring back lightly when touched. They should not brown deeply. Rotate pans halfway through for even baking.
- Cool: Let the cakes rest on the sheet for 5 minutes, then transfer to a rack to cool completely.
- Make the filling: Beat butter and peanut butter until creamy.
Add powdered sugar in two additions, mixing on low. Add vanilla, salt, and 1–3 tablespoons cream to reach a fluffy, spreadable consistency.
- Pair and fill: Match cakes by size. Pipe or spread about 1–2 tablespoons of filling on the flat side of one cake, then sandwich with another.
Press gently to spread the filling to the edges.
- Set and serve: Let the whoopie pies sit for 15 minutes to set. Enjoy at room temperature for the best texture.
How to Store
- Room temperature: Keep in an airtight container for up to 2 days. Separate layers with parchment to prevent sticking.
- Refrigerator: Store up to 5 days.
Let them sit at room temperature for 20 minutes before serving for a softer bite.
- Freezer: Freeze individually wrapped pies in a zip-top bag for up to 2 months. Thaw in the fridge overnight or at room temperature for 45–60 minutes.
Benefits of This Recipe
- Soft, tender texture: The oil-and-butter combo keeps the cakes moist without heaviness.
- Big peanut butter flavor: Peanut butter in both the cake and filling means every bite delivers.
- Make-ahead friendly: The cakes and filling can be made a day ahead and assembled later.
- Kid- and crowd-approved: Familiar flavors, portable format, and easy to share.
- Flexible sweetness: Adjust powdered sugar or salt in the filling to suit your taste.
Common Mistakes to Avoid
- Using natural peanut butter: It can separate and cause greasy cakes or curdled filling. Use a standard creamy peanut butter.
- Overmixing the batter: This can make the cakes tough.
Mix just until combined after adding the dry ingredients.
- Overbaking: These should be pale and just set. Dry cakes won’t sandwich well.
- Filling too stiff or too loose: Add cream a little at a time. You want a fluffy consistency that holds but spreads easily.
- Skipping the cool time: Warm cakes melt the filling.
Let them cool completely before assembling.
Variations You Can Try
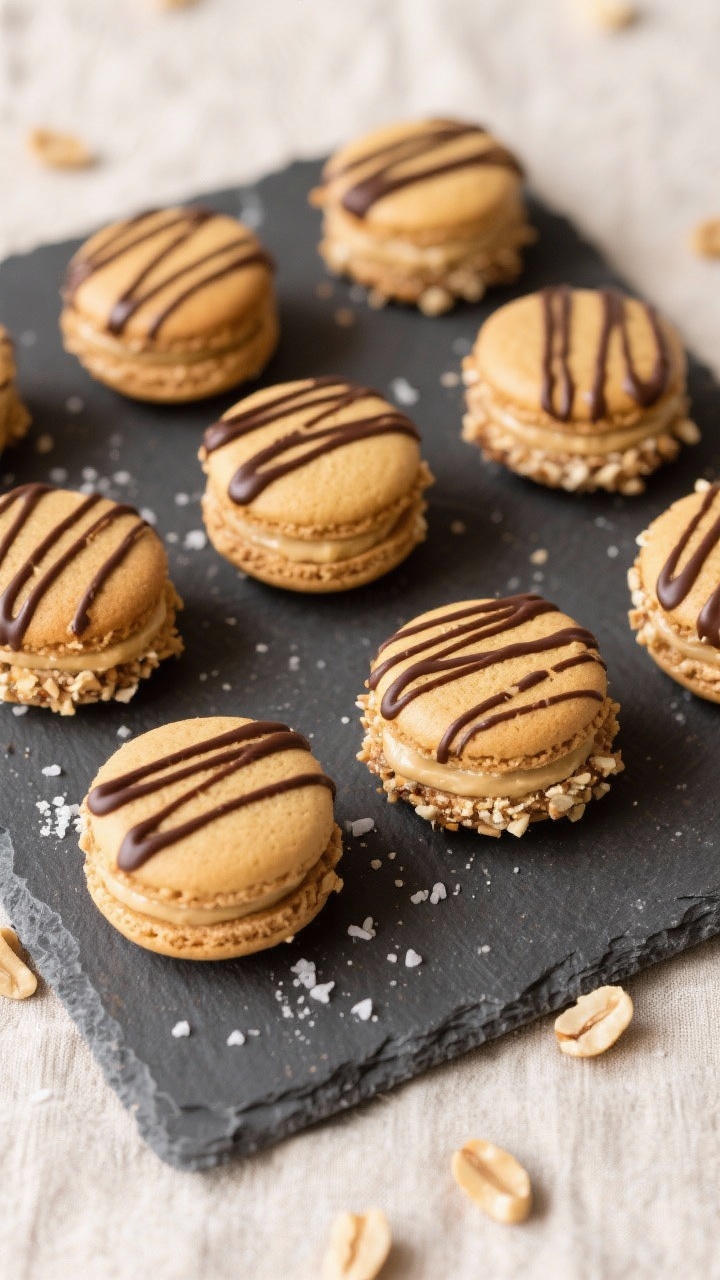
- Chocolate drizzle: Melt dark chocolate and drizzle over the tops for a peanut butter cup vibe.
- Mini pies: Use a 2-teaspoon scoop and bake 7–8 minutes for bite-sized treats.
- Jelly swirl filling: Fold 2–3 tablespoons of strawberry or grape jam into the filling for a PB&J twist.
- Chocolate cakes: Replace 1/4 cup flour with cocoa powder and keep the peanut butter filling.
- Salty crunch: Roll the edges in crushed salted peanuts for texture and contrast.
- Cinnamon warmth: Add 1/2 teaspoon cinnamon to the cake batter for a cozy note.
FAQ
Can I make these gluten-free?
Yes. Use a cup-for-cup gluten-free flour blend with xanthan gum. The texture will be slightly more delicate, so avoid overbaking and let the cakes cool fully before assembling.
What if I don’t have buttermilk?
Mix 1/2 cup milk with 1 1/2 teaspoons white vinegar or lemon juice.
Let it sit for 5 minutes, then use as directed. It won’t be as rich as real buttermilk, but it works well.
Can I use crunchy peanut butter?
You can, but the cakes and filling will be harder to pipe and spread. If you like texture, consider using creamy peanut butter in the batter and rolling the edges in chopped peanuts instead.
How do I get perfectly round cakes?
Use a cookie scoop for even sizing, and smooth the tops with a damp fingertip.
For ultra-neat rounds, chill the scooped batter for 10 minutes before baking so it spreads less.
My filling is too sweet. How do I fix it?
Add a pinch or two of salt and a teaspoon of peanut butter. You can also mix in a tablespoon of cream cheese for tang and balance.
Can I make the components ahead?
Yes.
Bake the cakes up to 24 hours in advance and store airtight. The filling can be made 3 days ahead and refrigerated; bring to room temperature and re-whip before using.
Why did my cakes dome?
Too hot an oven or overmixing can cause doming. Check your oven temperature with an oven thermometer and mix the batter gently after adding the dry ingredients.
In Conclusion
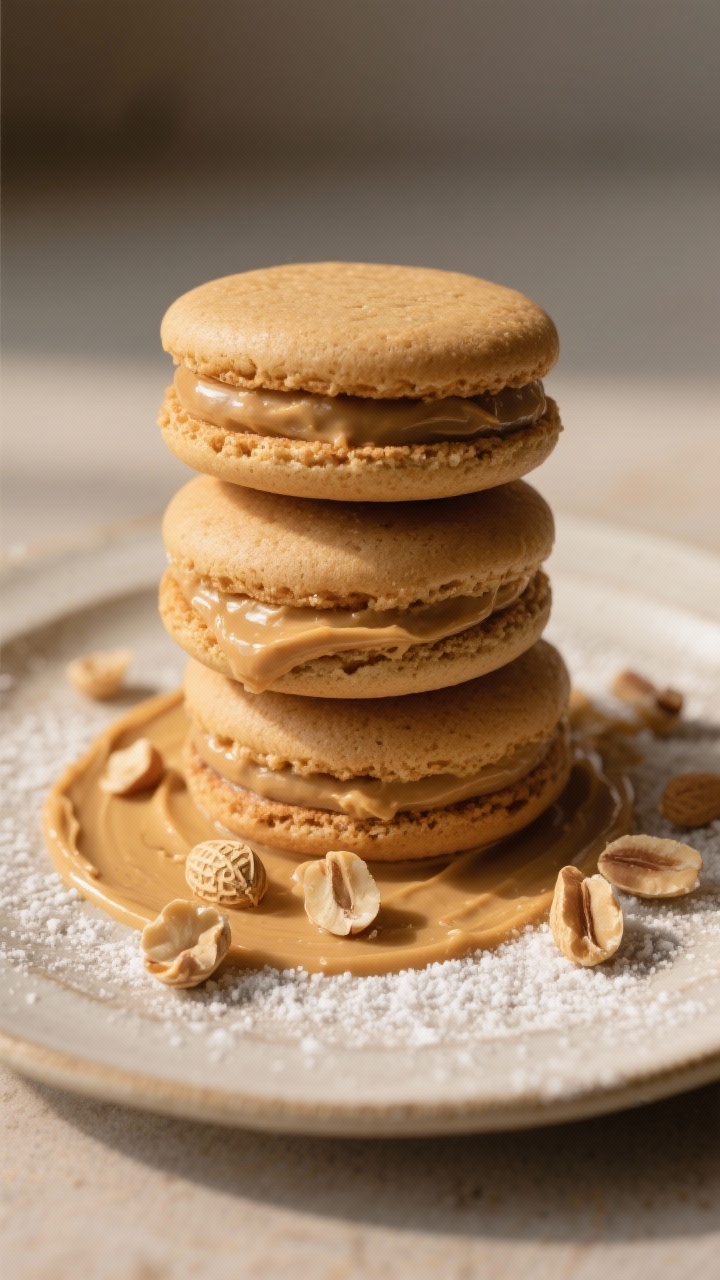
Peanut butter whoopie pies are simple to make, easy to share, and full of nostalgic charm.
The cakes are soft, the filling is creamy, and the flavor is pure peanut butter comfort. Whether you’re baking for a party or treating yourself at home, this recipe delivers consistent, delicious results. Keep a batch in the freezer, and you’ll always have a sweet, satisfying pick-me-up ready to go.
Printable Recipe Card
Want just the essential recipe details without scrolling through the article? Get our printable recipe card with just the ingredients and instructions.