
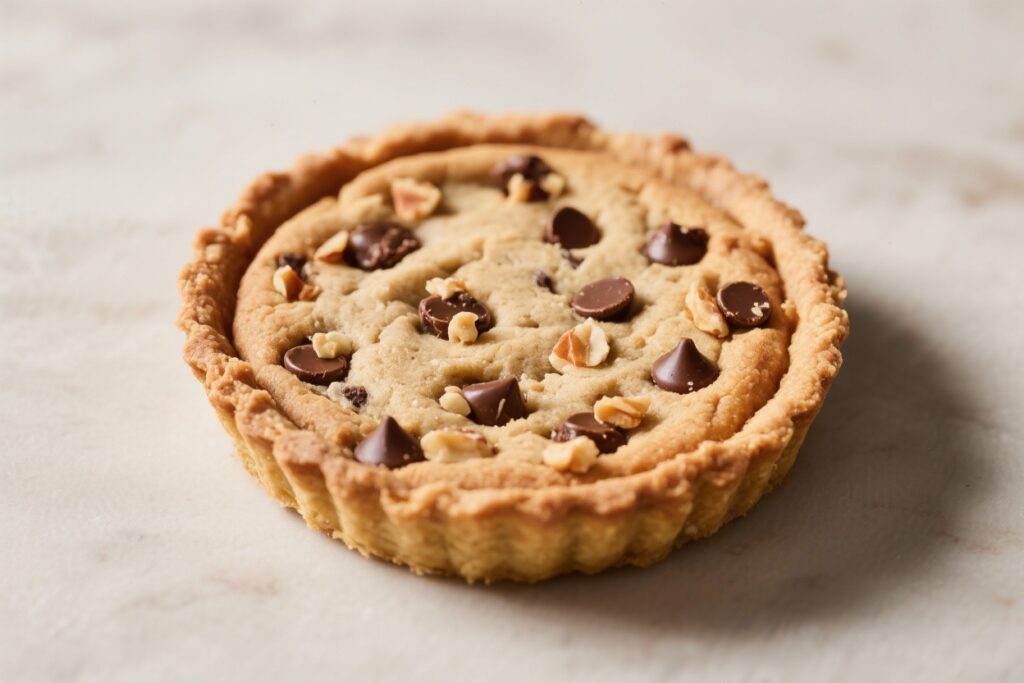
Imagine a giant chocolate chip cookie with a buttery crust, a hint of salt, and a crunchy nutty bite in every slice. That’s what this Nutty Chocolate Chip Cookie Tart brings to the table. It’s familiar and comforting, but dressed up enough to impress guests or make a weeknight feel special.
You get crisp edges, a soft center, and melty chocolate throughout. Whether you’re a confident baker or just in the mood for something fun, this tart is easy to love and hard to resist.
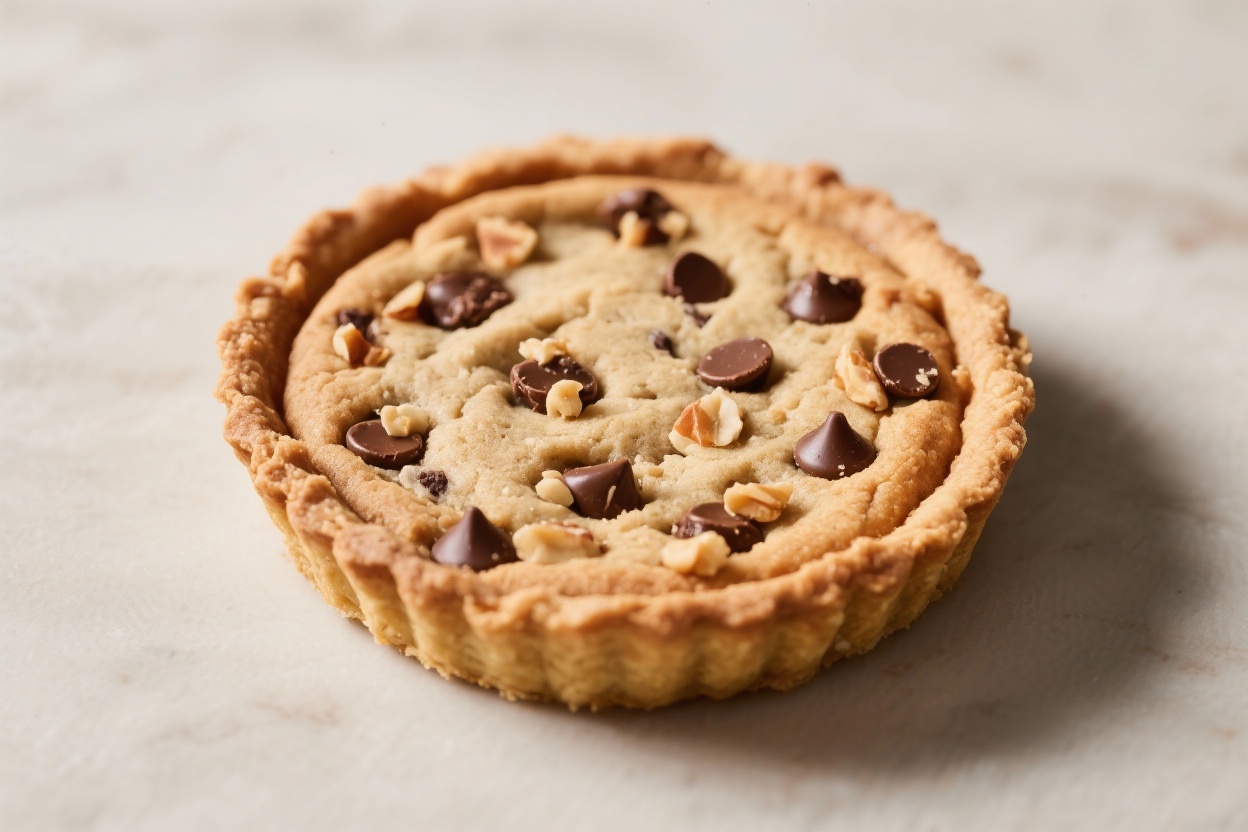
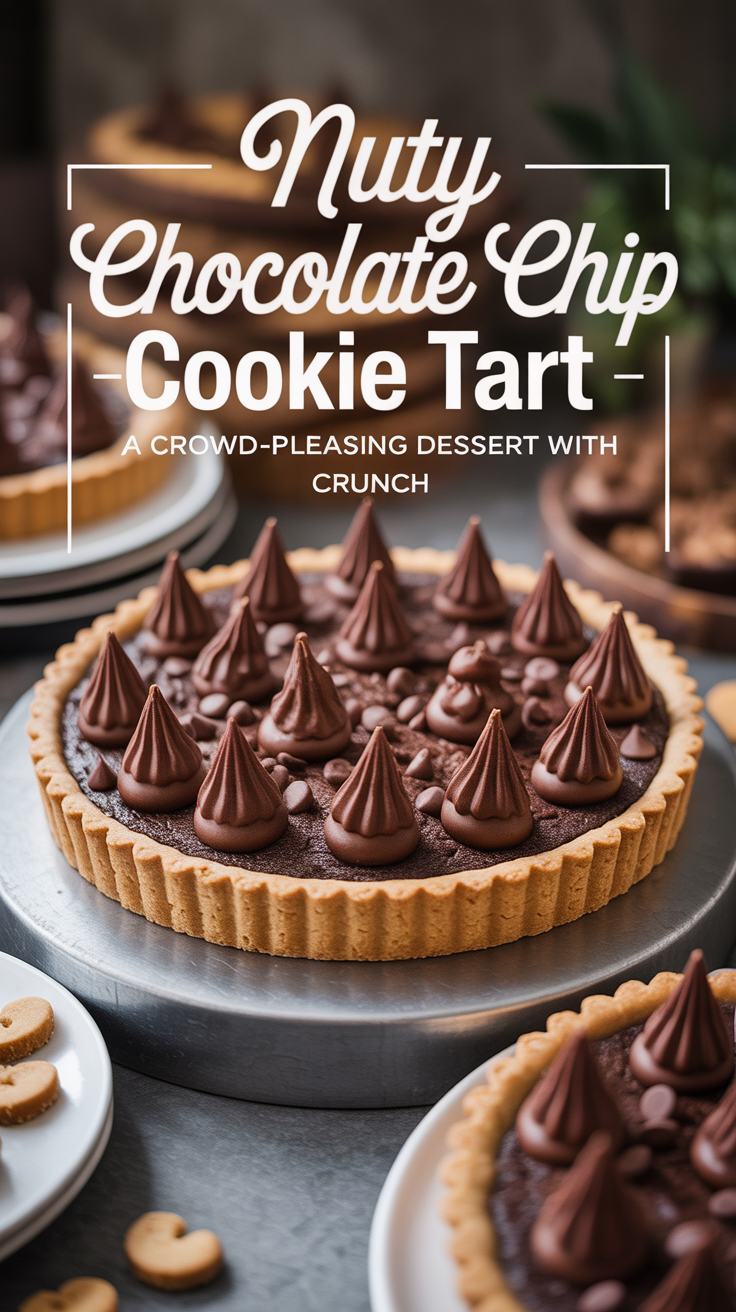
Nutty Chocolate Chip Cookie Tart – A Crowd-Pleasing Dessert With Crunch
Ingredients
Method
-
Prep the pan and oven. Heat the oven to 350°F (175°C).
Lightly butter a 9-inch tart pan and set it on a baking sheet for easier handling.
-
Make the crust. In a bowl, whisk the flour, sugar, and salt. Stir in the melted butter and vanilla until the mixture looks like damp sand and holds together when pressed.
-
Press and set. Press the crust evenly across the bottom and up the sides of the pan. Use the bottom of a measuring cup to smooth.
Prick the base lightly with a fork.
-
Par-bake the crust. Bake for 10–12 minutes, just until the edges look slightly set. Remove and cool for 5 minutes while you prepare the filling.
-
Cream the butter and sugars. In a large bowl, beat the softened butter with granulated and brown sugars until light and fluffy, about 2 minutes. This helps the filling bake up tender.
-
Add eggs and vanilla. Beat in the egg and yolk one at a time, then mix in the vanilla.
Scrape the bowl to keep everything even.
-
Combine dry ingredients. In a separate bowl, whisk the flour, baking soda, and salt. Add to the butter mixture and mix on low just until no dry spots remain.
-
Fold in the goodies. Stir in the chocolate chips and toasted nuts until evenly distributed. Don’t overmix.
-
Fill the shell. Spoon the cookie filling into the warm crust.
Smooth the top with an offset spatula and add a few extra chips and nuts on the surface for a pretty finish.
-
Bake. Return to the oven and bake 22–28 minutes, until the edges are deep golden and the center is set but still slightly soft. A toothpick should come out with a few moist crumbs.
-
Finish with salt. If using, sprinkle a small pinch of flaky sea salt over the hot tart. It sharpens the flavors and balances the sweetness.
-
Cool and unmold. Let the tart cool in the pan for at least 20–30 minutes.
Remove the outer ring. Slice warm for gooey chips, or cool fully for cleaner slices.
-
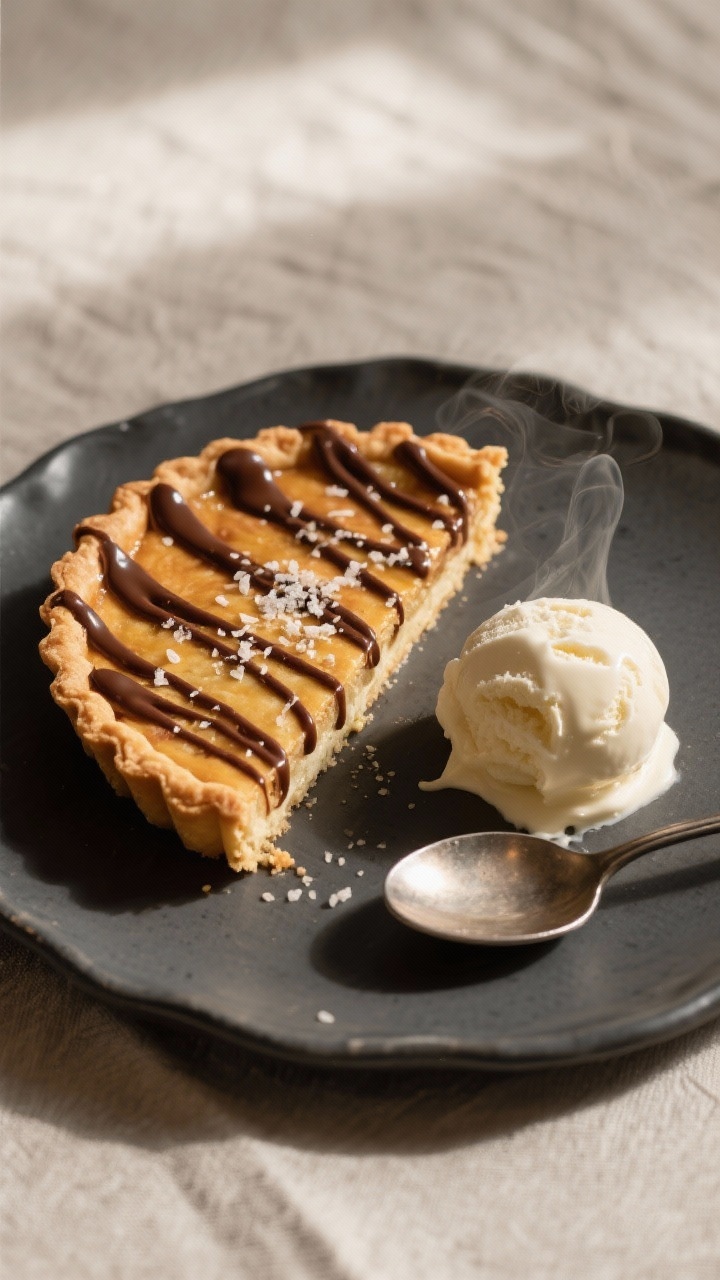
Serve. Enjoy plain, or with a scoop of vanilla ice cream. A drizzle of warm ganache takes it over the top.
What Makes This Special
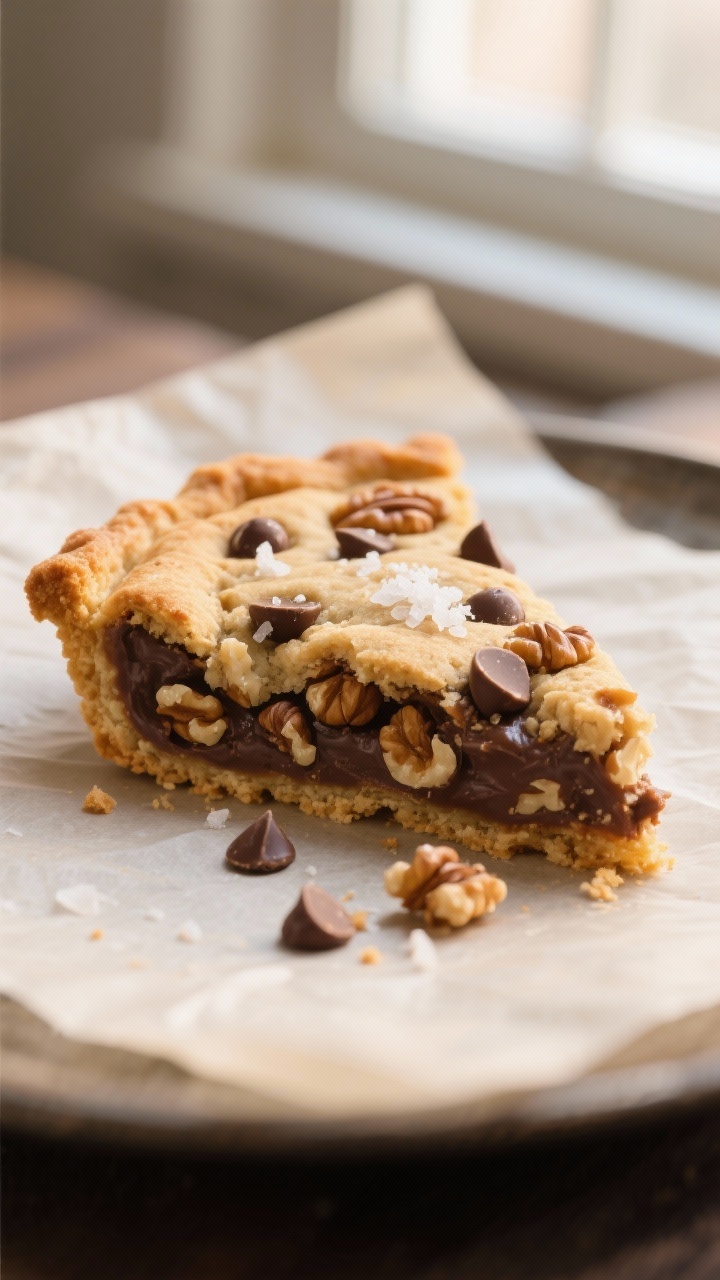
This tart blends two favorites: a classic cookie and a rustic tart. The crust is a simple press-in dough, so there’s no rolling or fuss.
The filling bakes up like a thick, chewy cookie, with toasted nuts for extra texture and flavor.
What really stands out is the balance. The crust holds its shape, the center stays soft, and the nuts cut through the sweetness. Serve it warm with ice cream, or let it cool for cleaner slices and a more pronounced crunch.
What You’ll Need
- For the crust:
- 1 1/4 cups (160 g) all-purpose flour
- 1/4 cup (50 g) granulated sugar
- 1/4 teaspoon fine sea salt
- 8 tablespoons (113 g) unsalted butter, melted and slightly cooled
- 1 teaspoon vanilla extract
- For the filling:
- 10 tablespoons (140 g) unsalted butter, softened
- 1/2 cup (100 g) granulated sugar
- 1/2 cup (100 g) packed light brown sugar
- 1 large egg + 1 large egg yolk, at room temperature
- 2 teaspoons vanilla extract
- 1 1/2 cups (190 g) all-purpose flour
- 1/2 teaspoon baking soda
- 1/2 teaspoon fine sea salt
- 1 cup (170 g) semisweet or dark chocolate chips
- 3/4 cup (85 g) mixed nuts (walnuts, pecans, hazelnuts), toasted and roughly chopped
- To finish (optional):
- Flaky sea salt, for sprinkling
- Warm ganache or melted chocolate, for drizzling
- Vanilla ice cream, for serving
- Equipment:
- 9-inch tart pan with removable bottom (or a 9-inch springform pan)
- Mixing bowls, spatula, whisk
- Hand mixer or stand mixer (optional)
Step-by-Step Instructions
- Prep the pan and oven. Heat the oven to 350°F (175°C).
Lightly butter a 9-inch tart pan and set it on a baking sheet for easier handling.
- Make the crust. In a bowl, whisk the flour, sugar, and salt. Stir in the melted butter and vanilla until the mixture looks like damp sand and holds together when pressed.
- Press and set. Press the crust evenly across the bottom and up the sides of the pan. Use the bottom of a measuring cup to smooth.
Prick the base lightly with a fork.
- Par-bake the crust. Bake for 10–12 minutes, just until the edges look slightly set. Remove and cool for 5 minutes while you prepare the filling.
- Cream the butter and sugars. In a large bowl, beat the softened butter with granulated and brown sugars until light and fluffy, about 2 minutes. This helps the filling bake up tender.
- Add eggs and vanilla. Beat in the egg and yolk one at a time, then mix in the vanilla.
Scrape the bowl to keep everything even.
- Combine dry ingredients. In a separate bowl, whisk the flour, baking soda, and salt. Add to the butter mixture and mix on low just until no dry spots remain.
- Fold in the goodies. Stir in the chocolate chips and toasted nuts until evenly distributed. Don’t overmix.
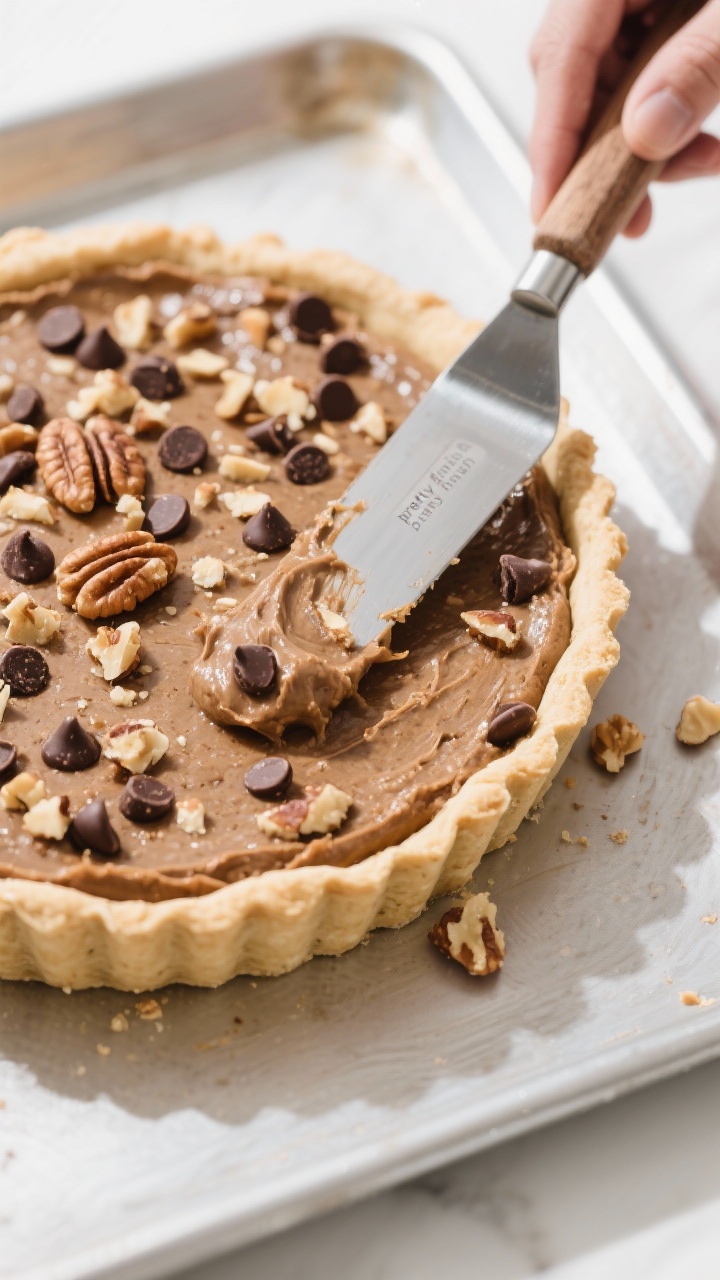
- Fill the shell. Spoon the cookie filling into the warm crust.
Smooth the top with an offset spatula and add a few extra chips and nuts on the surface for a pretty finish.
- Bake. Return to the oven and bake 22–28 minutes, until the edges are deep golden and the center is set but still slightly soft. A toothpick should come out with a few moist crumbs.
- Finish with salt. If using, sprinkle a small pinch of flaky sea salt over the hot tart. It sharpens the flavors and balances the sweetness.
- Cool and unmold. Let the tart cool in the pan for at least 20–30 minutes.
Remove the outer ring. Slice warm for gooey chips, or cool fully for cleaner slices.
- Serve. Enjoy plain, or with a scoop of vanilla ice cream. A drizzle of warm ganache takes it over the top.
Keeping It Fresh
- Room temperature: Store covered at room temp for up to 2 days.
A cake dome or inverted bowl works well.
- Refrigerator: For longer storage, wrap tightly and refrigerate up to 5 days. Rewarm slices in a low oven for that fresh-baked feel.
- Freezer: Wrap slices individually in plastic and then foil. Freeze up to 2 months.
Thaw at room temp and refresh in a 300°F (150°C) oven for 8–10 minutes.
Benefits of This Recipe
- Approachable and reliable: No rolling pins or tricky techniques. The press-in crust is quick and forgiving.
- Textural contrast: Crisp edges, soft center, and crunchy nuts make every bite interesting.
- Flexible ingredients: Use your favorite nuts and chocolate types without affecting the structure.
- Great for sharing: Slices neatly and travels well, making it a go-to for parties and potlucks.
- Make-ahead friendly: Keeps well and reheats beautifully for late-night cravings or next-day treats.
Common Mistakes to Avoid
- Skipping the par-bake: If the crust isn’t set first, it can turn soggy under the filling.
- Overbaking: Pull it when the center is just set. It will continue to firm up as it cools.
- Not toasting the nuts: Raw nuts taste flat.
Toasting brings out aroma and crunch.
- Overmixing the dough: Once the flour goes in, mix just until combined to avoid a tough texture.
- Cutting too soon: If you want clean slices, give it time to cool. Warm slices are delicious, but they will be messier.
Variations You Can Try
- Brown butter upgrade: Brown the butter for the filling, cool slightly, and proceed. It adds a nutty, toffee-like flavor.
- Peanut butter swirl: Dollop 1/3 cup warmed peanut butter over the filling and swirl with a knife before baking.
- Salted caramel: Layer 1/3 cup thick caramel on the par-baked crust, then add the filling.
Sprinkle with flaky salt.
- Double chocolate: Replace 1/4 cup of flour with cocoa powder and use dark chocolate chunks.
- Gluten-free: Use a cup-for-cup gluten-free flour blend in both crust and filling. Check that your baking soda and chocolate are GF-friendly.
- Nut-free: Skip the nuts and add crushed pretzels or extra chocolate chips for crunch.
- Espresso twist: Add 1 teaspoon instant espresso powder to the filling to deepen the chocolate flavor.
FAQ
Can I make this without a tart pan?
Yes. A 9-inch springform pan or even a deep pie dish works.
The removable sides make unmolding easier, but it will still bake nicely in a standard pan lined with parchment on the bottom.
Do I have to chill the dough?
No. The crust is a press-in style and the filling is a standard cookie dough. You can bake right away.
If your kitchen is very warm, a short 10-minute chill can help the crust hold its shape.
Which nuts work best?
Walnuts and pecans are classic, but hazelnuts bring a lovely roasted flavor. Use what you like and toast them lightly first. Aim for a rough chop so you get a nice bite without big hard pieces.
Can I reduce the sugar?
You can shave off about 2–3 tablespoons from the filling without hurting the texture.
Keep in mind, sugar affects moisture and tenderness, so don’t cut too much or the tart may taste dry.
How do I know it’s done?
Look for deep golden edges and a center that’s set but still soft. A toothpick should come out with moist crumbs, not wet batter. If the top is browning too fast, tent loosely with foil for the last few minutes.
What’s the best way to serve?
Warm is indulgent and gooey, especially with ice cream.
Room temperature gives you cleaner slices and more defined textures. Both are great—pick your mood.
Can I add other mix-ins?
Absolutely. Try chopped toffee, dried cherries, white chocolate chips, or shredded coconut.
Keep total mix-ins to about 1 1/2 to 1 3/4 cups so the filling bakes evenly.
In Conclusion
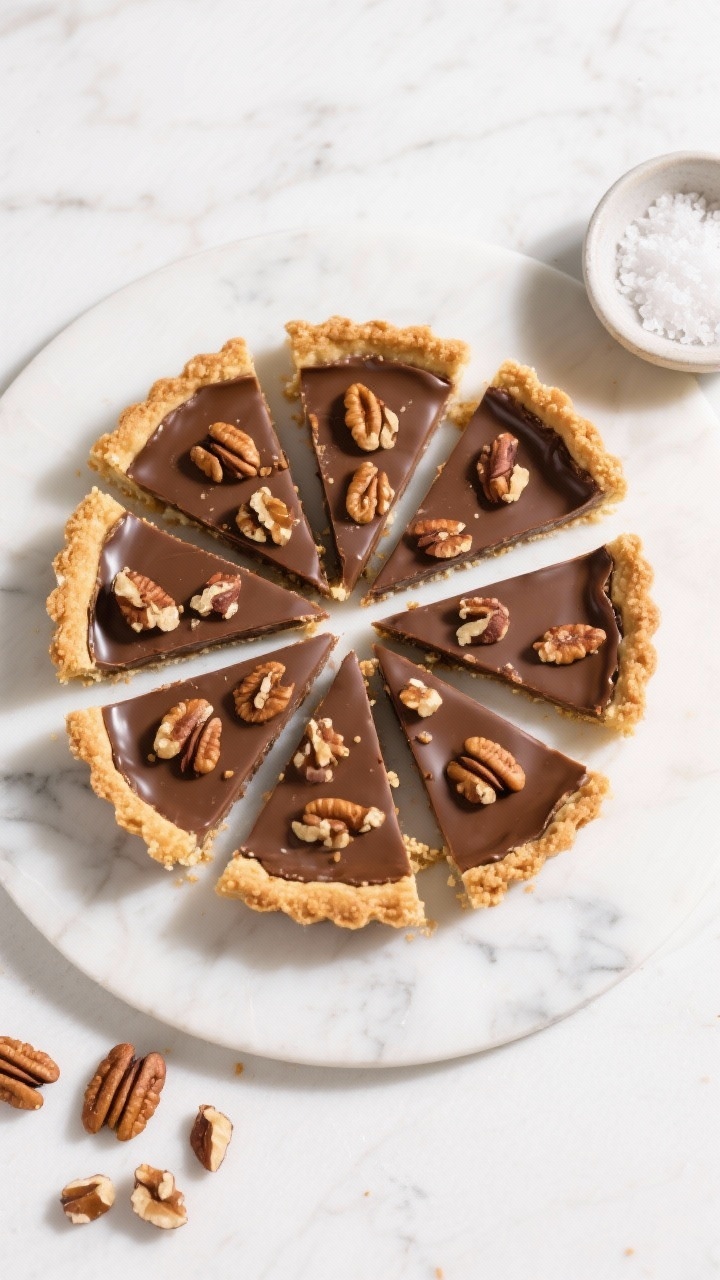
This Nutty Chocolate Chip Cookie Tart brings comfort and celebration to the same plate. It’s simple to make, fun to customize, and always a hit with both kids and adults. Keep the ingredients on hand, and you can pull it together any time a craving strikes.
Slice it warm, pass the spoons, and enjoy that perfect mix of gooey, crunchy, and chocolatey in every bite.
Printable Recipe Card
Want just the essential recipe details without scrolling through the article? Get our printable recipe card with just the ingredients and instructions.