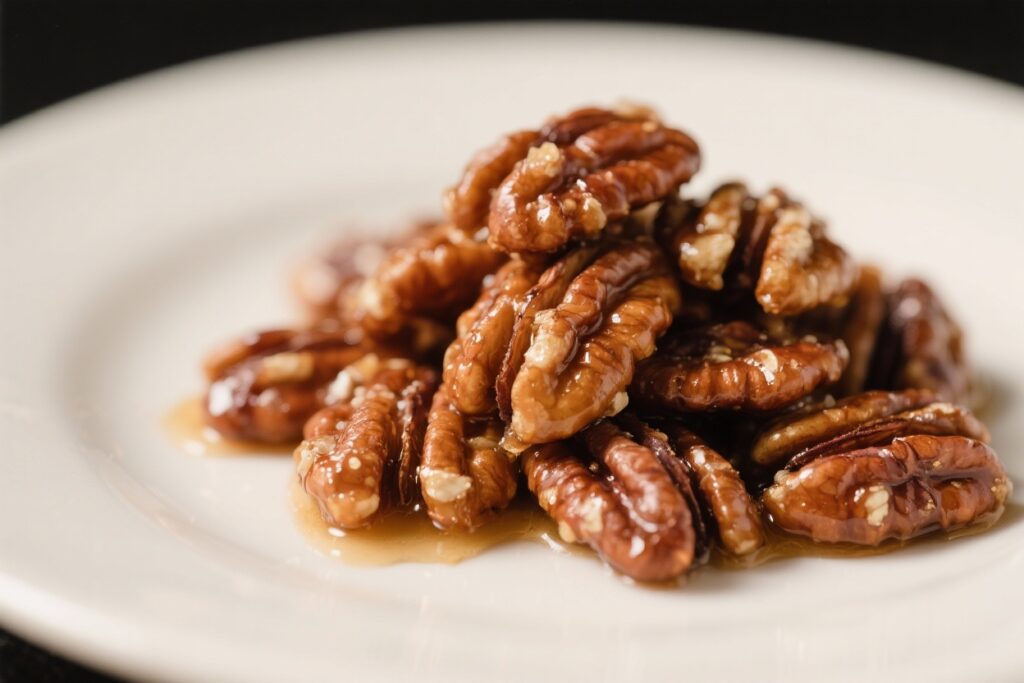
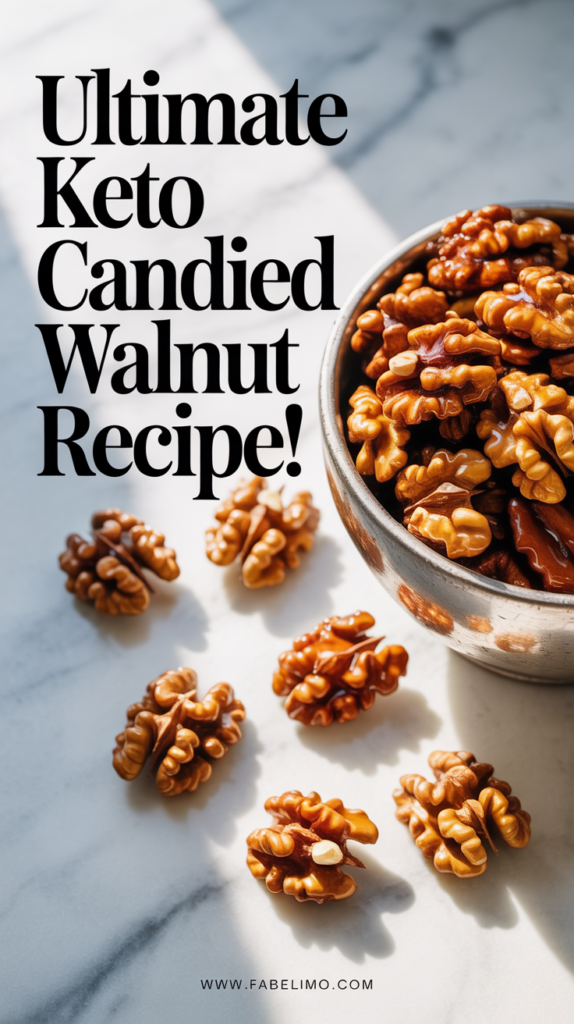
If you love a sweet, crunchy snack but want to keep things low-carb, keto candied walnuts are a winner. They’re buttery, lightly sweet, and a little salty—perfect for snacking, topping salads, or elevating a cheese board. Best of all, they come together quickly with simple ingredients you probably already have.
No complicated techniques, no long bake times, and no sugar crash afterward. Just clean, satisfying flavor that fits your goals.

Ingredients
Method
- Prep your surface: Line a baking sheet or large cutting board with parchment paper. Keep a spatula nearby.
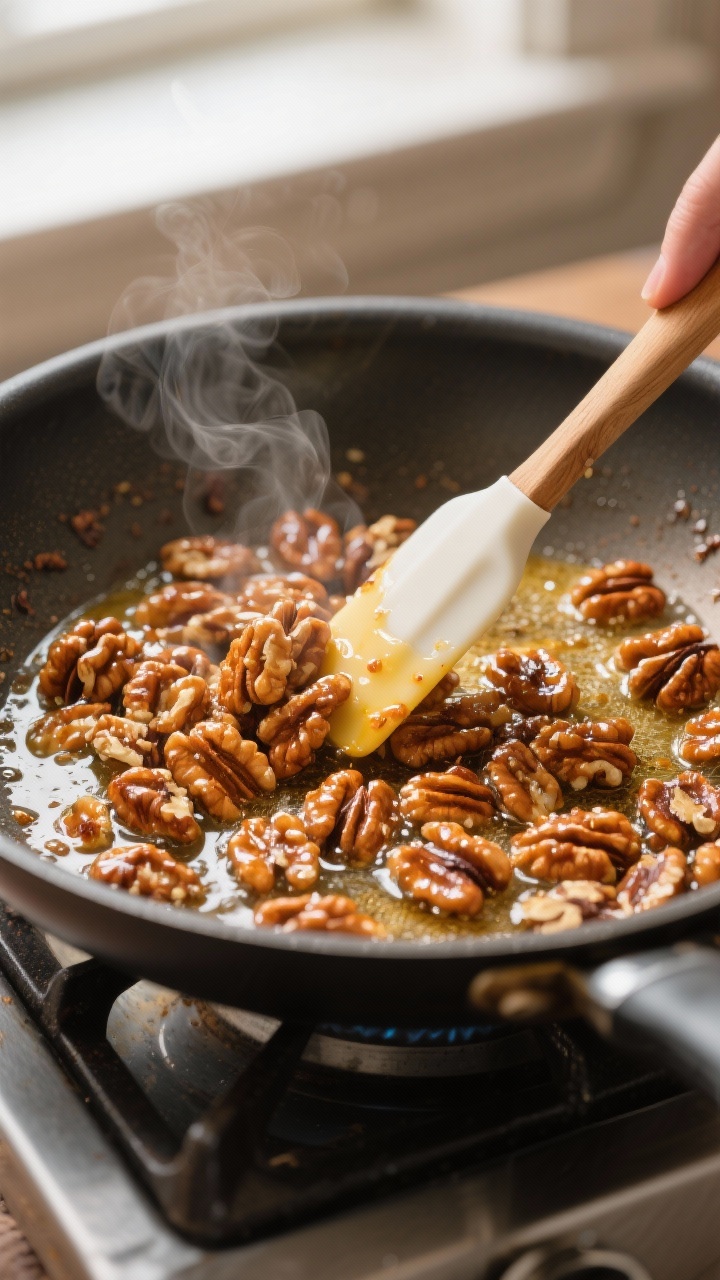
- Warm the walnuts: In a large nonstick skillet over medium heat, add the walnuts and toast for 2–3 minutes, stirring often. You should smell a light nuttiness. Don’t let them darken too much.
- Make the coating: Add butter, allulose (or erythritol), water, cinnamon, and salt to the skillet. Stir as the butter melts and the sweetener begins to dissolve, 1–2 minutes.
- Optional thickener: Sprinkle in xanthan gum while stirring to avoid clumps. This helps the coating grip the nuts without getting gritty.
- Coat the walnuts: Keep stirring as the mixture bubbles gently. In 2–4 minutes, it will thicken and cling to the nuts. Lower the heat if it browns too fast.
- Finish with vanilla: Turn off the heat and stir in the vanilla. Mix quickly to distribute evenly.
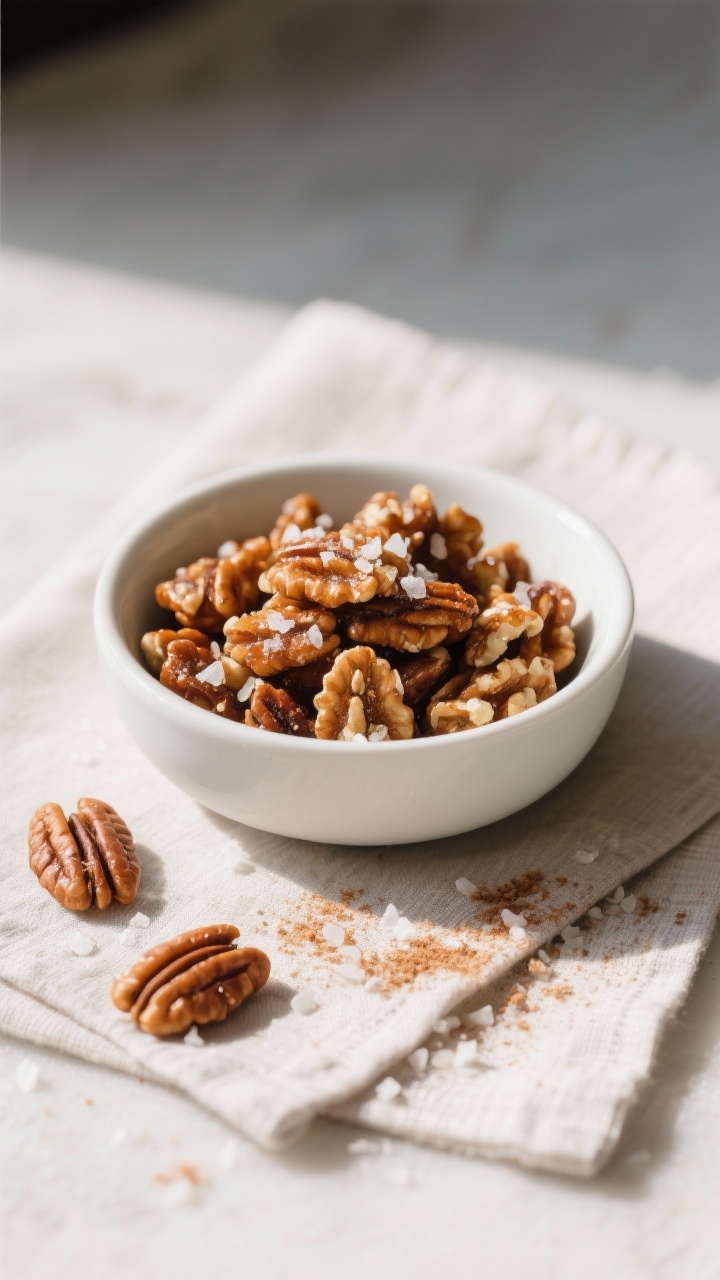
- Spread to cool: Immediately transfer the walnuts to the parchment. Use the spatula to separate clumps so they don’t harden into one mass. If you like, sprinkle a tiny pinch of flaky salt on top.
- Let them set: Cool completely, 15–25 minutes. The coating will firm up as it cools.
- Break apart and store: Once set, break any large clusters into snackable pieces.
Why This Recipe Works

This recipe balances sweetness and crunch without traditional sugar, thanks to a granulated erythritol or allulose sweetener that caramelizes well. The mixture of butter, vanilla, and cinnamon gives that classic candied nut flavor, while a pinch of salt keeps it from tasting flat.
A short cook time on the stove lets the sweetener coat the walnuts evenly, then the nuts set up on parchment as they cool. The result is a crisp, glossy coating that won’t spike your carbs.
It’s also flexible. You can control the sweetness level, add spice, or make a bigger batch for gifting.
And unlike oven-baked versions, this stovetop method is quick and predictable with minimal cleanup.
What You’ll Need
- 2 cups walnut halves (fresh, not stale; halves hold coating better than pieces)
- 1/3 cup granulated allulose or erythritol blend (allulose gives a softer crunch; erythritol a snappier one)
- 2 tablespoons unsalted butter
- 1 teaspoon vanilla extract
- 1/2 teaspoon ground cinnamon (optional, but recommended)
- Pinch of fine sea salt (plus a little extra for finishing, if you like)
- 1 tablespoon water (helps dissolve and coat evenly)
- 1/8 teaspoon xanthan gum (optional; helps the coating cling and stay glossy)
- Parchment paper (for cooling and preventing sticking)
Instructions
- Prep your surface: Line a baking sheet or large cutting board with parchment paper. Keep a spatula nearby.
- Warm the walnuts: In a large nonstick skillet over medium heat, add the walnuts and toast for 2–3 minutes, stirring often. You should smell a light nuttiness.
Don’t let them darken too much.
- Make the coating: Add butter, allulose (or erythritol), water, cinnamon, and salt to the skillet. Stir as the butter melts and the sweetener begins to dissolve, 1–2 minutes.
- Optional thickener: Sprinkle in xanthan gum while stirring to avoid clumps. This helps the coating grip the nuts without getting gritty.
- Coat the walnuts: Keep stirring as the mixture bubbles gently.
In 2–4 minutes, it will thicken and cling to the nuts. Lower the heat if it browns too fast.
- Finish with vanilla: Turn off the heat and stir in the vanilla. Mix quickly to distribute evenly.
- Spread to cool: Immediately transfer the walnuts to the parchment.
Use the spatula to separate clumps so they don’t harden into one mass. If you like, sprinkle a tiny pinch of flaky salt on top.
- Let them set: Cool completely, 15–25 minutes. The coating will firm up as it cools.
- Break apart and store: Once set, break any large clusters into snackable pieces.
How to Store
- Room temperature: Store in an airtight container for up to 2 weeks.
Keep away from direct sunlight and heat.
- Refrigerator: If your kitchen is warm, refrigerate for up to 1 month. Let them come to room temp before serving for best crunch.
- Freezer: Freeze up to 3 months in a sealed bag with the air pressed out. Thaw on the counter; they’ll crisp back up.
Benefits of This Recipe
- Low-carb and keto-friendly: Uses zero-sugar sweeteners instead of traditional sugar.
- Quick and easy: About 15 minutes start to finish, with simple steps and everyday ingredients.
- Nutritious base: Walnuts are rich in omega-3s, plant protein, and fiber.
- Versatile: Great for snacks, salad toppings, desserts, and charcuterie boards.
- Customizable sweetness: Adjust the sweetener to taste without changing the texture much.
Pitfalls to Watch Out For
- Overheating the sweetener: Allulose browns faster than sugar; erythritol can recrystallize.
Keep heat medium and watch closely.
- Skipping parchment: The nuts will stick to bare surfaces and be hard to remove cleanly.
- Not stirring enough: Uneven coating or hot spots can burn the nuts. Stir frequently and keep them moving.
- Using stale nuts: Old walnuts taste bitter and can ruin the batch. Taste one before starting.
- Humidity issues: High humidity can soften the coating.
Store airtight and add a food-safe desiccant if needed.
Recipe Variations
- Maple-keto style: Use a keto maple-flavored syrup (allulose-based) in place of half the sweetener for a warm maple note.
- Spiced warmth: Add a pinch of nutmeg, cardamom, or pumpkin pie spice with the cinnamon.
- Sweet-heat: Stir in a pinch of cayenne or chili powder for a gentle kick.
- Vanilla bean: Swap vanilla extract for vanilla bean paste to boost aroma.
- Pecan combo: Use half walnuts, half pecans for a softer, buttery bite.
- Espresso twist: Add 1/2 teaspoon instant espresso powder to the coating for a mocha vibe.
- Cocoa dusted: After cooling, toss lightly in unsweetened cocoa mixed with a bit of powdered sweetener.
FAQ
Which sweetener is best for keto candied walnuts?
Allulose gives the most caramel-like result and stays smooth as it cools. Erythritol works but can recrystallize, creating a sandy crunch. Blends that include monk fruit or stevia with allulose are also great for flavor balance.
Why did my coating turn grainy?
That usually means the heat was too high or you used a high-erythritol blend that recrystallized. Lower the heat, stir constantly, and try allulose.
A tiny pinch of xanthan gum also helps keep the coating glossy.
Can I make these without butter?
Yes. Use refined coconut oil for a neutral flavor or unrefined for a light coconut note. The texture will still be crisp, but the flavor is slightly less rich than butter.
How do I keep the nuts from clumping?
Spread them quickly onto parchment and separate with a spatula while still warm.
If you forget, rewarm the clump in a skillet over low heat for 30–60 seconds and pull apart.
Are these suitable for diabetics?
They’re made without sugar and are low in net carbs, but everyone responds differently to sweeteners. Check labels, track your portion, and consult your healthcare provider if needed.
Can I bake them instead of using the stovetop?
Yes. Toss walnuts with melted butter, sweetener, and spices, then spread on a parchment-lined sheet and bake at 300°F (150°C) for 12–18 minutes, stirring once.
Watch closely near the end to prevent overbrowning.
How much is a serving?
A typical snack serving is about 1/4 cup (28–30 g). For salads, 2 tablespoons per serving is usually enough.
In Conclusion
Keto candied walnuts bring sweet crunch without the sugar, and they take just minutes to make. With a handful of ingredients and a watchful eye on the stove, you’ll have a snack that’s equally at home on a salad, dessert, or cheese board.
Customize the spices, choose your favorite sweetener, and stash a jar on the counter. It’s a simple, satisfying recipe you’ll reach for again and again.
Printable Recipe Card
Want just the essential recipe details without scrolling through the article? Get our printable recipe card with just the ingredients and instructions.