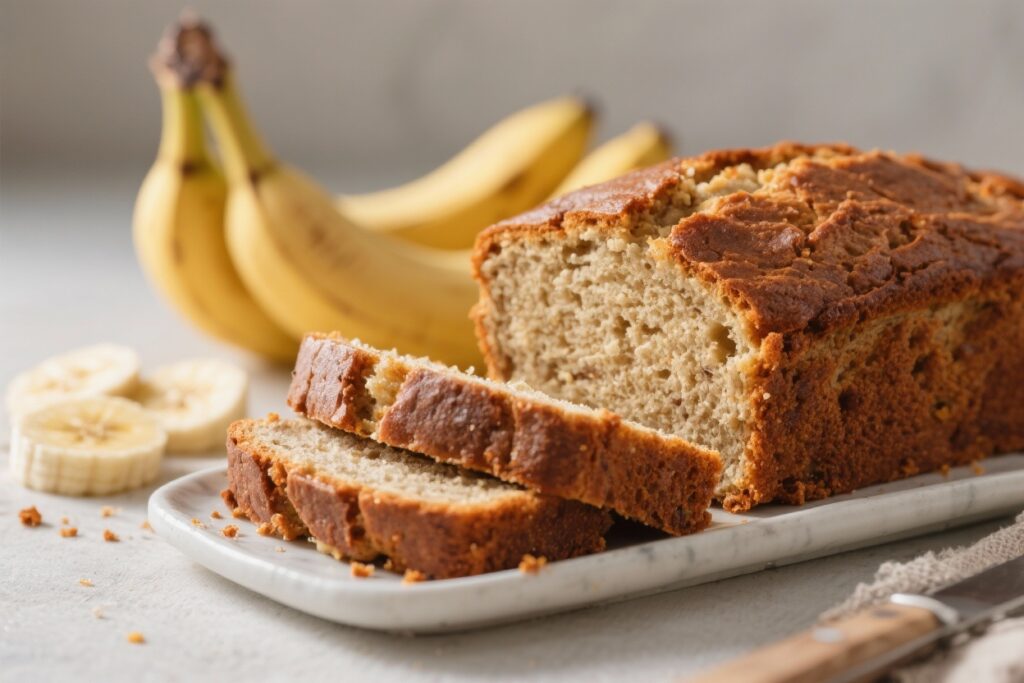
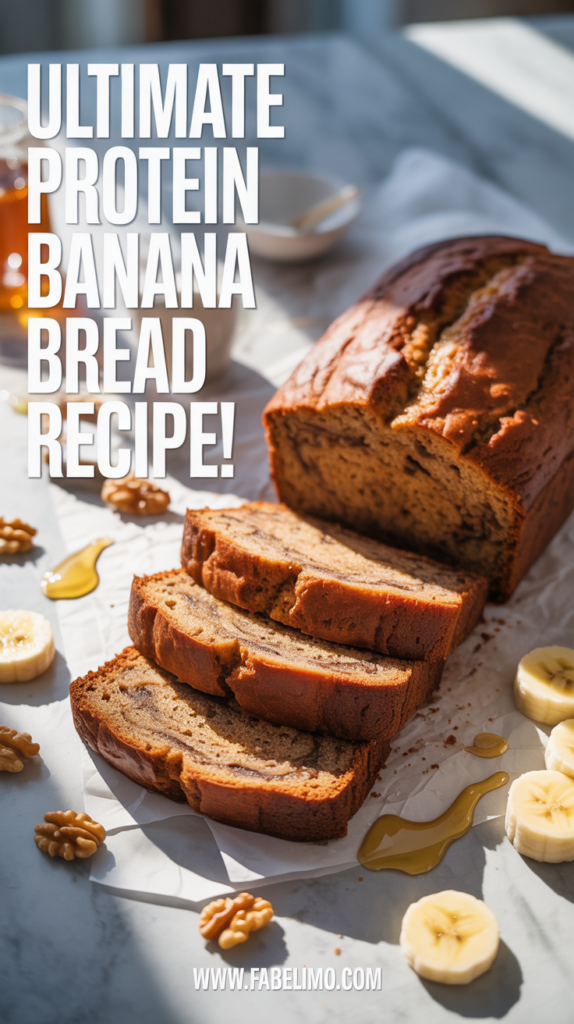
Banana bread is already a comforting classic, but this protein banana bread recipe takes it up a notch. It’s soft, naturally sweet, and packed with protein to keep you full longer. Whether you want a quick breakfast, a post-workout snack, or a healthier treat, this loaf delivers.
You won’t need fancy ingredients or special skills—just a bowl, a whisk, and a few pantry staples. It smells amazing while it bakes and slices beautifully once cooled.

Ingredients
Method
- Preheat and prep the pan. Heat your oven to 350°F (175°C). Line a 9x5-inch loaf pan with parchment paper and lightly grease the sides. This makes the loaf easy to lift out.
- Mash the bananas. In a large bowl, mash the ripe bananas until mostly smooth with a few small lumps. You’ll get better flavor and sweetness from very spotty bananas.
- Whisk the wet ingredients. Add the eggs, Greek yogurt, oil, maple syrup, and vanilla to the bananas. Whisk until the mixture is smooth and well combined.
- Mix the dry ingredients. In a separate bowl, whisk the white whole wheat flour, oat flour, protein powder, baking soda, baking powder, salt, and cinnamon. Stir until everything looks evenly mixed.
- Combine gently. Add the dry mixture to the wet mixture. Use a spatula to fold until just combined. Do not overmix, or the bread can turn dense or rubbery.
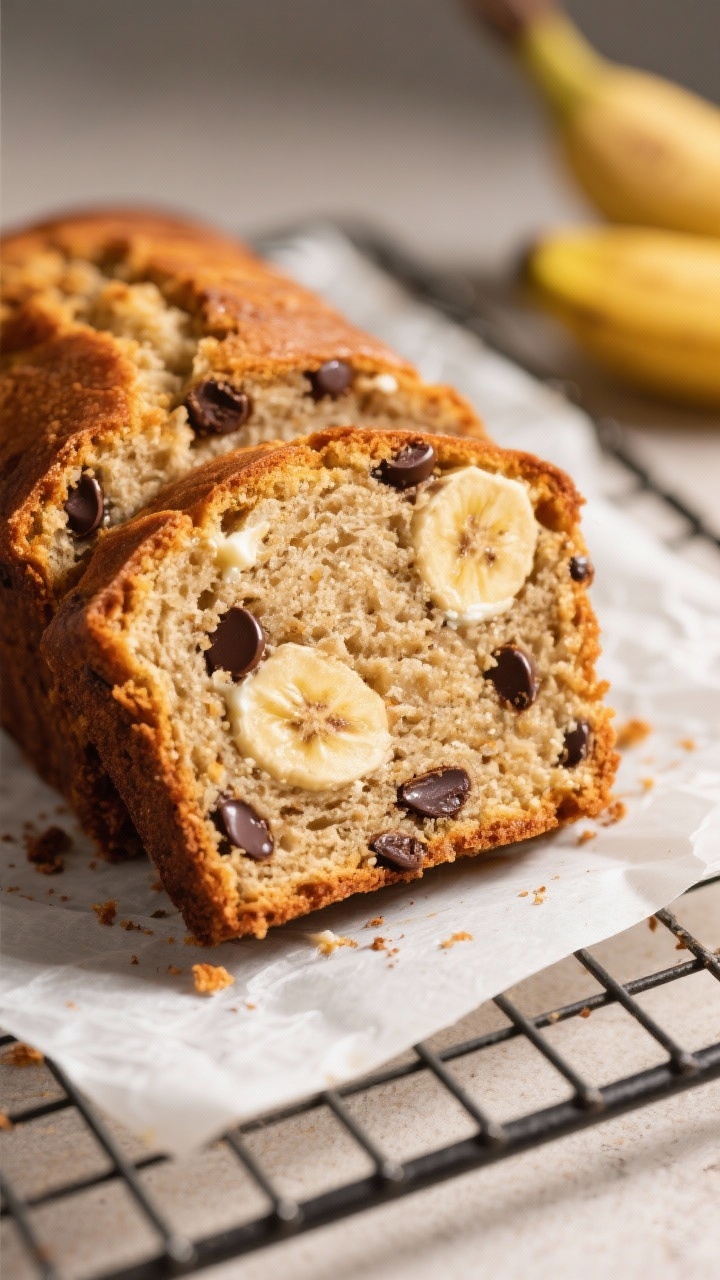
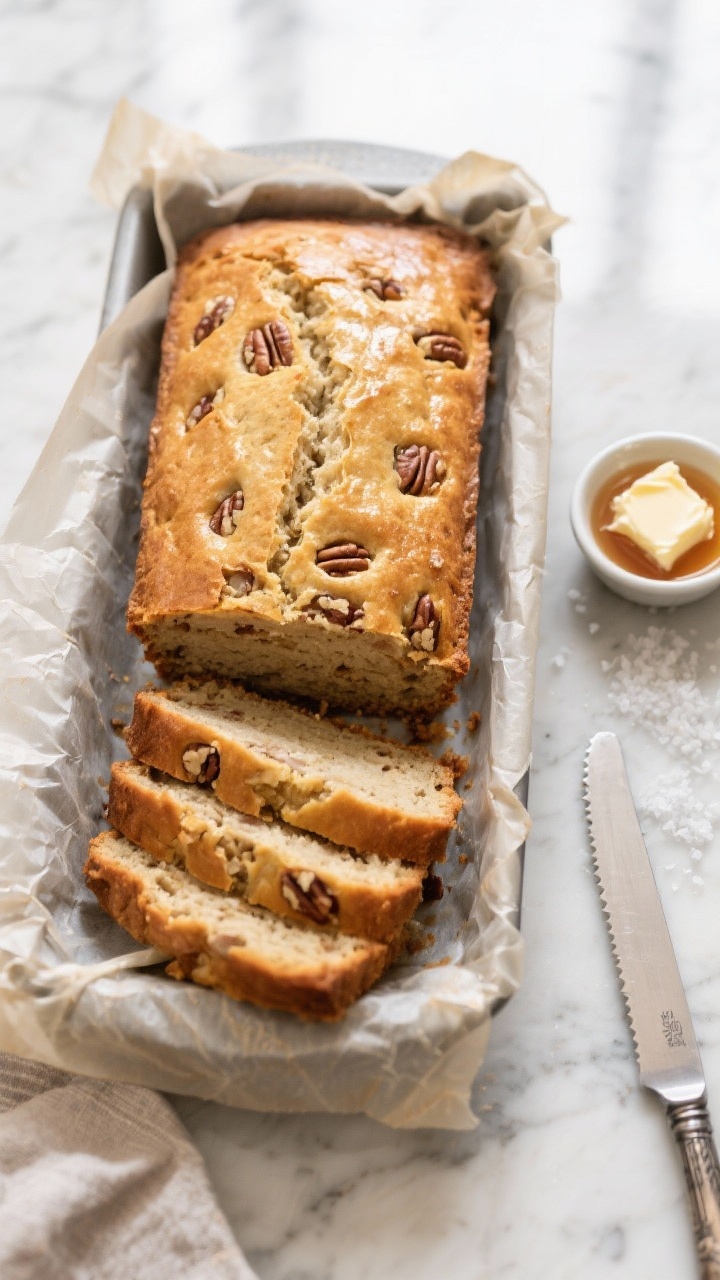
- Add extras. Fold in nuts, chocolate chips, or seeds if using. Spread the batter into the prepared loaf pan and smooth the top.
- Bake. Bake for 45–55 minutes. The top should be golden and a toothpick inserted in the center should come out mostly clean, with a few moist crumbs.
- Cool properly. Let the loaf cool in the pan for 10 minutes. Lift it out using the parchment and transfer to a wire rack to cool completely before slicing. This helps set the crumb and prevents a gummy texture.
- Slice and serve. Use a sharp serrated knife to cut clean slices. Enjoy plain, with a smear of peanut butter, or a little butter.
What Makes This Special
This isn’t a dry, chalky “healthy” loaf. It’s moist, tender, and tastes like classic banana bread—just with a smart protein boost.
The recipe uses mashed ripe bananas for natural sweetness, a touch of maple syrup, and whey or plant-based protein powder for added nutrition. You also get healthy fats from Greek yogurt and a small amount of oil, which keeps the texture soft without being heavy. It’s simple, customizable, and perfect for meal prep.
Ingredients
- 3 medium very ripe bananas (about 1 1/4 cups mashed)
- 2 large eggs, room temperature
- 1/3 cup plain Greek yogurt (2% or whole milk works best)
- 2 tablespoons neutral oil (avocado or light olive oil)
- 1/4 cup maple syrup or honey
- 1 teaspoon vanilla extract
- 1 cup white whole wheat flour (or all-purpose flour)
- 1/2 cup oat flour (or more all-purpose flour)
- 1/2 cup protein powder (whey, whey isolate, or a smooth plant blend)
- 1 teaspoon baking soda
- 1 teaspoon baking powder
- 1/2 teaspoon fine sea salt
- 1 teaspoon ground cinnamon (optional but great)
- Optional add-ins: 1/3 cup chopped walnuts or pecans, 1/3 cup dark chocolate chips, or 2 tablespoons chia or hemp seeds
Step-by-Step Instructions
- Preheat and prep the pan. Heat your oven to 350°F (175°C).
Line a 9×5-inch loaf pan with parchment paper and lightly grease the sides. This makes the loaf easy to lift out.
- Mash the bananas. In a large bowl, mash the ripe bananas until mostly smooth with a few small lumps. You’ll get better flavor and sweetness from very spotty bananas.
- Whisk the wet ingredients. Add the eggs, Greek yogurt, oil, maple syrup, and vanilla to the bananas.
Whisk until the mixture is smooth and well combined.
- Mix the dry ingredients. In a separate bowl, whisk the white whole wheat flour, oat flour, protein powder, baking soda, baking powder, salt, and cinnamon. Stir until everything looks evenly mixed.
- Combine gently. Add the dry mixture to the wet mixture. Use a spatula to fold until just combined. Do not overmix, or the bread can turn dense or rubbery.
- Add extras. Fold in nuts, chocolate chips, or seeds if using.
Spread the batter into the prepared loaf pan and smooth the top.
- Bake. Bake for 45–55 minutes. The top should be golden and a toothpick inserted in the center should come out mostly clean, with a few moist crumbs.
- Cool properly. Let the loaf cool in the pan for 10 minutes. Lift it out using the parchment and transfer to a wire rack to cool completely before slicing. This helps set the crumb and prevents a gummy texture.
- Slice and serve. Use a sharp serrated knife to cut clean slices.
Enjoy plain, with a smear of peanut butter, or a little butter.
How to Store
- Room temperature: Store sliced bread in an airtight container for up to 2 days. Place a paper towel under and over the slices to absorb excess moisture.
- Refrigerator: Keeps well for 5–6 days. Let slices come to room temp or warm gently in the microwave for 10–15 seconds before eating.
- Freezer: Slice the loaf, wrap individual slices, and store in a freezer bag for up to 3 months.
Thaw at room temp or toast from frozen.

Benefits of This Recipe
- Higher protein per slice: Protein powder, Greek yogurt, and eggs give you a more satisfying snack compared to standard banana bread.
- Balanced ingredients: A mix of whole grains, healthy fats, and natural sweetness keeps flavor and texture in check.
- Meal-prep friendly: The loaf holds up well for days and freezes beautifully.
- Customizable: Works with whey or plant-based protein, plus your choice of nuts, seeds, or chocolate.
- No special equipment: You only need bowls, a whisk, and a loaf pan.
What Not to Do
- Don’t use unripe bananas. Green or barely yellow bananas won’t add enough sweetness or moisture.
- Don’t overmix the batter. Overmixing can make the bread tough and dense.
- Don’t overbake. Protein powders can dry out quickly. Start checking at 45 minutes.
- Don’t pack the flour. Spoon and level your flour to avoid a heavy, dry loaf.
- Don’t skip cooling time. Cutting too soon can make the texture gummy and cause crumbling.
Alternatives
- Gluten-free: Use a 1:1 gluten-free all-purpose flour blend and certified gluten-free oat flour. Check that your protein powder is gluten-free.
- Dairy-free: Swap Greek yogurt for a thick dairy-free yogurt and use a plant-based protein powder.
Choose maple syrup over honey if needed.
- No refined flour: Use all oat flour, but reduce to 1 1/4 cups total flour and add 1 extra tablespoon oil to maintain moisture. Expect a slightly heartier texture.
- Lower sugar: Reduce maple syrup to 2 tablespoons and add 1 extra tablespoon milk or water to balance moisture. Rely on extra-ripe bananas for sweetness.
- Flavor twists: Add orange zest and chopped walnuts, swirl in 2 tablespoons natural peanut butter, or fold in blueberries (toss in a little flour first).
FAQ
Which protein powder works best?
Whey or whey isolate blends usually give the softest texture.
A smooth plant-based blend can work too, but avoid gritty powders. If using vegan protein, consider reducing the powder by 1–2 tablespoons and adding 1–2 tablespoons milk for moisture.
Can I make this into muffins?
Yes. Divide the batter into a lined 12-cup muffin tin and bake at 350°F (175°C) for 16–20 minutes.
Check with a toothpick at 16 minutes and pull them when it comes out with a few moist crumbs.
How much protein is in each slice?
It varies by the protein powder you use. With a typical whey powder (about 20–24 grams protein per 30-gram scoop), you’ll get roughly 8–11 grams of protein per slice if you cut 10 slices. For exact numbers, plug your brands into a nutrition calculator.
Why did my bread sink in the middle?
Common causes include underbaking, too much leavening, or cutting in too soon.
Make sure the center reaches doneness, measure baking powder and soda carefully, and cool in the pan for 10 minutes before transferring to a rack.
Can I skip the yogurt?
You can replace it with the same amount of applesauce or mashed banana, but the loaf may be a little less tender and slightly sweeter. For dairy-free, use a thick coconut or almond milk yogurt.
How do I keep it from drying out?
Don’t overbake, measure flour properly, and let it cool fully before wrapping. Storing slices instead of the whole loaf helps keep the texture consistent and makes quick thawing easier.
In Conclusion
This protein banana bread recipe keeps everything you love about classic banana bread—moist crumb, warm flavor, and simple prep—while adding a satisfying protein boost.
It’s easy to tweak, quick to bake, and perfect for breakfast or snacks all week. Keep a loaf on hand, slice it up, and you’ve got a wholesome option ready whenever you are.
Printable Recipe Card
Want just the essential recipe details without scrolling through the article? Get our printable recipe card with just the ingredients and instructions.