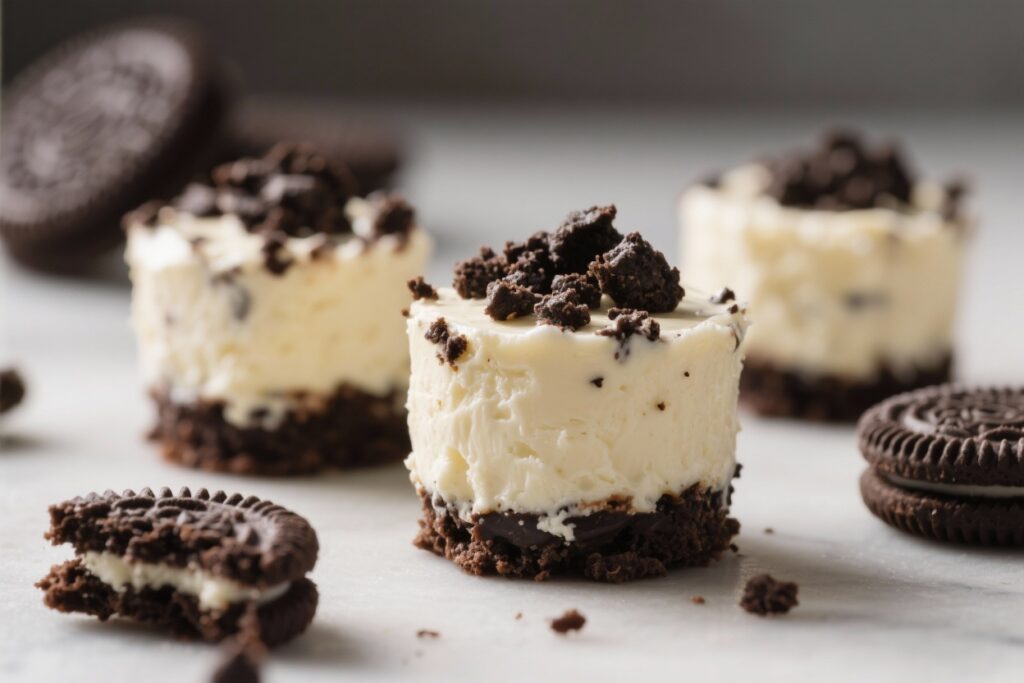
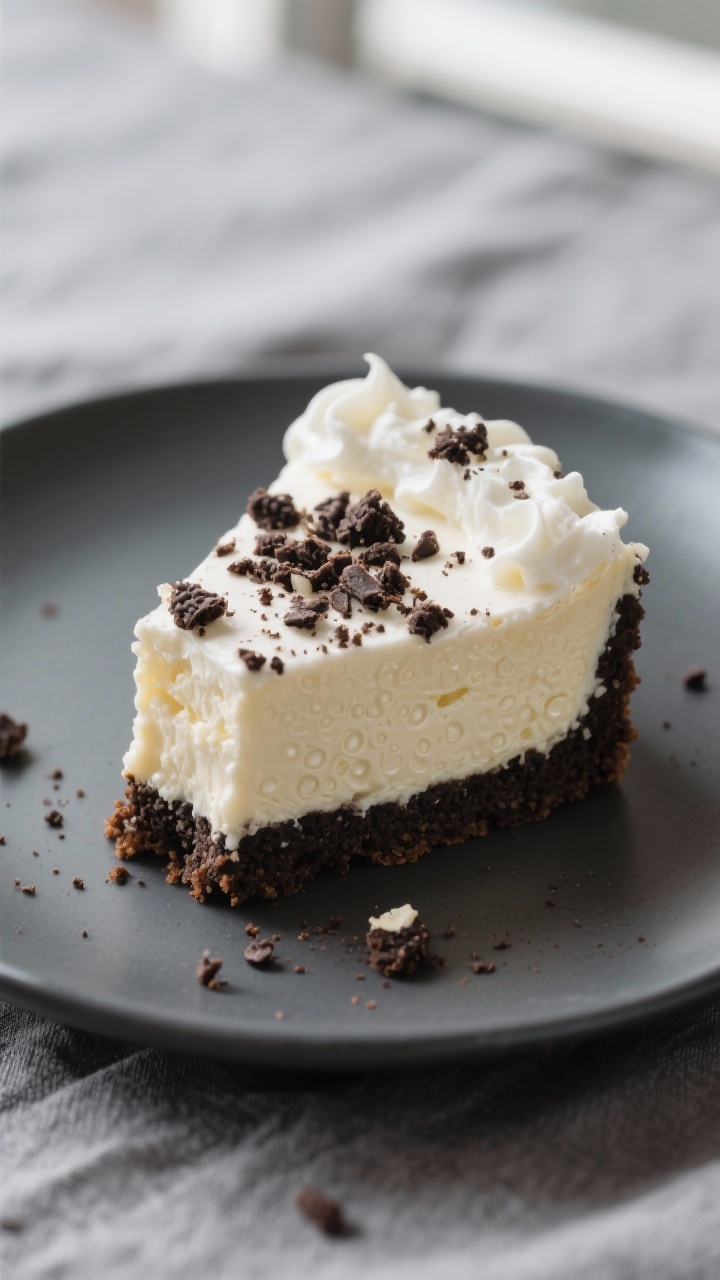
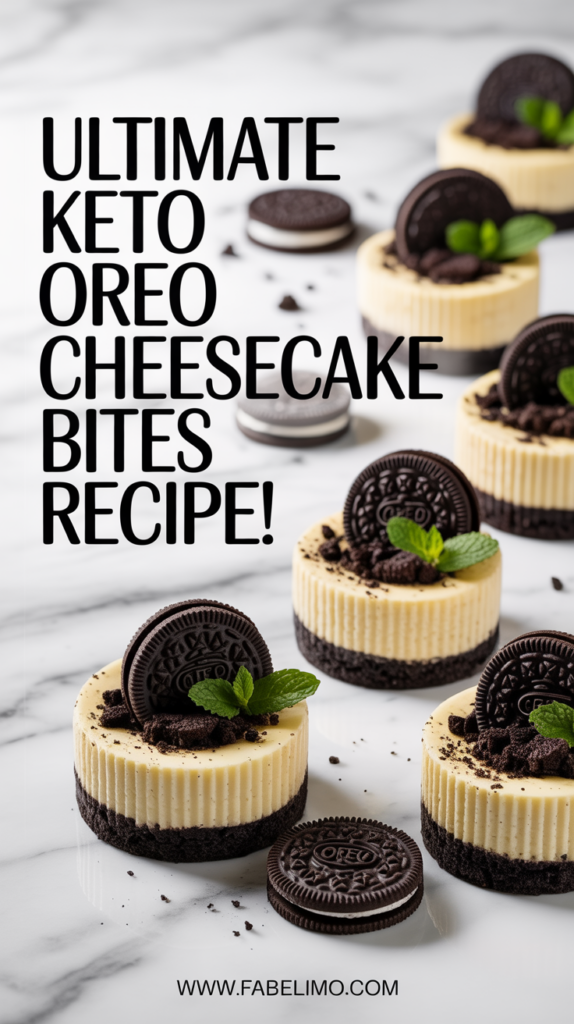
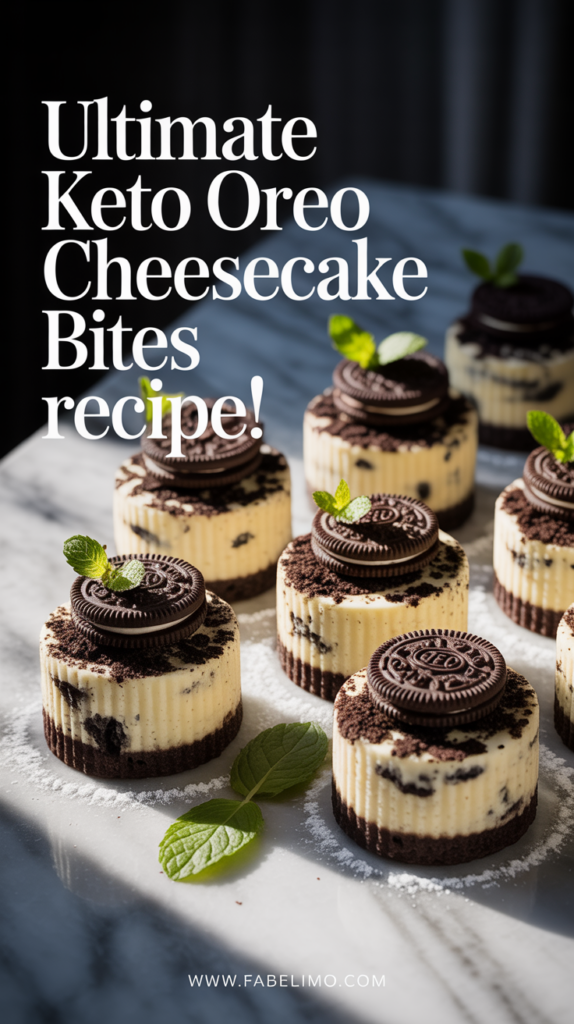
These Keto Oreo Cheesecake Bites deliver that cookies-and-cream flavor without the sugar crash. They’re rich, creamy, and portioned into poppable bites that are perfect for parties, snacks, or a dessert tray. You get a crisp “cookie” layer, a silky cheesecake center, and a speckled cookies-and-cream topping.
Everything is low-carb and gluten-free, but still tastes indulgent. If you’re craving Oreos on keto, this is an easy, satisfying fix.

Ingredients
Method
- Prep the pan: Line an 8x8-inch square pan with parchment, leaving overhang on two sides for easy lifting. Preheat oven to 325°F (163°C).
- Make the cookie crumble: In a bowl, whisk almond flour, cocoa, sweetener, and salt. Stir in melted butter and vanilla until it looks like damp sand. It should clump when pressed.
- Reserve some for topping: Scoop out about 1/3 cup of the crumble and set aside for the finishing layer.
- Form the base: Press the remaining crumble firmly and evenly into the lined pan. Use the bottom of a measuring cup to compact it well. Bake for 8–10 minutes, just until set. Let it cool slightly while you make the filling.
- Beat the filling: In a mixing bowl, beat cream cheese until smooth, about 1 minute. Add sweetener, sour cream, vanilla, and salt; beat until creamy. Add egg and mix on low just until combined. Do not overbeat.
- Layer and bake: Pour the filling over the baked base and smooth the top. Bake at 325°F for 18–22 minutes, until the edges are set and the center has a slight jiggle.
- Cool completely: Let the pan cool on a rack until room temperature. Then refrigerate for at least 3 hours, preferably overnight, until fully set.
- Make the whipped topping: Whip heavy cream with vanilla (and sweetener if using) to soft peaks. Fold in half of the reserved crumble to create a cookies-and-cream look.
- Finish the top: Spread the whipped mixture over the chilled cheesecake. Sprinkle the remaining crumble on top for texture.
- Slice into bites: Lift the slab out using the parchment overhang. Use a sharp knife wiped clean between cuts to slice into small squares or bars.
What Makes This Recipe So Good
- Classic flavor, keto-friendly: You’ll get the same nostalgic cookies-and-cream taste with smart swaps and low-carb ingredients.
- Simple, everyday steps: No water baths or fuss. The layers come together quickly with basic tools.
- Customizable sweetness: Adjust sweetener to your taste without affecting texture.
- Perfect portions: Bite-sized pieces help with portion control and make sharing easy.
- Freezer-friendly: Make a batch and freeze so dessert is always on hand.
Ingredients
- For the “Oreo” Cookie Crumble:
- 1 1/4 cups fine almond flour
- 1/4 cup Dutch-process cocoa powder (or black cocoa for a darker, Oreo-like color)
- 1/4 cup powdered erythritol or allulose
- 1/4 teaspoon fine sea salt
- 4 tablespoons unsalted butter, melted
- 1 teaspoon vanilla extract
- For the Cheesecake Filling:
- 12 ounces cream cheese, softened to room temperature
- 1/2 cup powdered erythritol or allulose, to taste
- 1/3 cup sour cream (or full-fat Greek yogurt)
- 1 teaspoon vanilla extract
- 1 large egg, room temperature
- Pinch of sea salt
- For the Cookies-and-Cream Topping:
- 1/2 cup heavy whipping cream
- 1 tablespoon powdered sweetener (optional)
- 1/2 teaspoon vanilla extract
- Reserved “Oreo” crumble (see instructions)
Instructions
- Prep the pan: Line an 8×8-inch square pan with parchment, leaving overhang on two sides for easy lifting.
Preheat oven to 325°F (163°C).
- Make the cookie crumble: In a bowl, whisk almond flour, cocoa, sweetener, and salt. Stir in melted butter and vanilla until it looks like damp sand. It should clump when pressed.
- Reserve some for topping: Scoop out about 1/3 cup of the crumble and set aside for the finishing layer.
- Form the base: Press the remaining crumble firmly and evenly into the lined pan.
Use the bottom of a measuring cup to compact it well. Bake for 8–10 minutes, just until set. Let it cool slightly while you make the filling.
- Beat the filling: In a mixing bowl, beat cream cheese until smooth, about 1 minute.
Add sweetener, sour cream, vanilla, and salt; beat until creamy. Add egg and mix on low just until combined. Do not overbeat.
- Layer and bake: Pour the filling over the baked base and smooth the top.
Bake at 325°F for 18–22 minutes, until the edges are set and the center has a slight jiggle.
- Cool completely: Let the pan cool on a rack until room temperature. Then refrigerate for at least 3 hours, preferably overnight, until fully set.
- Make the whipped topping: Whip heavy cream with vanilla (and sweetener if using) to soft peaks. Fold in half of the reserved crumble to create a cookies-and-cream look.
- Finish the top: Spread the whipped mixture over the chilled cheesecake.
Sprinkle the remaining crumble on top for texture.
- Slice into bites: Lift the slab out using the parchment overhang. Use a sharp knife wiped clean between cuts to slice into small squares or bars.
How to Store
- Refrigerator: Store in an airtight container for up to 5 days. Keep a sheet of parchment between layers to prevent sticking.
- Freezer: Freeze bites on a sheet pan until solid, then transfer to a freezer bag.
They keep up to 2 months. Thaw in the fridge for a few hours before serving.
- Serving tip: For the best texture, let refrigerated bites sit at room temperature for 10–15 minutes before eating.
Benefits of This Recipe
- Low net carbs: Almond flour and sugar-free sweeteners keep carbs in check, making these bites keto-friendly.
- High in satisfaction: The fat from cream cheese and cream makes these filling, which can help curb cravings.
- Gluten-free by default: No wheat flour needed, so it’s a great dessert option for gluten-free guests.
- Make-ahead friendly: Perfect for prepping before gatherings or keeping a stash in the freezer.
- Customizable sweetness: Easily adjust to your palate or swap sweeteners based on preference.
Pitfalls to Watch Out For
- Overbaking the cheesecake: If it’s fully set in the oven, it will be dry once chilled. Pull it when the center still has a slight jiggle.
- Warm ingredients: Use room-temperature cream cheese and egg.
Cold ingredients cause lumps and overmixing.
- Too much sweetener: Erythritol can recrystallize and feel gritty. If you’re sensitive to that, use allulose or a blend.
- Thin base layer: Press the crust firmly so it doesn’t crumble apart when slicing.
- Cutting while warm: Chill fully before slicing. Wipe the knife clean between cuts for neat bites.
Alternatives
- No-bake version: Skip baking the crust.
Chill the pressed crust for 20 minutes, then top with a no-bake filling (cream cheese, sweetener, vanilla, and whipped cream). Set in the fridge 4–6 hours. Texture is softer but still delicious.
- Coconut flour crust: Replace almond flour with 1/2 cup coconut flour.
Add 1 extra tablespoon melted butter and 1–2 tablespoons almond milk until it clumps. Coconut flour is more absorbent, so don’t overpack the crust.
- Dairy-free: Use dairy-free cream cheese and coconut cream in place of heavy cream. Swap butter for coconut oil.
Note that texture will be slightly different but still creamy.
- Different sweeteners: Allulose gives the smoothest texture and no cooling effect. Monk fruit blends are also great. Adjust to taste.
- Chocolate drizzle: Melt sugar-free dark chocolate with a little coconut oil and drizzle over the top before slicing for extra flair.
FAQ
Are these bites truly keto?
Yes, the ingredients are low-carb and free of refined sugar.
Net carbs will depend on the sweetener brand and portion size, but they fit comfortably into most keto plans.
Can I make this in a muffin tin instead of a square pan?
Absolutely. Line a 12-cup muffin tin with parchment liners, press a tablespoon of crust into each, bake 6–8 minutes, add filling, and bake another 12–15 minutes. Chill and top the same way.
What’s the best cocoa to mimic Oreo flavor?
Black cocoa gives the most authentic dark color and flavor.
Dutch-process cocoa is the next best option and widely available.
My cheesecake cracked. What happened?
Cracks usually come from overbaking or overmixing. Mix on low, stop when just combined, and pull the cheesecake while the center still has a gentle wobble.
Can I skip the whipped topping?
Yes.
You can simply sprinkle the reserved crumble over the chilled cheesecake or add a thin layer of sweetened sour cream for a tangy finish.
How do I make it sweeter without adding carbs?
Increase the powdered low-carb sweetener slightly, or use a blend that includes stevia or monk fruit for more perceived sweetness without extra bulk.
Do I need to grease the parchment?
No. Parchment prevents sticking, and the butter in the crust adds extra insurance. Just make sure you have a good overhang to lift the slab out cleanly.
Wrapping Up
Keto Oreo Cheesecake Bites are all about big flavor in a small, smart package. The crisp chocolatey base, velvety filling, and crunchy topping scratch that cookies-and-cream itch without derailing your goals. They’re simple enough for weeknights, special enough for guests, and easy to make ahead. Keep a batch chilled or frozen, and you’ll always have a low-carb treat ready when the cravings hit.
Printable Recipe Card
Want just the essential recipe details without scrolling through the article? Get our printable recipe card with just the ingredients and instructions.