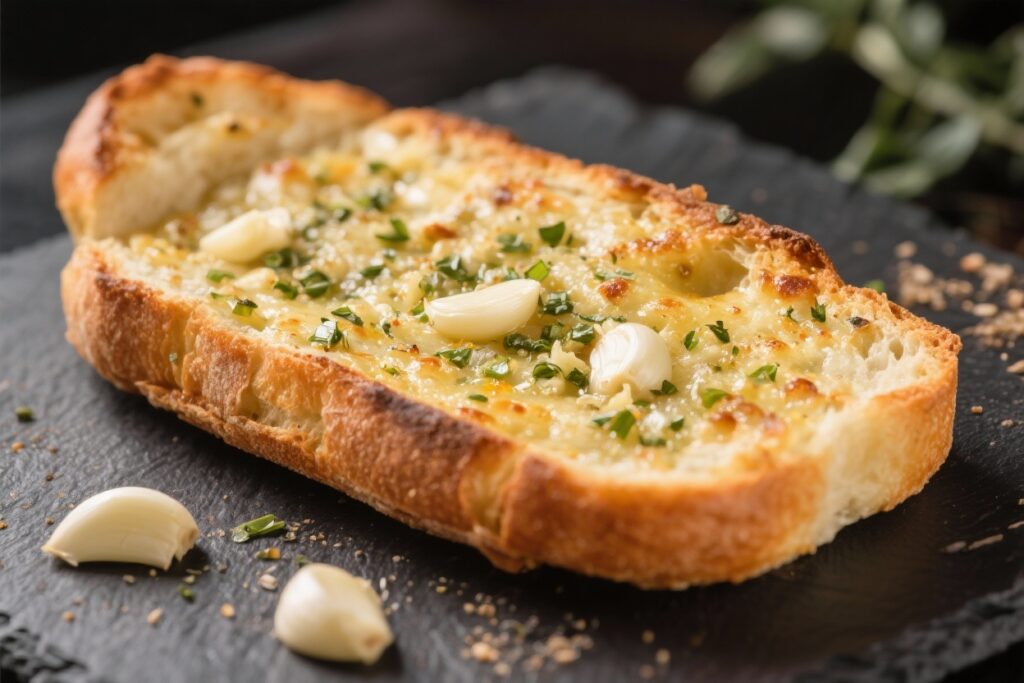
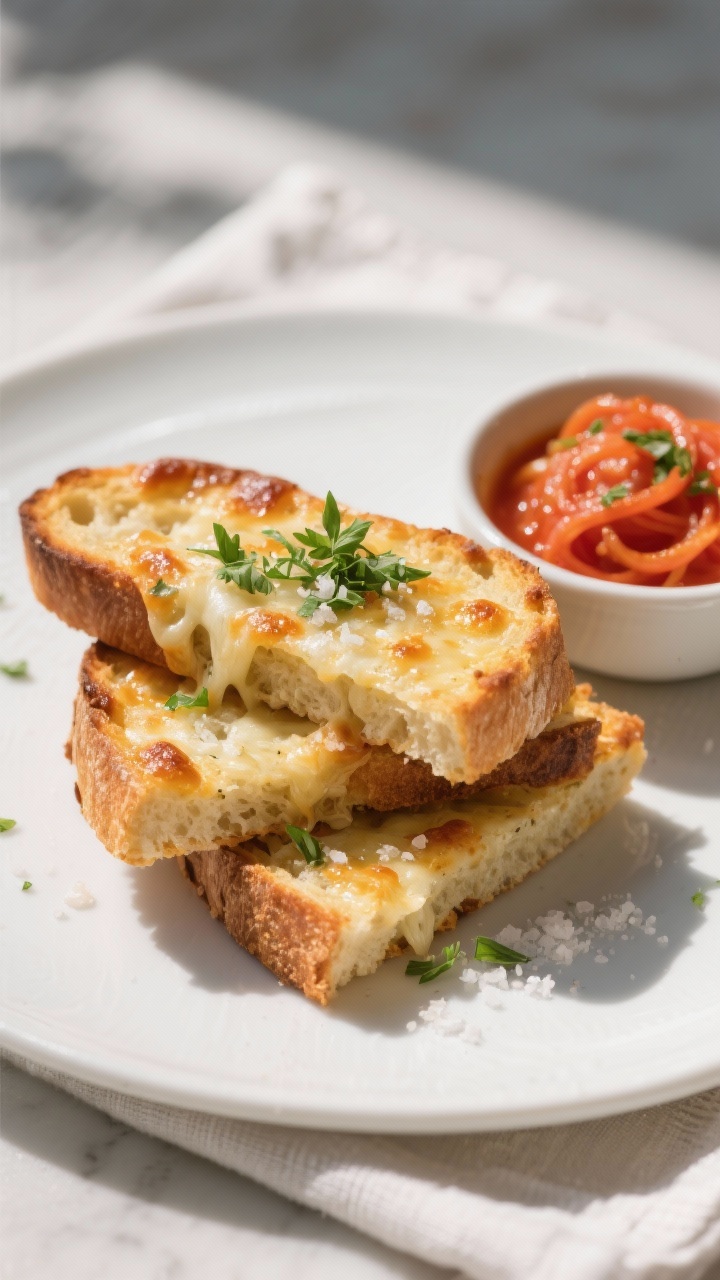
If you miss the warm, buttery pull of garlic bread but want to stay low-carb, this keto version hits the spot. It’s cheesy, garlicky, and ready fast—without the heavy flour. The texture is tender with a lightly crisp edge, and it pairs perfectly with soups, salads, or a hearty pasta-style dish like zoodles.
You won’t feel like you’re compromising. In fact, you might prefer it to the original.

Ingredients
Method
- Preheat the oven: Set to 400°F (200°C). Line a baking sheet with parchment paper for easy cleanup.
- Melt the cheeses: In a microwave-safe bowl, combine shredded mozzarella and cream cheese. Microwave in 20–30 second bursts, stirring between each, until smooth and stretchy. Alternatively, melt in a small pot over low heat, stirring often.
- Mix the dry ingredients: In a separate bowl, whisk almond flour, baking powder, Italian seasoning, a pinch of salt, and a few grinds of black pepper.
- Make the dough: Add the egg to the melted cheese, stirring quickly to incorporate. Fold in the almond flour mixture until a cohesive dough forms. If it seems sticky, let it rest for 2–3 minutes; it will firm up as it cools.
- Shape the bread: Transfer the dough to the parchment-lined sheet. Lightly oil your hands and press into an oval or rectangle about 1/2 inch thick.
- Par-bake: Bake for 8–10 minutes until lightly set and just starting to color.
- Make the garlic butter: While the base bakes, melt the butter and stir in minced garlic and a pinch of salt. For extra flavor, add a tablespoon of grated Parmesan.
- Brush and top: Remove the bread from the oven. Brush generously with garlic butter. Sprinkle with a little mozzarella and Parmesan if you like a cheesy top.
- Finish baking: Return to the oven for 5–7 minutes, until edges are golden and the top is bubbly.
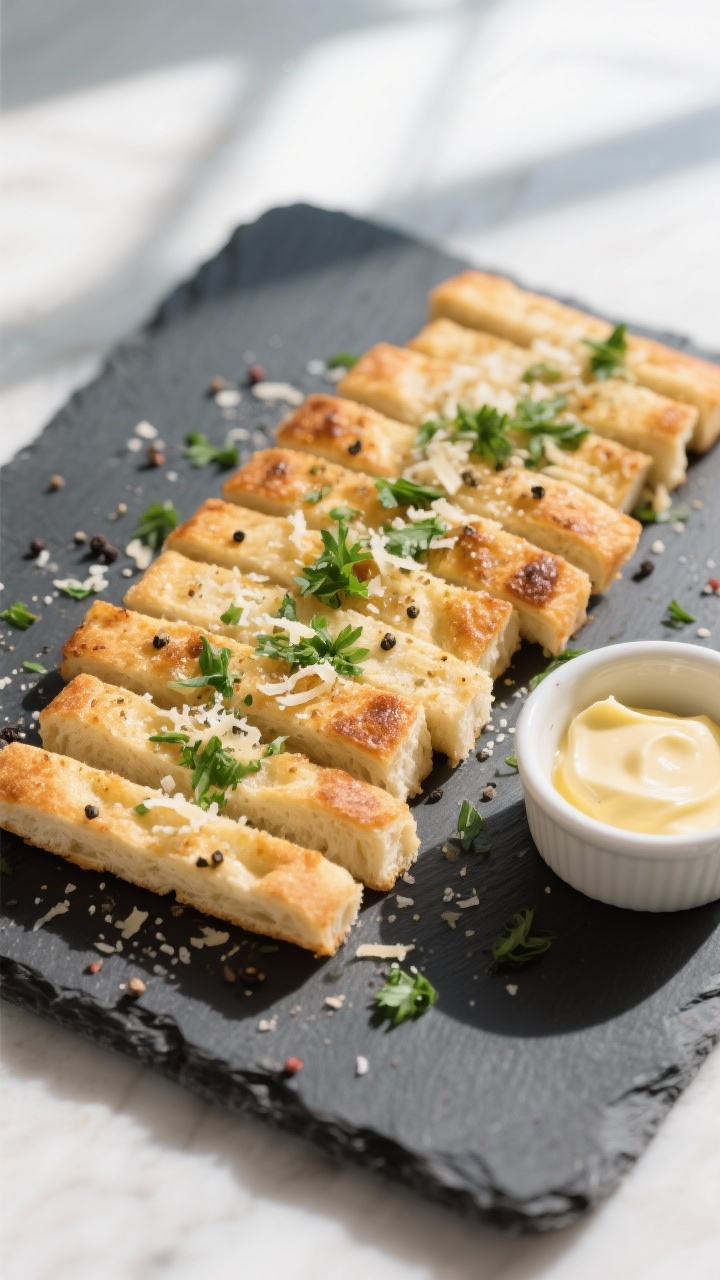
- Garnish and slice: Let it cool for 2 minutes, then sprinkle with chopped parsley. Slice into sticks or wedges and serve warm.
What Makes This Special

This keto garlic bread swaps traditional wheat flour for a blend of almond flour and mozzarella, creating a satisfying bread-like bite without the carbs. The fathead-style dough bakes up golden and fragrant, then gets brushed with melted butter and fresh garlic.
It’s rich, flavorful, and incredibly simple to make. Best of all, it’s naturally gluten-free and comes together in about 30 minutes.
What You’ll Need
- Almond flour: Super-fine works best for a smoother crumb.
- Mozzarella cheese: Shredded, low-moisture mozzarella for the dough.
- Cream cheese: Helps bind and soften the dough.
- Egg: Acts as a binder and adds structure.
- Baking powder: Gives a bit of lift.
- Garlic: Freshly minced for maximum flavor.
- Butter: Salted or unsalted; melted for brushing.
- Parmesan cheese: Optional, for a savory finish.
- Italian seasoning: Or a mix of dried oregano and basil.
- Fresh parsley: Optional, for garnish.
- Salt and black pepper: To taste.
Step-by-Step Instructions
- Preheat the oven: Set to 400°F (200°C). Line a baking sheet with parchment paper for easy cleanup.
- Melt the cheeses: In a microwave-safe bowl, combine shredded mozzarella and cream cheese.
Microwave in 20–30 second bursts, stirring between each, until smooth and stretchy. Alternatively, melt in a small pot over low heat, stirring often.
- Mix the dry ingredients: In a separate bowl, whisk almond flour, baking powder, Italian seasoning, a pinch of salt, and a few grinds of black pepper.
- Make the dough: Add the egg to the melted cheese, stirring quickly to incorporate. Fold in the almond flour mixture until a cohesive dough forms.
If it seems sticky, let it rest for 2–3 minutes; it will firm up as it cools.
- Shape the bread: Transfer the dough to the parchment-lined sheet. Lightly oil your hands and press into an oval or rectangle about 1/2 inch thick.
- Par-bake: Bake for 8–10 minutes until lightly set and just starting to color.
- Make the garlic butter: While the base bakes, melt the butter and stir in minced garlic and a pinch of salt. For extra flavor, add a tablespoon of grated Parmesan.
- Brush and top: Remove the bread from the oven.
Brush generously with garlic butter. Sprinkle with a little mozzarella and Parmesan if you like a cheesy top.
- Finish baking: Return to the oven for 5–7 minutes, until edges are golden and the top is bubbly.
- Garnish and slice: Let it cool for 2 minutes, then sprinkle with chopped parsley. Slice into sticks or wedges and serve warm.
How to Store
- Refrigerate: Store leftovers in an airtight container for up to 4 days.
Reheat in a 350°F (175°C) oven or air fryer for best texture.
- Freeze: Slice and freeze on a tray, then transfer to a freezer bag. Keeps well for up to 2 months.
- Reheating tip: Skip the microwave if possible; it can make the bread soft and rubbery. A hot oven or skillet brings back the crisp edges.
Health Benefits
- Low in carbs: Almond flour and cheese keep net carbs low while delivering the familiar comfort of garlic bread.
- Higher in protein and fat: The combination of cheese, egg, and almond flour supports satiety and steady energy on a ketogenic diet.
- Gluten-free: No wheat flour means it fits gluten-free lifestyles without special substitutions.
- Nutrient-dense: Almond flour provides vitamin E, magnesium, and healthy fats.
Garlic offers antioxidants and savory depth without extra carbs.
Pitfalls to Watch Out For
- Overheating the cheese: If the cheese separates or becomes oily, the dough can get greasy. Melt gently and stir often.
- Sticky dough: Warm dough is tacky. Let it cool for a minute, oil your hands, and it will handle better.
- Skipping the par-bake: This step helps set the structure.
If you add the garlic butter too soon, the bread can turn soggy.
- Using fresh mozzarella: Low-moisture shredded mozzarella works best. Fresh mozzarella adds too much moisture and makes the dough soft.
- Too thick or too thin: Aim for about 1/2 inch thick. Thicker takes longer to cook; thinner can over-brown before it sets.
Variations You Can Try
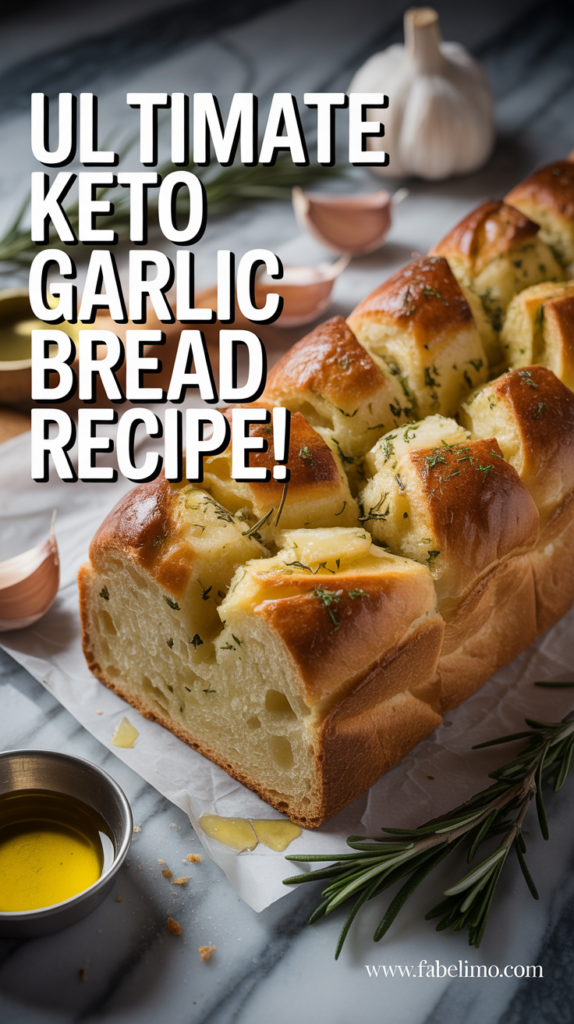
- Cheesy pull-apart: Shape the dough into small rounds in a skillet, brush with garlic butter, and bake until the edges touch.
Extra mozzarella on top makes it gooey.
- Rosemary and sea salt: Swap Italian seasoning for chopped fresh rosemary, and finish with flaky salt.
- Jalapeño cheddar: Add minced jalapeño to the dough and top with shredded cheddar for a spicy twist.
- Everything seasoning: Sprinkle the top with everything bagel seasoning after brushing with butter.
- Dairy-light version: Use less mozzarella and skip the Parmesan topping. The texture will be slightly firmer but still satisfying.
- Cauliflower blend: Replace one-third of the almond flour with very well-drained riced cauliflower for a lighter bite.
FAQ
Can I make this without a microwave?
Yes. Melt the mozzarella and cream cheese together in a small saucepan over low heat, stirring constantly until smooth.
Keep the heat gentle to prevent scorching.
What can I use instead of almond flour?
Finely sifted coconut flour can work, but it absorbs more moisture. If substituting, start with 1/3 the amount and add gradually until a soft dough forms. Expect a slightly different texture.
How many carbs are in a serving?
It varies by brand and portion size, but a typical serving (1/8 of the batch) averages around 2–4 net carbs.
Check your specific ingredients to be sure.
Can I add more garlic?
Absolutely. If you love a strong garlic flavor, double the garlic in the butter or add a pinch of garlic powder to the dough itself.
Why is my dough oily?
Overheating cheese or using a high-moisture mozzarella can cause oiliness. Melt gently, stir frequently, and use low-moisture shredded mozzarella for best results.
Can I make it ahead?
Yes.
Par-bake the base, cool, and refrigerate for up to 24 hours. When ready, brush with garlic butter, top with cheese, and finish baking.
Is parchment paper necessary?
It’s helpful. The dough can stick to bare pans, and parchment makes shaping and cleanup easier.
A silicone baking mat also works.
Wrapping Up
Keto garlic bread is simple, quick, and deeply satisfying. With a few pantry staples and a short bake, you get buttery edges, a tender center, and bold garlic flavor—without the carb crash. Keep this recipe in your weeknight rotation, and customize it with your favorite herbs and cheeses. It’s the kind of side that turns a simple meal into something you’ll look forward to.
Printable Recipe Card
Want just the essential recipe details without scrolling through the article? Get our printable recipe card with just the ingredients and instructions.