
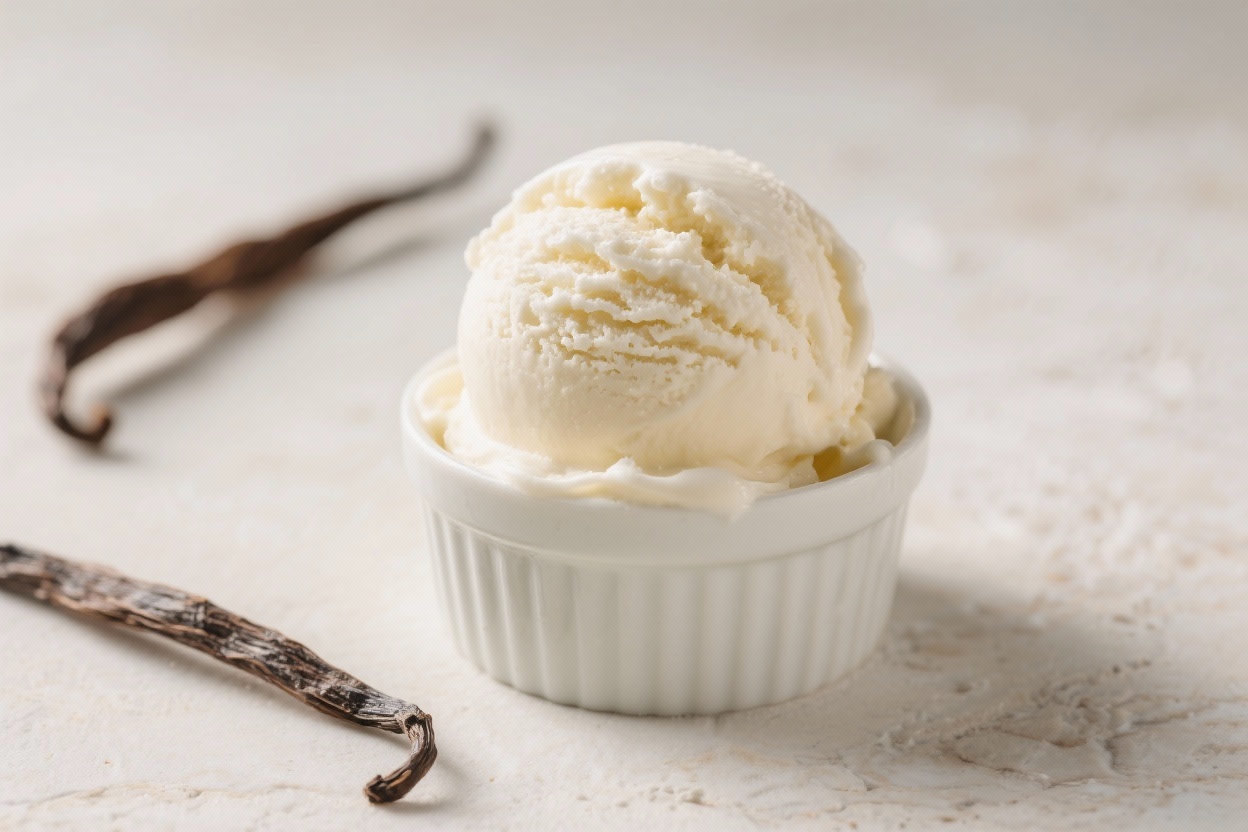
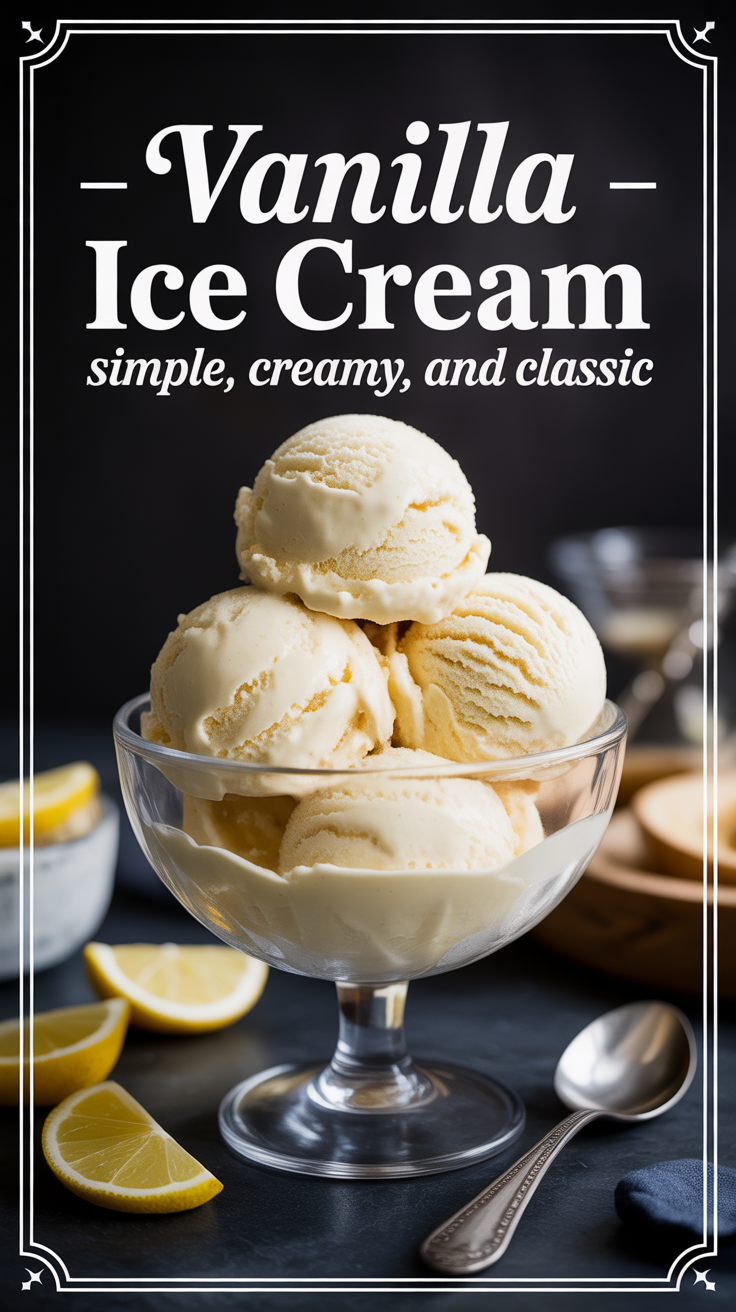
Vanilla ice cream has a way of making everything feel right. It’s timeless,, gently sweet, and perfect on its own or with a warm slice of pie. This version is rich and velvety with a clean vanilla flavor that tastes like it came from a small-batch creamery.
If you’ve never made ice cream at home, this is the ideal place to start. With a few basic ingredients and a little patience, you’ll have a scoop that’s miles better than store-bought.
Ingredients
Method
-
Set up your tools. Have a medium saucepan, a whisk, a heatproof bowl, and a fine-mesh strainer ready.
If using a vanilla bean, split it and scrape out the seeds.
-
Warm the dairy. In the saucepan, combine 2 cups heavy cream and 1 cup whole milk. Add half the sugar (about 1/3 cup), the vanilla seeds and pod (or add vanilla extract later), and a pinch of salt. Heat over medium until steaming but not boiling.
-
Whisk the yolks. In a separate bowl, whisk 5 large egg yolks with the remaining 1/3 cup sugar until slightly thick and lighter in color, 30–60 seconds.
-
Temper the eggs. Slowly ladle about 1 cup of the hot dairy into the yolks while whisking constantly.
This warms the eggs gently so they don’t curdle.
-
Cook the custard. Pour the yolk mixture back into the saucepan. Cook over medium-low heat, stirring constantly with a rubber spatula, until the custard thickens enough to coat the back of the spatula. Aim for 170–175°F if using a thermometer.
-
Strain and cool. Remove from heat and strain through a fine-mesh sieve into a clean bowl to catch any bits of egg.
If using vanilla extract instead of a bean, stir in 2–3 teaspoons now. Fish out the vanilla pod if used.
-
Chill thoroughly. Cover and refrigerate until cold, at least 4 hours or overnight. The colder the base, the creamier your ice cream.
For faster chilling, set the bowl over an ice bath and stir for 15–20 minutes before refrigerating.
-
Churn. Pour the chilled base into your ice cream maker and churn according to the manufacturer’s instructions, usually 15–25 minutes, until it reaches a soft-serve consistency. If using vodka, add it in the last minute of churning.
-
Freeze to set. Transfer the ice cream to a lidded container. Press a piece of parchment against the surface to prevent ice crystals, cover, and freeze 3–4 hours until firm.
-
Serve. Let the container sit at room temperature for 5 minutes before scooping.
Enjoy plain or with your favorite toppings.
Why This Recipe Works

This recipe uses a classic custard base, which gives the ice cream a smooth, scoopable texture and a rich mouthfeel. Egg yolks and cream create body, while milk keeps it from turning too heavy.
Real vanilla—either extract or a vanilla bean—adds a pure, aromatic flavor you can’t fake. A small pinch of salt wakes everything up and keeps the sweetness balanced.
Heating the mixture slowly ensures the eggs thicken without scrambling, and chilling the base before churning helps it freeze with tiny ice crystals. The result is creamy, not icy, with that old-fashioned, comforting taste you want from vanilla ice cream.
Shopping List
- Heavy cream: For richness and a creamy texture.
- Whole milk: Balances the cream to avoid a greasy feel.
- Granulated sugar: Sweetens and improves texture.
- Egg yolks: Thicken the custard and add silkiness.
- Vanilla extract or 1 vanilla bean: The main flavor—use good quality.
- Salt: Just a pinch to enhance flavor.
- Optional: A splash of vodka (about 1 teaspoon) to keep it extra scoopable.
Instructions

- Set up your tools. Have a medium saucepan, a whisk, a heatproof bowl, and a fine-mesh strainer ready.
If using a vanilla bean, split it and scrape out the seeds.
- Warm the dairy. In the saucepan, combine 2 cups heavy cream and 1 cup whole milk. Add half the sugar (about 1/3 cup), the vanilla seeds and pod (or add vanilla extract later), and a pinch of salt. Heat over medium until steaming but not boiling.
- Whisk the yolks. In a separate bowl, whisk 5 large egg yolks with the remaining 1/3 cup sugar until slightly thick and lighter in color, 30–60 seconds.
- Temper the eggs. Slowly ladle about 1 cup of the hot dairy into the yolks while whisking constantly.
This warms the eggs gently so they don’t curdle.
- Cook the custard. Pour the yolk mixture back into the saucepan. Cook over medium-low heat, stirring constantly with a rubber spatula, until the custard thickens enough to coat the back of the spatula. Aim for 170–175°F if using a thermometer.
- Strain and cool. Remove from heat and strain through a fine-mesh sieve into a clean bowl to catch any bits of egg.
If using vanilla extract instead of a bean, stir in 2–3 teaspoons now. Fish out the vanilla pod if used.
- Chill thoroughly. Cover and refrigerate until cold, at least 4 hours or overnight. The colder the base, the creamier your ice cream.
For faster chilling, set the bowl over an ice bath and stir for 15–20 minutes before refrigerating.
- Churn. Pour the chilled base into your ice cream maker and churn according to the manufacturer’s instructions, usually 15–25 minutes, until it reaches a soft-serve consistency. If using vodka, add it in the last minute of churning.
- Freeze to set. Transfer the ice cream to a lidded container. Press a piece of parchment against the surface to prevent ice crystals, cover, and freeze 3–4 hours until firm.
- Serve. Let the container sit at room temperature for 5 minutes before scooping.
Enjoy plain or with your favorite toppings.
Storage Instructions
Store the ice cream in an airtight, freezer-safe container. Press parchment or plastic wrap directly on the surface before sealing the lid to prevent freezer burn. It’s best within 1–2 weeks for optimal texture and flavor.
If it gets too hard, let it sit out for a few minutes before scooping, or run your scoop under warm water.

Benefits of This Recipe
- Classic flavor, simple ingredients: Nothing artificial, just cream, milk, eggs, sugar, and real vanilla.
- Reliable texture: The custard base gives a creamy, scoopable finish with minimal iciness.
- Flexible: Use extract or a vanilla bean, adjust sweetness, or add mix-ins without fuss.
- Better than store-bought: Fresh dairy and real vanilla make a big difference in taste and aroma.
- Make ahead friendly: The base can chill overnight, and the finished ice cream keeps well.
What Not to Do
- Don’t rush the custard. High heat can scramble the eggs. Keep it gentle and stir constantly.
- Don’t skip chilling the base. Churning warm or lukewarm custard leads to icy texture. Let it get fully cold.
- Don’t overdo the vanilla. Too much extract can taste sharp or artificial.
Measure carefully.
- Don’t forget the salt. A tiny pinch keeps the flavor balanced and vibrant.
- Don’t overfill the ice cream maker. Leave room for expansion so it churns properly.
Alternatives
- No-churn option: Whip 2 cups cold heavy cream to soft peaks. Fold in 1 can sweetened condensed milk, 2 teaspoons vanilla extract, and a pinch of salt. Freeze in a loaf pan 6–8 hours.
Different texture, but easy and delicious.
- Dairy-free: Use full-fat coconut milk (two 13.5-ounce cans) and 1/2 cup sugar. Skip the egg yolks or add 1 tablespoon cornstarch for body. Vanilla pairs nicely with coconut’s natural sweetness.
- Lower sugar: Reduce sugar by 2–3 tablespoons.
Texture may be slightly firmer; a teaspoon of vodka helps keep it scoopable.
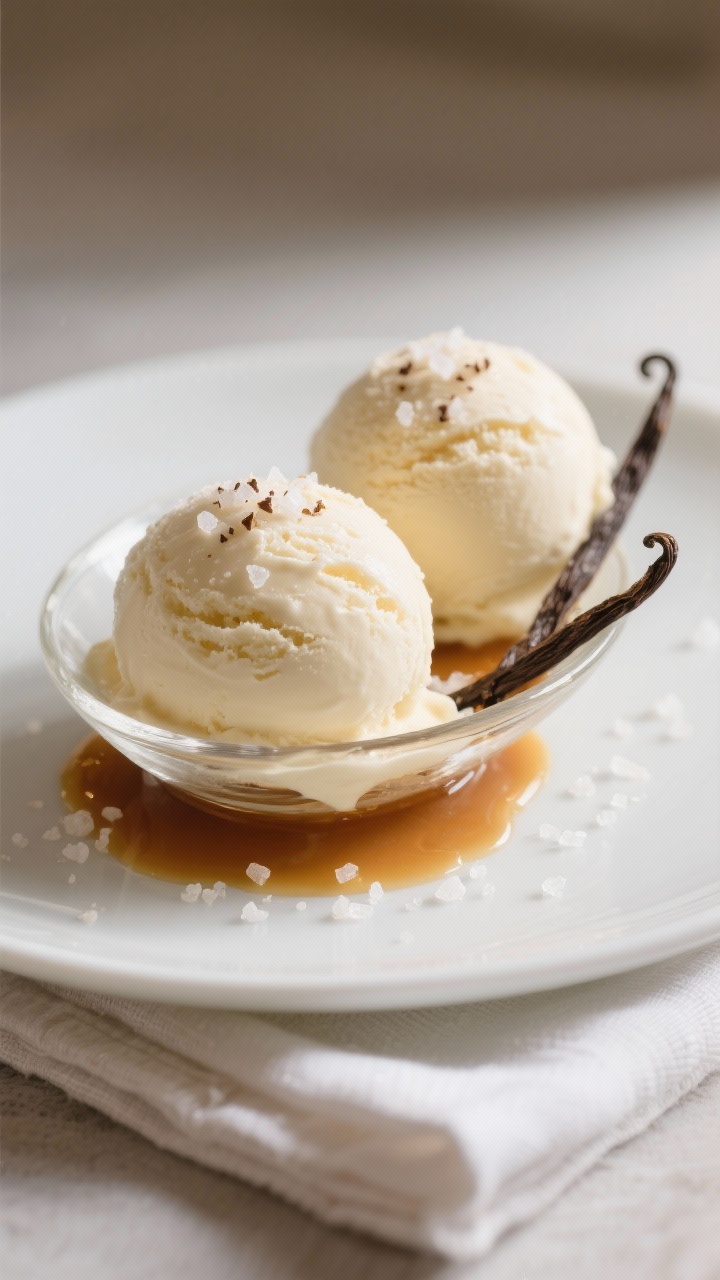
- Flavor twists: Add crushed cookies, swirls of caramel, or a handful of chocolate chips in the last minute of churning. For French vanilla, stick with the custard method and use a vanilla bean.
- Without an ice cream maker: Freeze the custard base in a shallow dish. Stir vigorously every 30–45 minutes for 3–4 hours to break up ice crystals.
Not as smooth, but still very good.
FAQ
Can I use 2% milk instead of whole milk?
Yes, but the texture will be a bit lighter and slightly less creamy. Keep the heavy cream as-is for best results, and be sure to chill the base thoroughly.
Is it safe to eat the eggs in this recipe?
Yes. The custard is heated to 170–175°F, which safely cooks the yolks.
Use a thermometer if you’re unsure, and avoid boiling to prevent curdling.
What if my custard curdles?
Don’t panic. Immediately remove it from heat and strain through a fine-mesh sieve. You can also blend it briefly with an immersion blender to smooth it out.
It may still set nicely once churned.
How do I get a stronger vanilla flavor?
Use a vanilla bean or double-fold pure vanilla extract. You can also infuse the dairy longer with the bean pod—up to 30 minutes off the heat—then rewarm gently before tempering the eggs.
Why does my ice cream get icy after a few days?
Usually it’s from air exposure or a base that wasn’t fully chilled. Press parchment onto the surface, keep the container tightly sealed, and avoid temperature swings by storing it toward the back of the freezer.
Can I reduce the egg yolks?
You can use 3 or 4 yolks instead of 5 for a lighter texture.
The ice cream will be less rich and slightly more icy, but still tasty. Consider adding 1 teaspoon cornstarch to help with body.
When should I add mix-ins?
Add them in the last minute of churning so they distribute evenly without sinking. If your add-in is syrupy, layer it into the container as you transfer the ice cream.
What container is best for freezing?
Use a shallow, wide container with a tight lid.
Metal or insulated containers freeze faster and more evenly than deep plastic tubs.
Final Thoughts
Homemade vanilla ice cream is simple, comforting, and endlessly useful. With a reliable custard base and good vanilla, you get a creamy scoop that tastes like summer any time of year. Keep this as your go-to recipe, then make it your own with mix-ins or sauces.
Once you taste it, you’ll understand why this classic never goes out of style.
Printable Recipe Card
Want just the essential recipe details without scrolling through the article? Get our printable recipe card with just the ingredients and instructions.