If you love the flavor of chocolate-covered peanut butter cookies, these Tagalong Cookie Bars will be your new go-to treat. They’re soft, buttery, and layered with creamy peanut butter and a smooth chocolate topping. The best part?
They bake in one pan, no scooping or shaping required. Make them for bake sales, parties, or a weeknight dessert that feels special without a lot of fuss.

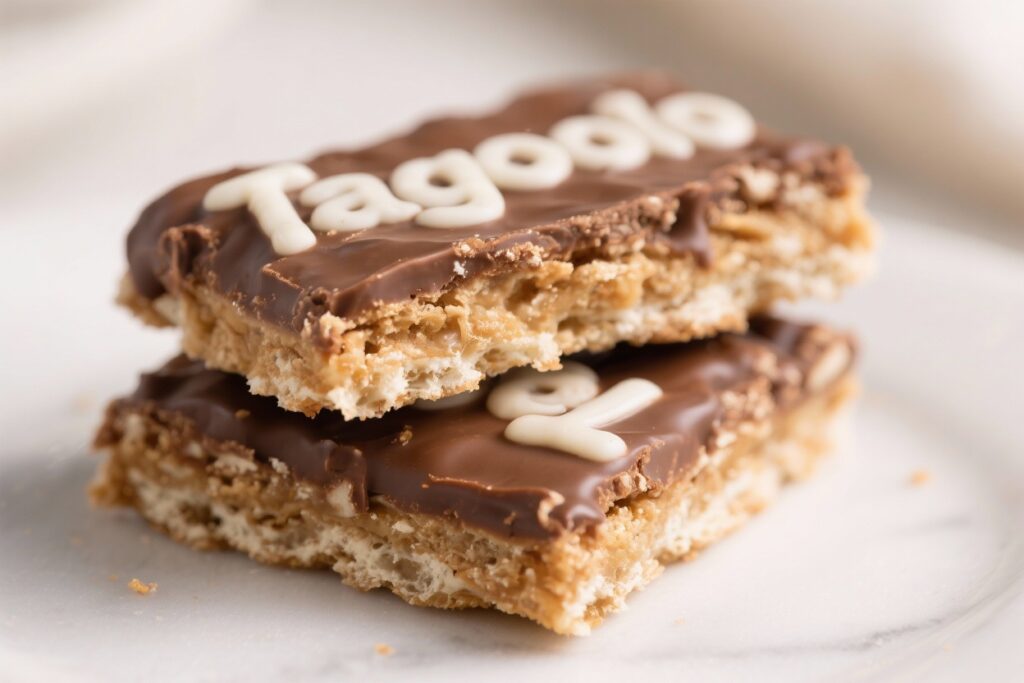
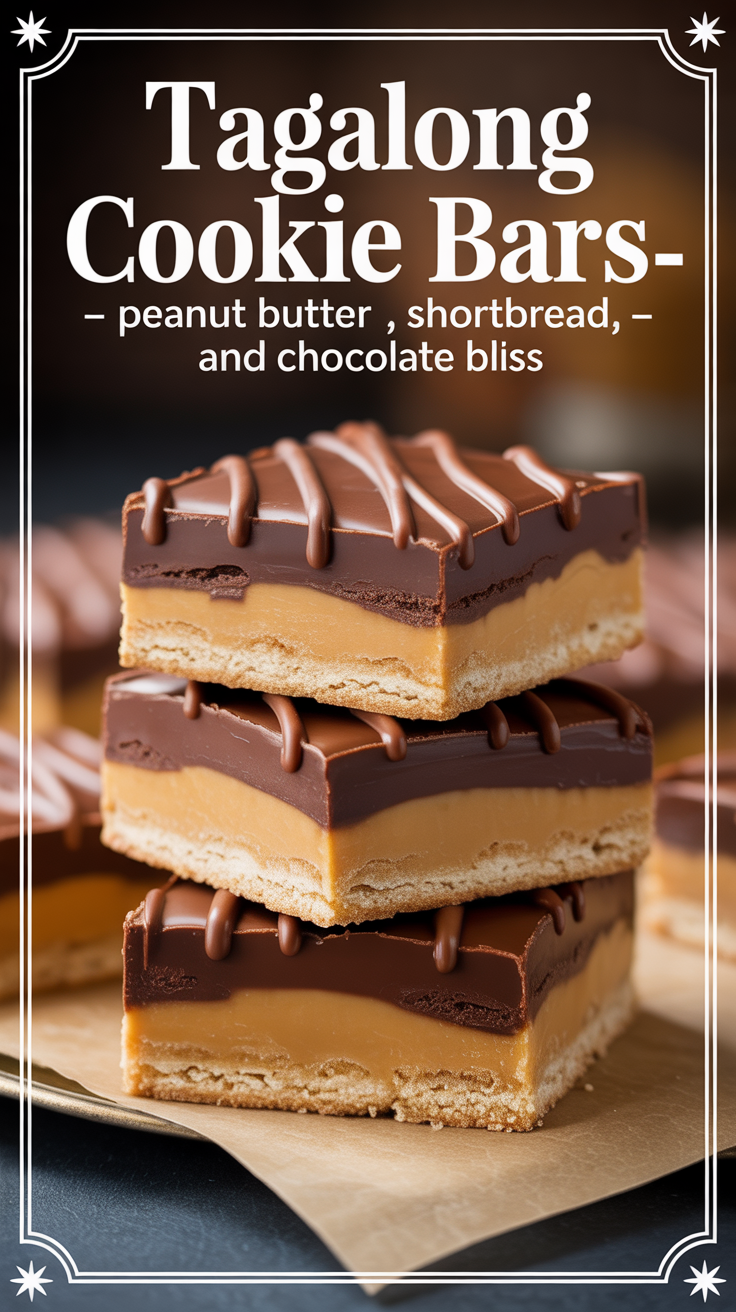
Tagalong Cookie Bars – Peanut Butter, Shortbread, and Chocolate Bliss
Ingredients
Method
-
Prep the pan: Line a 9×13-inch pan with parchment, leaving overhang on the long sides for easy lifting. Lightly grease the parchment.
-
Make the shortbread: In a large bowl, beat softened butter, granulated sugar, and brown sugar until light and creamy, about 2 minutes.
Mix in vanilla.
-
Add dry ingredients: Add flour and salt. Mix on low just until the dough comes together. It will look crumbly but should hold when pressed.
-
Press and bake: Press dough evenly into the pan.
Use the bottom of a measuring cup to level it. Bake at 350°F (175°C) for 18–22 minutes, until edges are pale golden. Do not overbake.
-
Cool slightly: Let the crust cool for 15–20 minutes.
You want it warm but not hot before adding the peanut butter layer.
-
Make the peanut butter layer: Stir peanut butter, powdered sugar, salt, and vanilla until smooth. If it’s stiff, microwave for 10–15 seconds to loosen.
-
Spread the peanut butter: Dollop over the warm crust and gently spread into an even layer. Chill in the fridge for 15 minutes to set.
-
Melt the chocolate: Combine chocolate and oil in a microwave-safe bowl.
Heat in 20–30 second bursts, stirring between each, until smooth and glossy. Alternatively, melt over a double boiler.
-
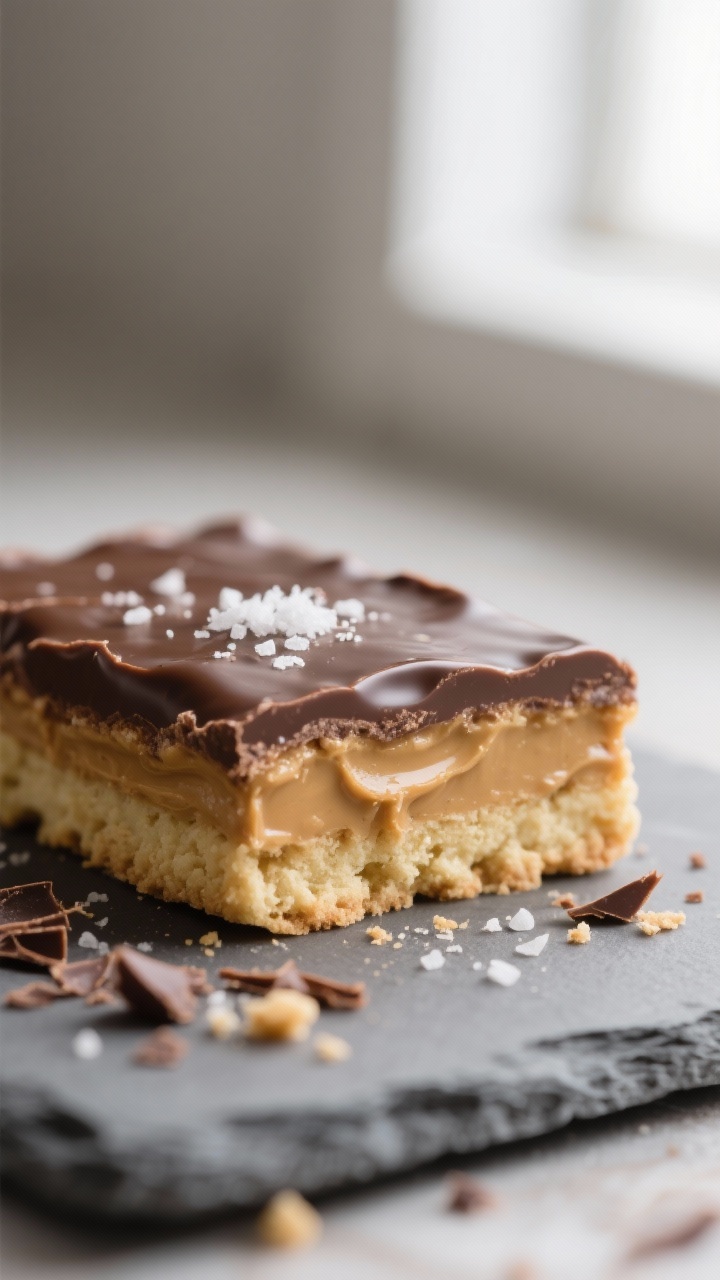
Top with chocolate: Pour the melted chocolate over the chilled peanut butter layer. Smooth with an offset spatula.
Sprinkle flaky salt if using.
-
Set and slice: Refrigerate for 45–60 minutes, until the chocolate is firm. Lift the bars out using parchment and slice with a sharp knife. For clean slices, warm the knife under hot water, wipe dry, and cut in one motion.
What Makes This Recipe So Good
- All the Tagalong flavor, none of the hassle: Buttery shortbread, velvety peanut butter, and a shiny chocolate cap in easy bar form.
- Pantry-friendly: Uses simple ingredients you probably already have—flour, sugar, butter, peanut butter, and chocolate.
- Perfect texture: The base is tender yet sturdy, the middle is creamy, and the top has that satisfying chocolate snap.
- Great for sharing: One 9×13 pan makes enough for a crowd, and bars cut cleanly for neat servings.
- Make-ahead friendly: They set beautifully in the fridge and slice even better the next day.
What You’ll Need
- For the shortbread base:
- 1 cup (2 sticks) unsalted butter, softened
- 1/2 cup granulated sugar
- 1/4 cup light brown sugar, packed
- 1 teaspoon vanilla extract
- 2 cups all-purpose flour
- 1/2 teaspoon fine sea salt
- For the peanut butter layer:
- 1 1/2 cups creamy peanut butter (not natural, for best texture)
- 1/2 cup powdered sugar
- 1/4 teaspoon fine sea salt (skip if peanut butter is salted)
- 1 teaspoon vanilla extract
- For the chocolate topping:
- 2 cups semisweet chocolate chips or chopped chocolate
- 2 tablespoons coconut oil or neutral oil (for shine and easy slicing)
- Flaky sea salt, optional for topping
- Tools:
- 9×13-inch baking pan
- Parchment paper
- Mixing bowls and handheld or stand mixer
- Spatula and offset spatula (optional but helpful)
- Microwave-safe bowl or double boiler
Step-by-Step Instructions

- Prep the pan: Line a 9×13-inch pan with parchment, leaving overhang on the long sides for easy lifting. Lightly grease the parchment.
- Make the shortbread: In a large bowl, beat softened butter, granulated sugar, and brown sugar until light and creamy, about 2 minutes.
Mix in vanilla.
- Add dry ingredients: Add flour and salt. Mix on low just until the dough comes together. It will look crumbly but should hold when pressed.
- Press and bake: Press dough evenly into the pan.
Use the bottom of a measuring cup to level it. Bake at 350°F (175°C) for 18–22 minutes, until edges are pale golden. Do not overbake.
- Cool slightly: Let the crust cool for 15–20 minutes.
You want it warm but not hot before adding the peanut butter layer.
- Make the peanut butter layer: Stir peanut butter, powdered sugar, salt, and vanilla until smooth. If it’s stiff, microwave for 10–15 seconds to loosen.
- Spread the peanut butter: Dollop over the warm crust and gently spread into an even layer. Chill in the fridge for 15 minutes to set.
- Melt the chocolate: Combine chocolate and oil in a microwave-safe bowl.
Heat in 20–30 second bursts, stirring between each, until smooth and glossy. Alternatively, melt over a double boiler.
- Top with chocolate: Pour the melted chocolate over the chilled peanut butter layer. Smooth with an offset spatula.
Sprinkle flaky salt if using.
- Set and slice: Refrigerate for 45–60 minutes, until the chocolate is firm. Lift the bars out using parchment and slice with a sharp knife. For clean slices, warm the knife under hot water, wipe dry, and cut in one motion.
How to Store
- Room temperature: Keep bars in an airtight container for up to 3 days.
They’ll be softer and a bit gooey, which many people love.
- Refrigerator: Store for up to 1 week. This keeps layers tidy and the chocolate snappy.
- Freezer: Freeze slices in a single layer, then transfer to a freezer bag for up to 2 months. Thaw in the fridge for best texture.
- Tip: Place parchment between stacked layers to prevent sticking.

Health Benefits
- Protein and healthy fats: Peanut butter adds a little protein and monounsaturated fats, which can help with satiety.
- Portion control: Bars are easy to cut into smaller pieces, making it simpler to enjoy in moderation.
- Cocoa perks: Darker chocolate offers antioxidants.
If you prefer a less sweet dessert, use 60–70% cacao chocolate.
- Customizable: You can reduce sugar slightly or use a more natural peanut butter blend if you don’t mind a softer set.
What Not to Do
- Don’t use natural peanut butter that separates unless you stabilize it with extra powdered sugar; it can make the layer oily and runny.
- Don’t skip the chill time. The layers need time to set, or you’ll end up with smeared chocolate and messy cuts.
- Don’t overbake the shortbread. Dry, crumbly base = bars that fall apart. Pull it when it’s just turning golden at the edges.
- Don’t slice with a cold, dull knife. You’ll crack the chocolate layer. Warm and wipe your knife between cuts.
- Don’t melt chocolate over high heat. It can seize or burn quickly.
Gentle heat and frequent stirring are key.
Alternatives
- Nut-free: Use sunflower seed butter. Add an extra 1–2 tablespoons powdered sugar if it seems loose.
- Gluten-free: Swap in a 1:1 gluten-free all-purpose flour blend formulated for baking.
- Dairy-free: Use dairy-free butter sticks and dairy-free chocolate chips. Check labels to ensure they’re vegan if needed.
- Flavor twists: Mix 1/2 teaspoon almond extract into the shortbread, or add a swirl of honey to the peanut butter layer.
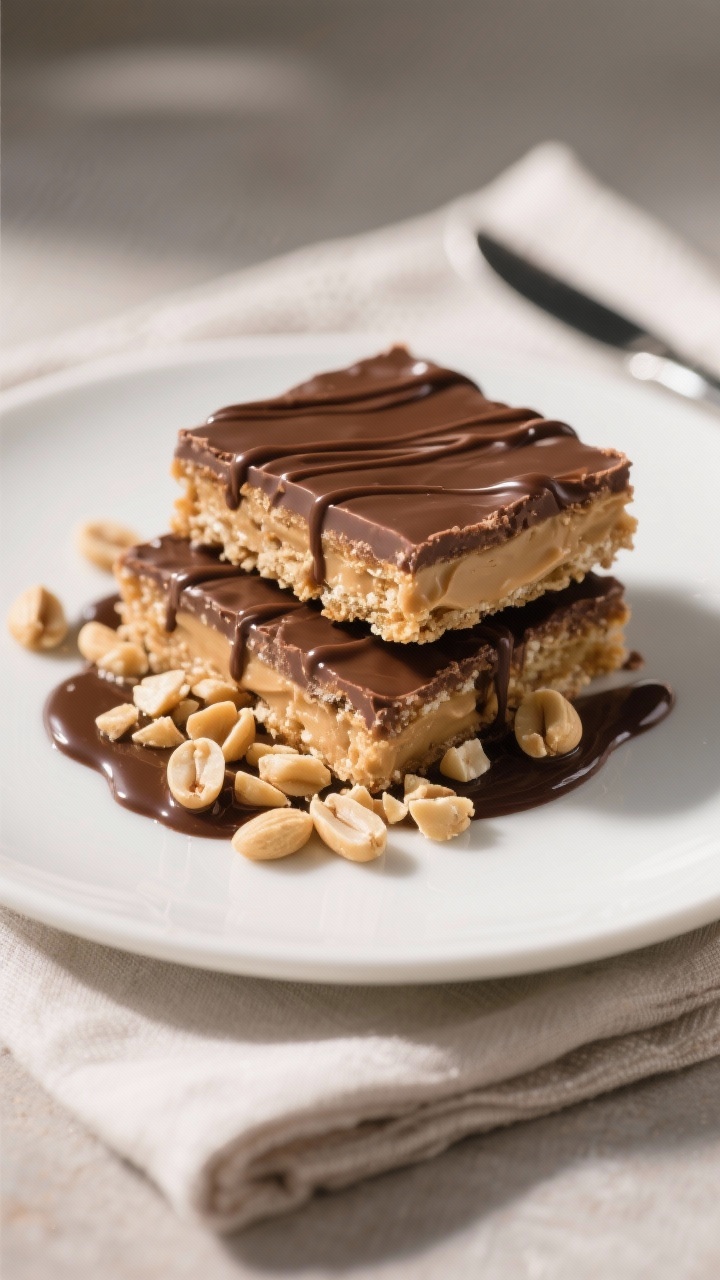
- Texture boosters: Stir in 1/2 cup crushed salted peanuts into the peanut butter layer for crunch.
- Chocolate choices: Try milk chocolate for a sweeter bar, or bittersweet chocolate for a richer, grown-up flavor.
FAQ
Can I use natural peanut butter?
Yes, but it needs to be well-stirred and thicker.
For best results, add 2–4 extra tablespoons of powdered sugar to stabilize it, and chill the layer longer before topping with chocolate.
Why did my chocolate crack when slicing?
The chocolate was likely too cold or your knife wasn’t warm. Let the pan sit at room temperature for 10 minutes, warm your knife under hot water, dry it, and cut with steady pressure.
How do I keep the layers from separating?
Spread the peanut butter onto the crust while it’s slightly warm so the layers can grab onto each other. Chill each layer briefly before adding the next, and avoid lifting bars by the chocolate only.
Can I halve the recipe?
Absolutely.
Use an 8×8-inch pan and reduce bake time for the shortbread to about 16–18 minutes, watching for light golden edges.
What if I don’t have coconut oil for the chocolate?
Use 1–2 teaspoons of neutral oil or skip it entirely. The topping will be a bit firmer without oil, but still delicious.
How small should I cut the bars?
They’re rich. Small squares (about 1.5 inches) work well for parties, while rectangles are great for lunchbox treats.
Aim for 24–30 pieces from a 9×13 pan.
Final Thoughts
Tagalong Cookie Bars are proof that a simple, layered dessert can feel special without a complicated process. With a buttery base, creamy peanut butter, and glossy chocolate, every bite hits the sweet spot. They hold up well for gatherings, travel, and make-ahead plans, and they’re endlessly adaptable to your preferences.
Keep this recipe handy—you’ll reach for it whenever you want a classic, crowd-pleasing treat with minimal effort.

Printable Recipe Card
Want just the essential recipe details without scrolling through the article? Get our printable recipe card with just the ingredients and instructions.