
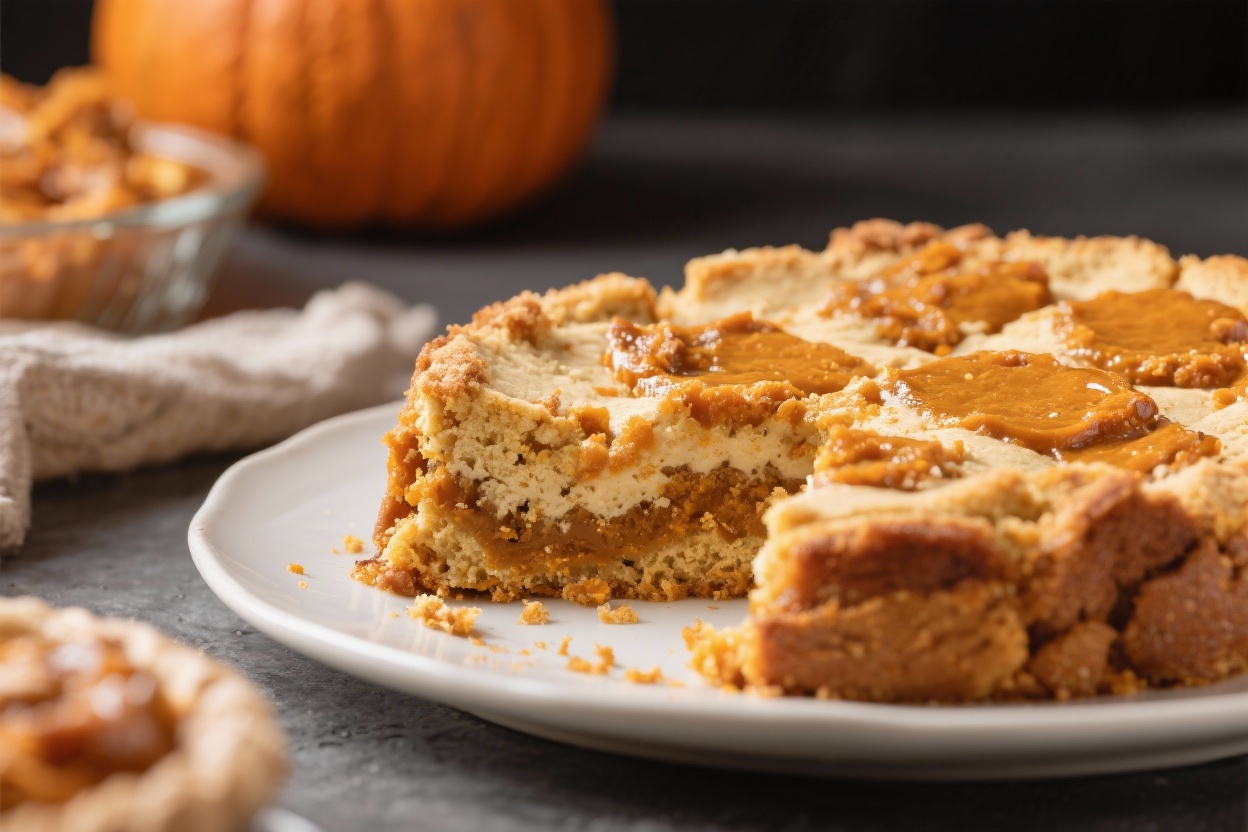
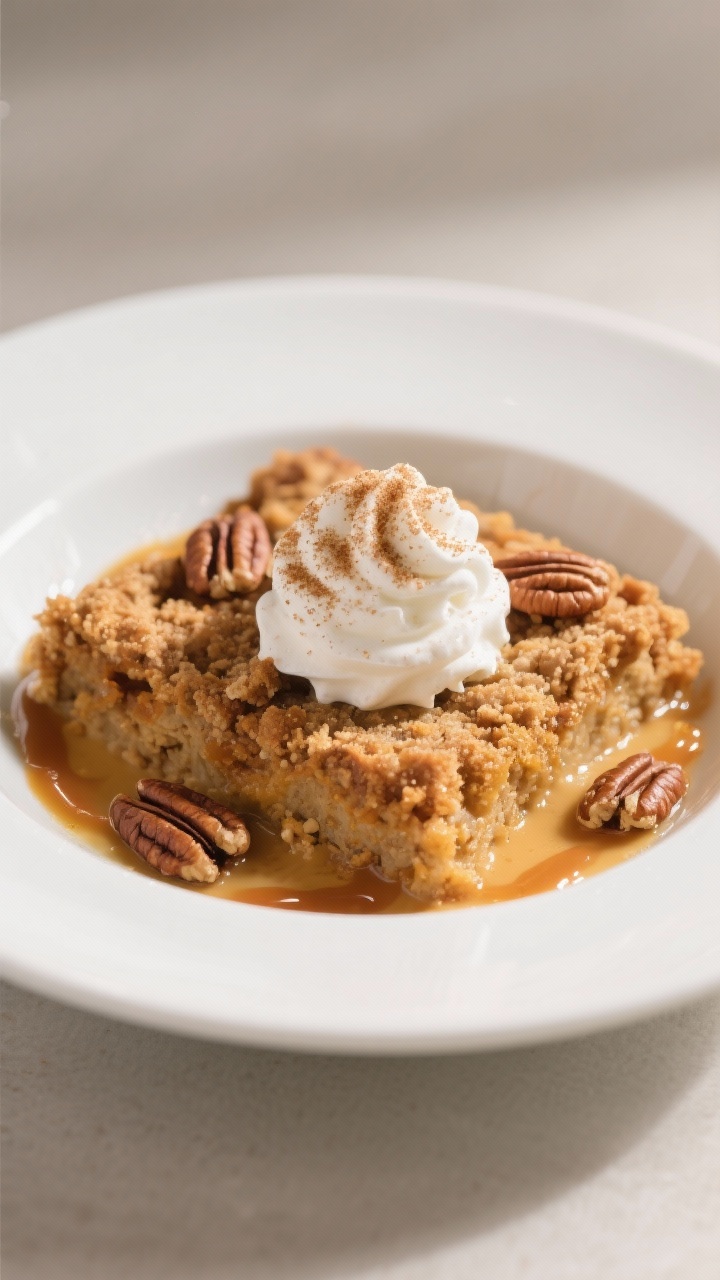
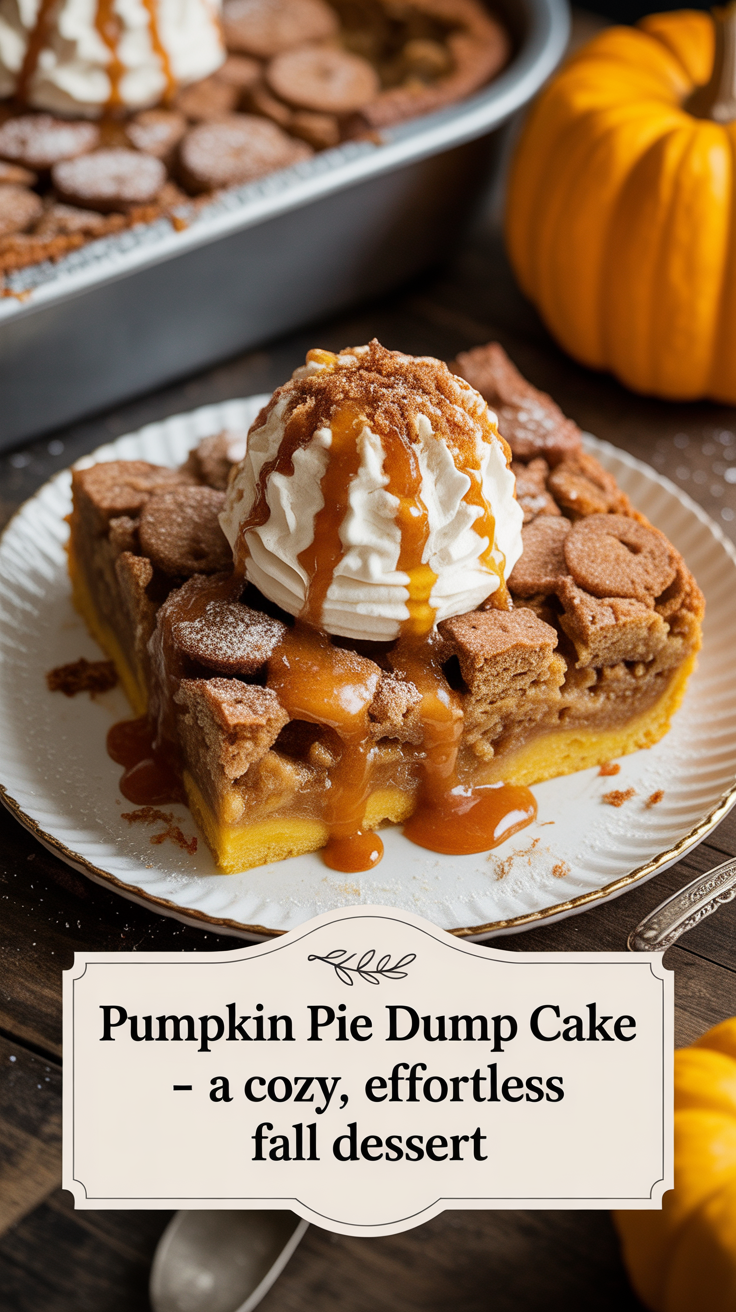
Pumpkin Pie Dump Cake gives you all the warm, spiced flavor of pumpkin pie without the fuss of rolling dough or babysitting a crust. It’s a simple stir-and-layer dessert that tastes like fall in every bite. Think creamy pumpkin filling on the bottom and a buttery, golden cake topping with a slight crunch.
It’s easy enough for a weeknight and special enough for a holiday table. If you love pumpkin pie but want something more relaxed and crowd-pleasing, this is the one to make.
Ingredients
Method
-
Preheat and prep: Heat the oven to 350°F (175°C). Lightly grease a 9×13-inch baking dish with nonstick spray or butter.
-
Make the pumpkin base: In a large bowl, whisk together pumpkin puree, evaporated milk, sugar, eggs, pumpkin pie spice, and salt until smooth.
-
Pour and level: Pour the pumpkin mixture into the prepared baking dish.
Spread it out so it’s evenly distributed.
-
Add the cake mix: Evenly sprinkle the dry cake mix over the pumpkin layer. Don’t mix it in. Aim for a consistent layer without big clumps.
-
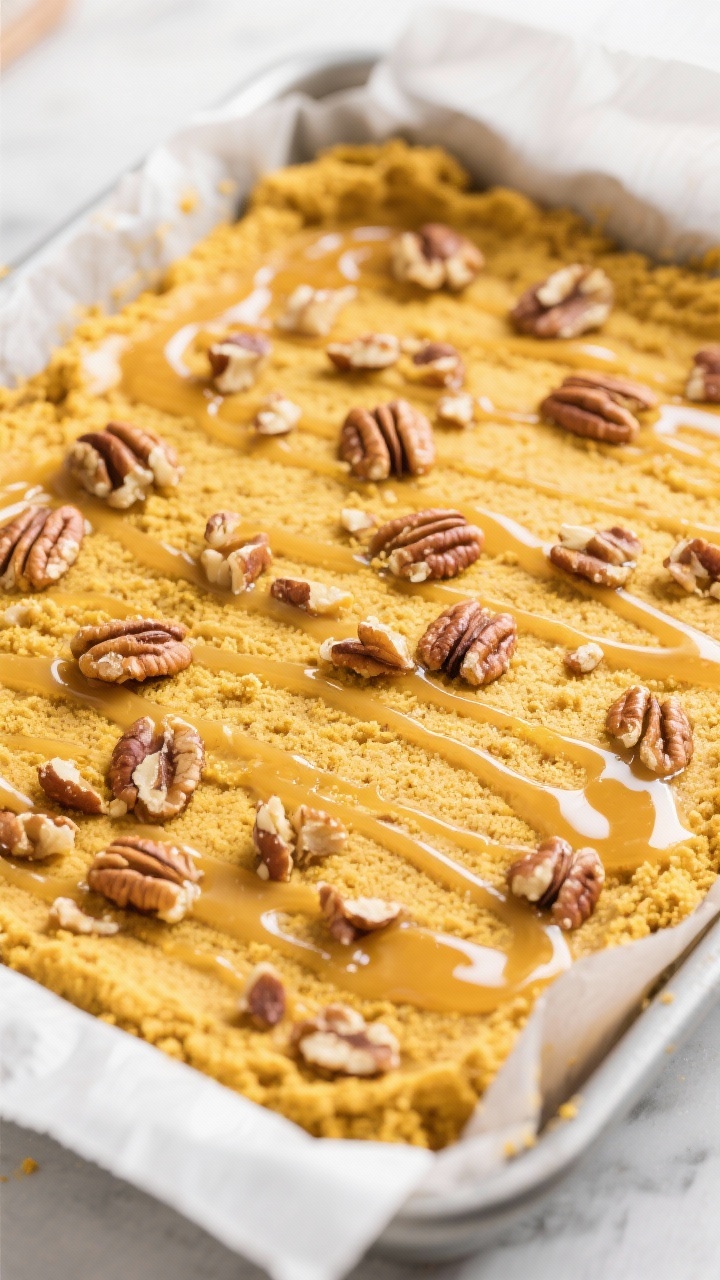
Add nuts (optional): Sprinkle chopped pecans or walnuts over the cake mix for crunch and flavor.
-
Drizzle the butter: Slowly drizzle the melted butter over the top.
Try to cover as much surface area as possible. A few dry spots are okay, but more coverage leads to a crisp top.
-
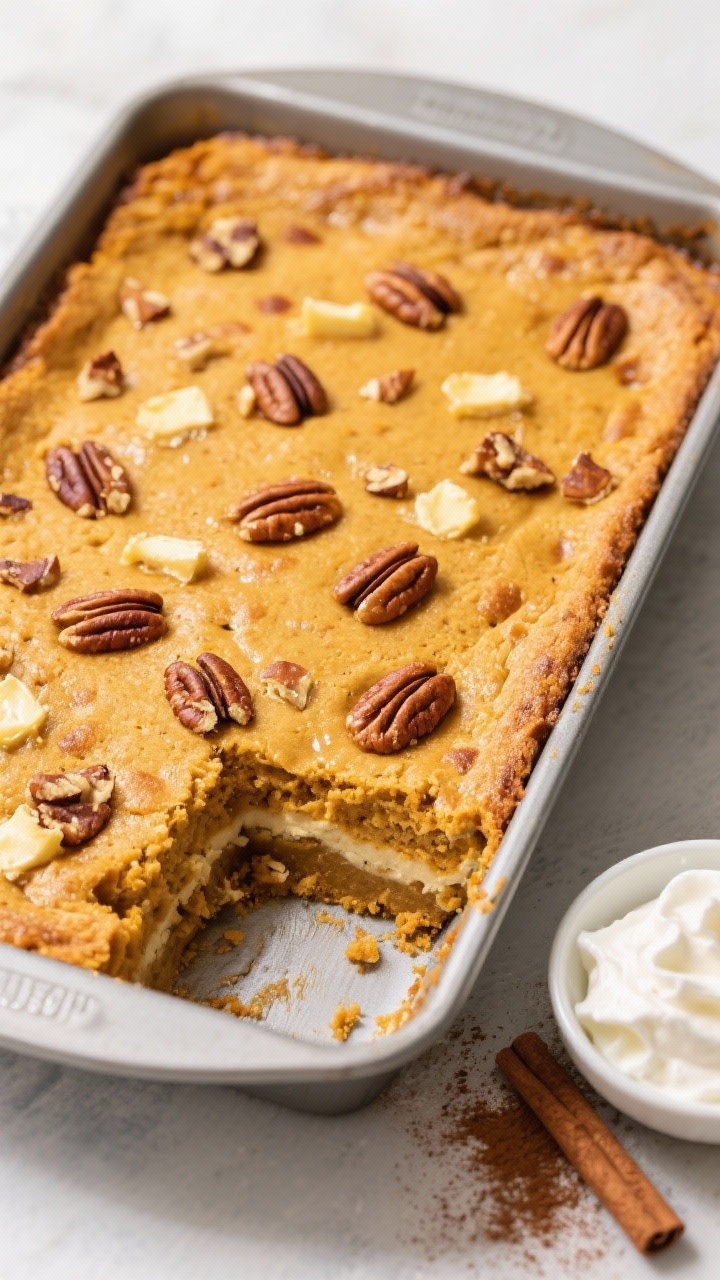
Bake: Place on the center rack and bake for 45–55 minutes. The edges should be set, the top golden, and the center slightly jiggly but not liquid.
-
Cool and set: Let the cake cool for at least 30–45 minutes.
The custard layer will firm up as it cools.
-
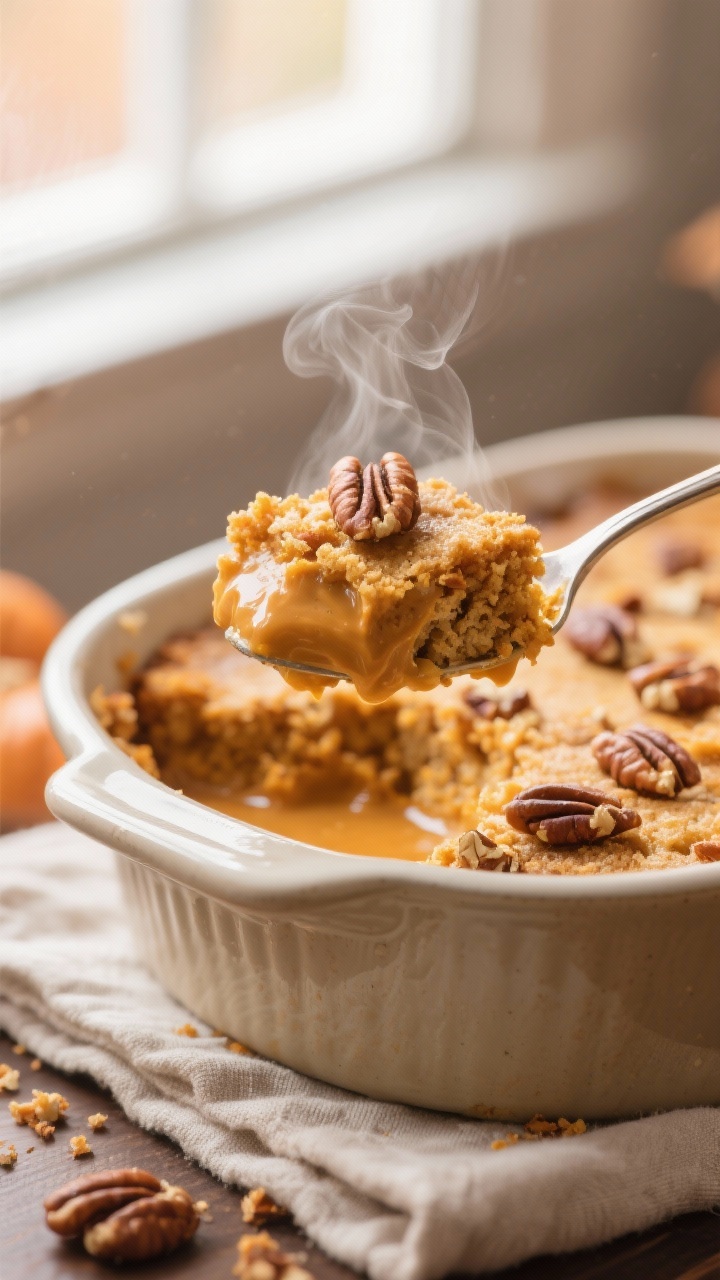
Serve: Scoop into bowls and top with whipped cream or a small scoop of vanilla ice cream. Serve warm or at room temperature.
Why This Recipe Works
- Minimal effort, major payoff: The name says it all. You dump, spread, and bake—no fancy techniques or equipment.
- Perfect texture contrast: The spiced pumpkin custard is silky and rich, while the cake mix topping is crisp and buttery.
- Reliable and forgiving: Slight measurement slips won’t ruin the dish.
It’s hard to mess up.
- Customizable: Swap spices, add nuts, or change the cake mix flavor with confidence.
- Great for gatherings: It bakes in one pan and serves a crowd. It also travels well.
Ingredients
- 1 can (15 ounces) pure pumpkin puree
- 1 can (12 ounces) evaporated milk
- 3/4 cup granulated sugar
- 2 large eggs
- 2 teaspoons pumpkin pie spice (or 1 1/2 tsp cinnamon, 1/4 tsp nutmeg, 1/4 tsp ginger, 1/8 tsp cloves)
- 1/2 teaspoon fine salt
- 1 box (about 15.25 ounces) yellow cake mix (spice cake mix also works)
- 1/2 cup (1 stick) unsalted butter, melted
- 1/2 cup chopped pecans or walnuts (optional)
- Whipped cream or vanilla ice cream, for serving (optional)
- Nonstick spray or butter, for greasing the pan
Step-by-Step Instructions
- Preheat and prep: Heat the oven to 350°F (175°C). Lightly grease a 9×13-inch baking dish with nonstick spray or butter.
- Make the pumpkin base: In a large bowl, whisk together pumpkin puree, evaporated milk, sugar, eggs, pumpkin pie spice, and salt until smooth.
- Pour and level: Pour the pumpkin mixture into the prepared baking dish.
Spread it out so it’s evenly distributed.
- Add the cake mix: Evenly sprinkle the dry cake mix over the pumpkin layer. Don’t mix it in. Aim for a consistent layer without big clumps.
- Add nuts (optional): Sprinkle chopped pecans or walnuts over the cake mix for crunch and flavor.
- Drizzle the butter: Slowly drizzle the melted butter over the top.
Try to cover as much surface area as possible. A few dry spots are okay, but more coverage leads to a crisp top.
- Bake: Place on the center rack and bake for 45–55 minutes. The edges should be set, the top golden, and the center slightly jiggly but not liquid.
- Cool and set: Let the cake cool for at least 30–45 minutes.
The custard layer will firm up as it cools.
- Serve: Scoop into bowls and top with whipped cream or a small scoop of vanilla ice cream. Serve warm or at room temperature.
How to Store
- Refrigerate: Cover the cooled cake and refrigerate for up to 4 days. The flavor deepens by day two.
- Reheat: Warm individual servings in the microwave for 20–30 seconds, or reheat the pan in a 300°F oven for 10–15 minutes.
- Freeze: Freeze in airtight containers for up to 2 months.
Thaw overnight in the fridge and reheat gently to restore texture.
Benefits of This Recipe
- Fast prep: No crust, no mixer, no stress. You can mix and assemble in under 10 minutes.
- Affordable ingredients: Pantry staples like pumpkin, evaporated milk, and cake mix keep it budget-friendly.
- Scales easily: Double it for a crowd, or split into two smaller pans for gifting.
- Consistent results: The method is forgiving, so it turns out well even for beginners.
- Seasonal flavor: It delivers classic pumpkin spice vibes without the work of a traditional pie.
Common Mistakes to Avoid
- Using pumpkin pie filling instead of pumpkin puree: Pumpkin pie filling is already sweetened and spiced. It will make the dessert too sweet and throw off the texture.
- Overmixing the cake layer: Don’t stir the cake mix into the pumpkin layer.
It should sit on top and hydrate from the moisture and butter.
- Too little butter: Skimping on butter can leave dry patches of cake mix. If needed, add an extra tablespoon or two to cover dry spots.
- Underbaking: A slightly jiggly center is fine, but it shouldn’t be wet. If the top is browning too fast, tent with foil and continue baking.
- Skipping the cooling time: The pumpkin custard needs time to set.
Cutting in too soon can make it seem runny.
Alternatives
- Different cake mixes: Try spice cake for extra warmth, white cake for a lighter flavor, or butter pecan for a nutty twist.
- Dairy-free: Use full-fat coconut milk instead of evaporated milk and a dairy-free butter substitute. Check the cake mix for dairy.
- Gluten-free: Use a gluten-free yellow cake mix. The rest of the ingredients are naturally gluten-free.
- Lower sugar: Reduce sugar to 1/2 cup or use a sugar substitute designed for baking.
Flavor will still be great thanks to the spices.
- Toppings: Add a caramel drizzle, a dusting of cinnamon sugar, or toasted coconut flakes for extra flair.
- Add-ins: Stir a handful of mini chocolate chips into the cake mix layer, or add a thin layer of toffee bits on top before baking.
FAQ
Can I make Pumpkin Pie Dump Cake ahead of time?
Yes. Bake it a day in advance, cool completely, cover, and refrigerate. Reheat gently before serving or enjoy chilled.
The flavors meld overnight.
Do I need to use evaporated milk?
Evaporated milk gives the custard body and richness. You can substitute heavy cream or full-fat coconut milk in a pinch, but avoid thin milks that may make the filling watery.
How can I tell when it’s done?
The edges will be set and the top golden brown. The center should wobble slightly, like a soft custard, but not slosh.
If unsure, bake for an extra 5–10 minutes, tenting with foil if needed.
Can I reduce the butter?
You can cut the butter to 6 tablespoons, but the topping may be less crisp and have more dry spots. For best texture, stick with the full 1/2 cup.
What’s the best way to serve it?
Scoop warm portions into bowls and top with lightly sweetened whipped cream or vanilla ice cream. A sprinkle of cinnamon or chopped nuts adds a nice finish.
Why is my topping powdery in spots?
Some dry patches happen if the butter didn’t reach every area.
Next time, drizzle more evenly or use an extra tablespoon of melted butter to fill gaps. The dessert will still taste great.
Can I use fresh pumpkin?
Yes, if it’s well-pureed and thick. Roast and puree the pumpkin, then strain excess liquid through cheesecloth or a fine sieve so the custard isn’t watery.
Is this more like pie or cake?
It’s a hybrid.
The bottom is a silky pumpkin custard like pie, while the top is a buttery, crumbly cake layer. It scoops more like a cobbler than a sliceable cake.
Can I halve the recipe?
Yes. Use an 8×8-inch pan, halve all ingredients, and bake for about 35–45 minutes.
Keep an eye on the edges and color.
How do I keep the nuts crunchy?
Scatter them on top of the cake mix before drizzling the butter. They’ll toast in the oven and stay crisp. If you prefer extra crunch, add a few more on top in the last 10 minutes.
Final Thoughts
Pumpkin Pie Dump Cake is the kind of dessert that makes life easier without sacrificing flavor.
It’s cozy, comforting, and effortlessly impressive. Serve it for a casual family night, a potluck, or your holiday table, and watch it disappear. With its silky pumpkin base and toasty, buttery top, it checks all the fall dessert boxes—no rolling pin required.
Printable Recipe Card
Want just the essential recipe details without scrolling through the article? Get our printable recipe card with just the ingredients and instructions.