
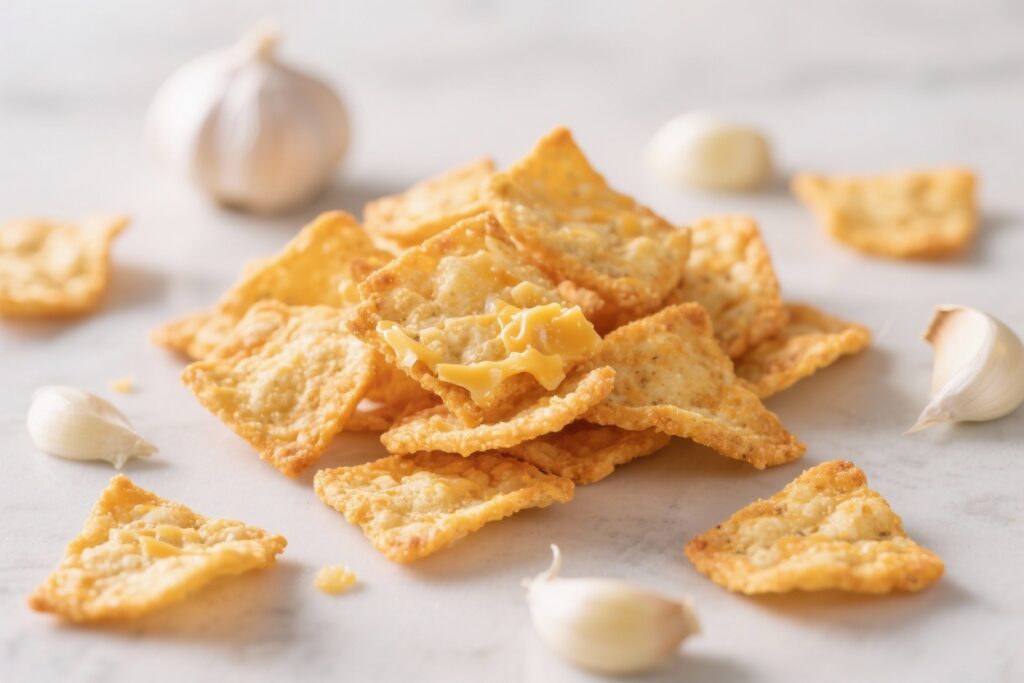
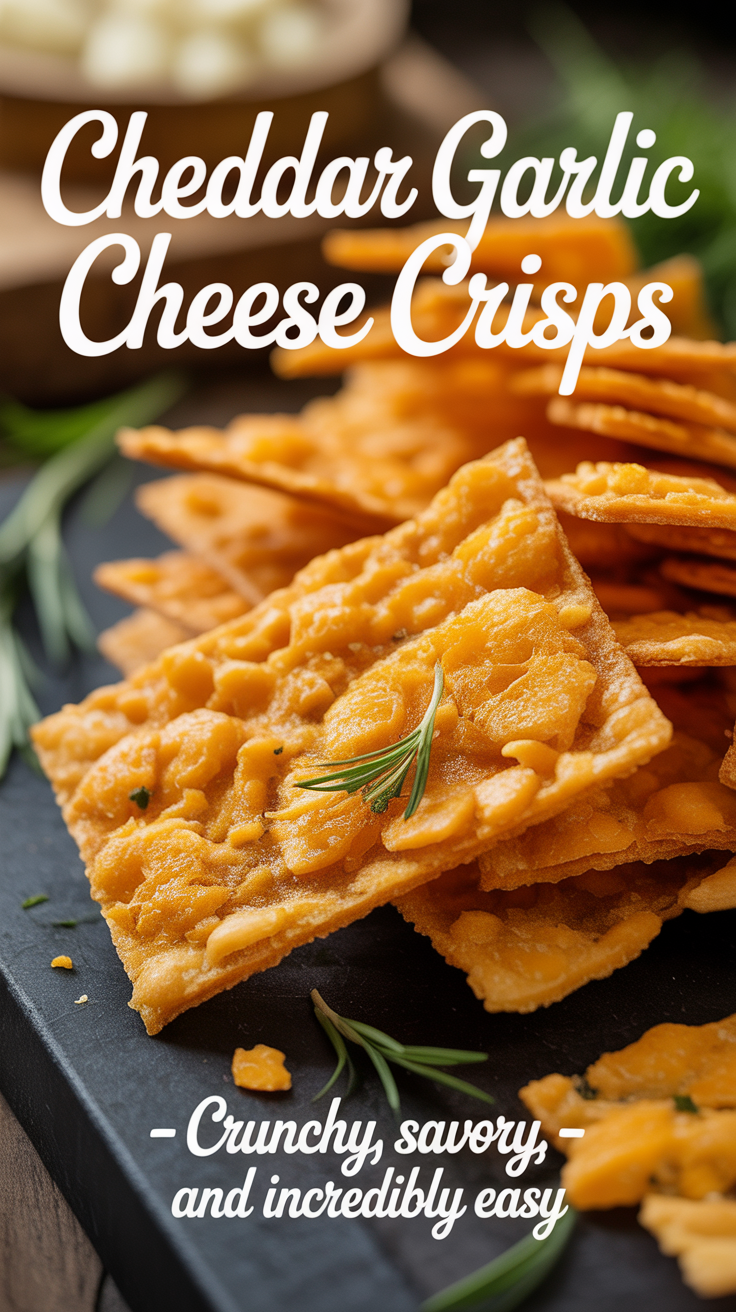
Cheddar Garlic Cheese Crisps are the kind of snack you make once and then wonder how you ever lived without them. They’re crunchy, salty, and full of bold flavor, yet they take just minutes to bake. You only need a handful of ingredients and a sheet pan.
Serve them with soup, use them as crackers, or just enjoy them warm right off the tray. If you like cheese and you like snacks, this recipe will become a go-to.
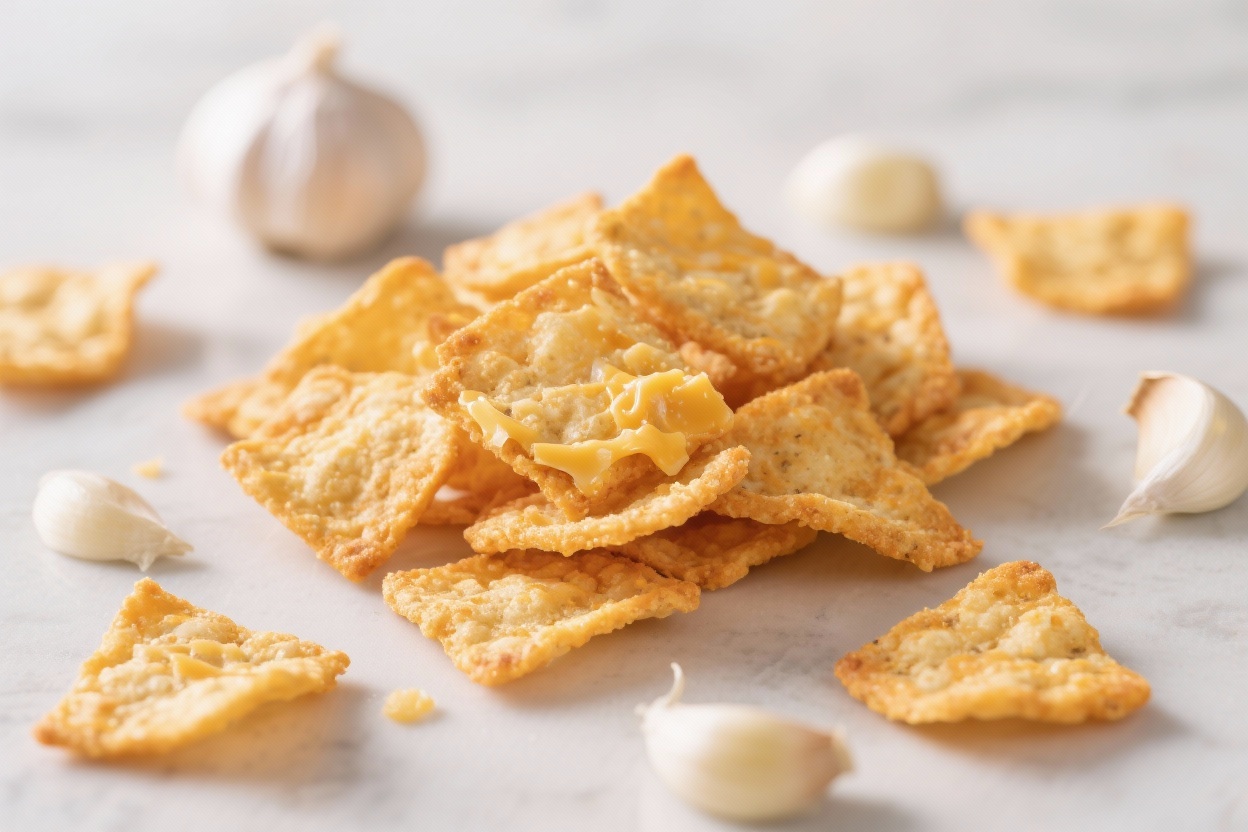
Cheddar Garlic Cheese Crisps – Crunchy, Savory, and Incredibly Easy
Method
-
Preheat the oven to 375°F (190°C). Line two baking sheets with parchment or silicone mats.
This prevents sticking and helps the crisps spread evenly.
-
Grate the cheddar using the large holes of a box grater. Freshly grated cheese melts and crisps better than pre-shredded, which often contains anti-caking agents.
-
Mix the seasonings. In a small bowl, combine the garlic powder, onion powder, smoked paprika, red pepper flakes, and a few grinds of black pepper.
Stir into the grated cheddar so the seasoning is evenly distributed.
-
Portion the cheese mounds. Scoop about 1 heaping tablespoon of the cheese mixture per crisp onto the prepared baking sheets. Leave at least 2 inches between mounds.
They will spread.
-
Flatten slightly. Use your fingers to gently press each mound down to about a 2-inch circle. This helps them crisp evenly and prevents a dome.
-
Optional toppings.
Sprinkle a few sesame seeds or a light pinch of everything bagel seasoning over the top of each circle for extra crunch.
-
Bake 6–9 minutes until the edges are deep golden and lacy, and the centers are bubbling. Rotate the pan halfway if your oven has hot spots. Golden edges are your cue—too pale, and they’ll be chewy.
-
Cool on the sheet 2–3 minutes. They’ll firm up fast.
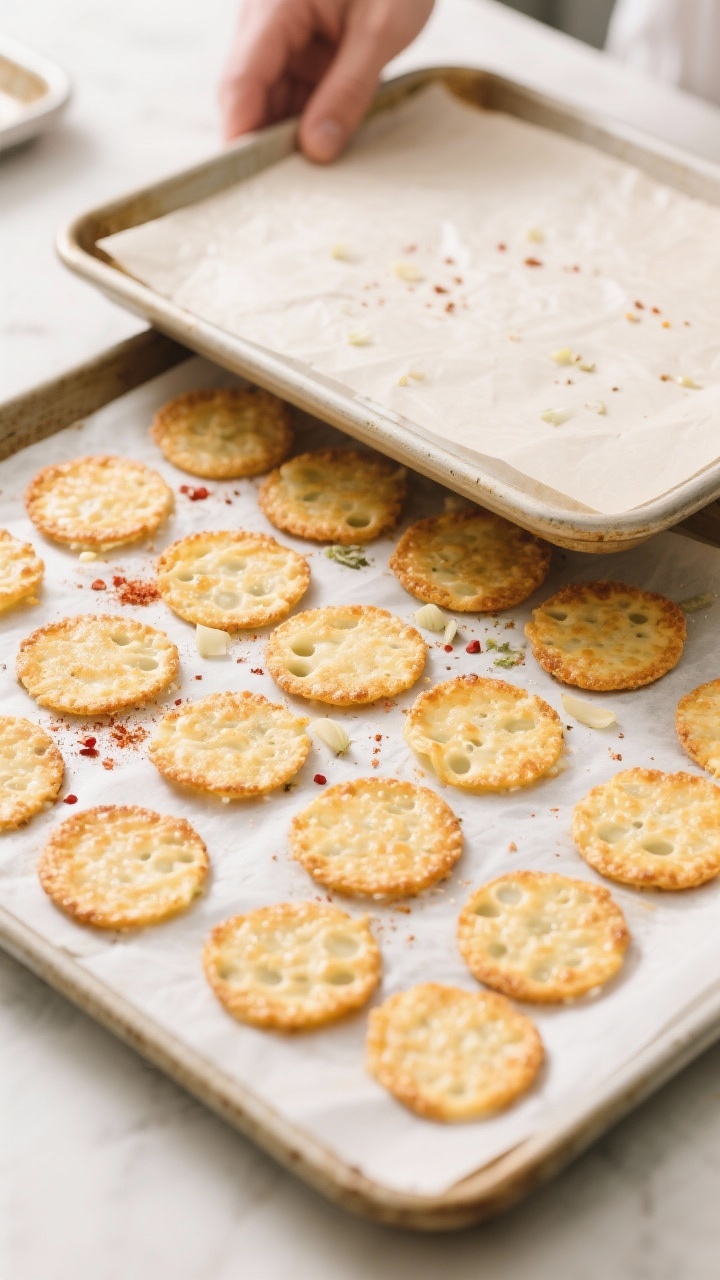
If you want perfectly flat crisps, place a second sheet of parchment lightly on top and press gently with another tray for a second.
-
Transfer to a rack to cool completely. The crisps will finish crisping as they cool. If any look soft in the center, pop them back into the oven for 1–2 minutes.
-
Serve or store.
Enjoy warm or at room temperature. Let them cool fully before storing to keep them crunchy.
What Makes This Special
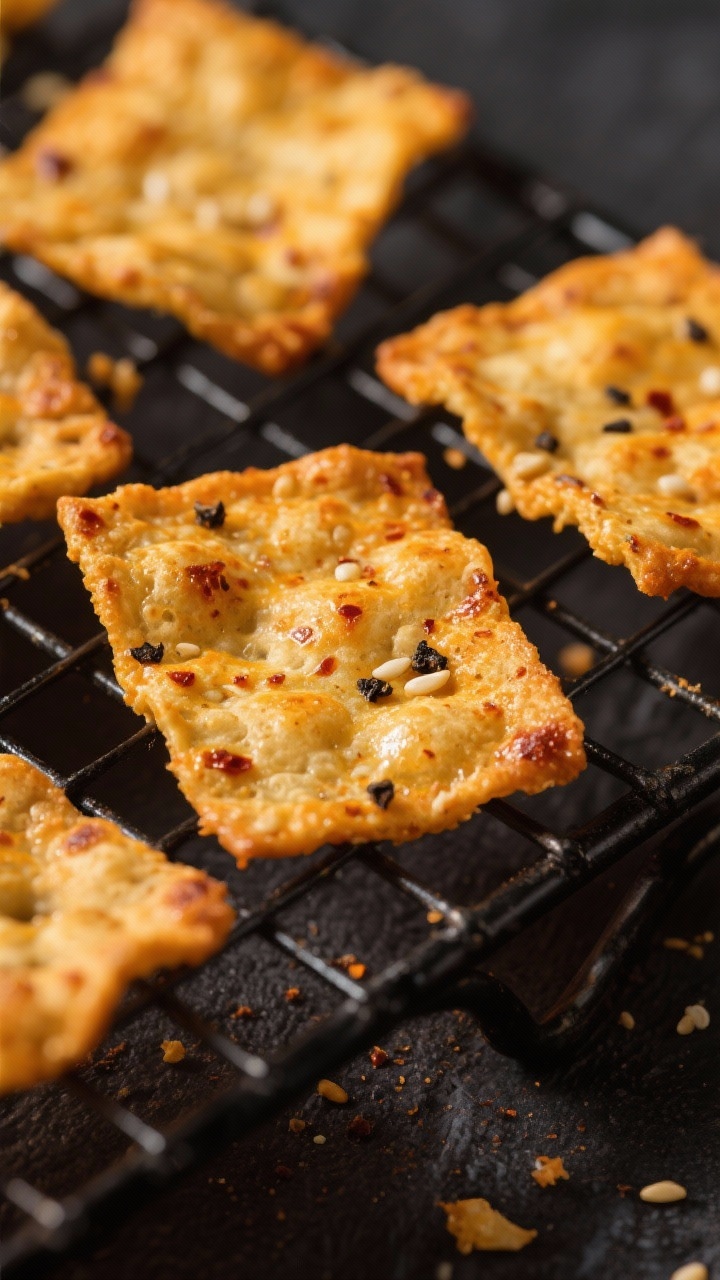
These crisps turn simple cheddar into a super crunchy, savory bite with a hint of garlic and a touch of heat. Unlike store-bought chips, you control the ingredients and the flavor strength.
They bake fast, cool quickly, and keep their crunch for days when stored correctly. No flour, no fillers—just cheese and a few pantry seasonings. They’re great for low-carb and gluten-free eaters, but they also satisfy anyone who loves a good, cheesy crunch.
Ingredients
- 2 cups freshly grated sharp cheddar cheese (avoid pre-shredded if possible)
- 1/2 teaspoon garlic powder (or 1/4 teaspoon granulated garlic)
- 1/4 teaspoon onion powder (optional, but adds depth)
- 1/4 teaspoon smoked paprika (optional, for warmth and color)
- Pinch of red pepper flakes (optional, for mild heat)
- Freshly ground black pepper, to taste
- Sesame seeds or everything bagel seasoning (optional, for texture)
- Parchment paper or a silicone baking mat (for easy release)
Step-by-Step Instructions
- Preheat the oven to 375°F (190°C). Line two baking sheets with parchment or silicone mats.
This prevents sticking and helps the crisps spread evenly.
- Grate the cheddar using the large holes of a box grater. Freshly grated cheese melts and crisps better than pre-shredded, which often contains anti-caking agents.
- Mix the seasonings. In a small bowl, combine the garlic powder, onion powder, smoked paprika, red pepper flakes, and a few grinds of black pepper.
Stir into the grated cheddar so the seasoning is evenly distributed.
- Portion the cheese mounds. Scoop about 1 heaping tablespoon of the cheese mixture per crisp onto the prepared baking sheets. Leave at least 2 inches between mounds.
They will spread.
- Flatten slightly. Use your fingers to gently press each mound down to about a 2-inch circle. This helps them crisp evenly and prevents a dome.
- Optional toppings.
Sprinkle a few sesame seeds or a light pinch of everything bagel seasoning over the top of each circle for extra crunch.
- Bake 6–9 minutes until the edges are deep golden and lacy, and the centers are bubbling. Rotate the pan halfway if your oven has hot spots. Golden edges are your cue—too pale, and they’ll be chewy.
- Cool on the sheet 2–3 minutes. They’ll firm up fast.
If you want perfectly flat crisps, place a second sheet of parchment lightly on top and press gently with another tray for a second.
- Transfer to a rack to cool completely. The crisps will finish crisping as they cool. If any look soft in the center, pop them back into the oven for 1–2 minutes.
- Serve or store.
Enjoy warm or at room temperature. Let them cool fully before storing to keep them crunchy.
Keeping It Fresh
Cheese crisps stay at their best when completely cooled and stored in an airtight container. Room temperature is ideal for the first 2–3 days. If your kitchen is humid, add a small piece of parchment between layers and a food-safe desiccant or a few grains of uncooked rice wrapped in cheesecloth to absorb moisture.
To revive soft crisps, re-crisp them in a 300°F (150°C) oven for 3–5 minutes, then cool on a rack.
Avoid the fridge, which introduces moisture and can make them chewy. For longer storage, freeze in a single layer, then transfer to a sealed bag; re-crisp before serving.
Health Benefits
- High in protein and fat: Helps with satiety and makes these a satisfying snack that can tide you over between meals.
- Low carb and gluten-free: A smart swap for crackers or chips if you’re reducing carbs or avoiding gluten.
- Calcium and B vitamins: Cheddar provides calcium for bones and B12 for energy and nerve health.
- Portion control friendly: Each crisp is a defined serving, so it’s easy to track how much you’re eating.
As with most cheese-based snacks, moderation matters. These are calorie-dense and can be high in sodium, so balance them with fresh veggies, a light soup, or a big salad.
Pitfalls to Watch Out For
- Using pre-shredded cheese: It often contains starches that prevent good melting and crisping.
Freshly grated works best.
- Underbaking: Pale yellow centers = chewy crisps. Wait for dark golden edges.
- Overcrowding the pan: They spread; give them space or they’ll fuse into one large sheet.
- Skipping the cool-down: Move them too soon and they may tear. Let them set for a couple of minutes first.
- Storing while warm: Traps steam and ruins the crunch.
Always cool completely.
Alternatives
- Cheese swaps: Try Parmesan for an ultra-crispy, nutty version; pepper jack for extra heat; or a 50/50 mix of cheddar and mozzarella for a slightly chewier bite.
- Seasoning twists: Lemon pepper, Cajun seasoning, ranch powder, or Italian herbs all work well. Start light—cheese amplifies saltiness.
- Add-ins: Finely chopped chives, minced jalapeño (patted dry), or a pinch of dried rosemary can change the vibe without complicating the process.
- Shape it up: Use a round cookie cutter as a guide for perfect circles, or make long rectangles for “cheese crackers.”
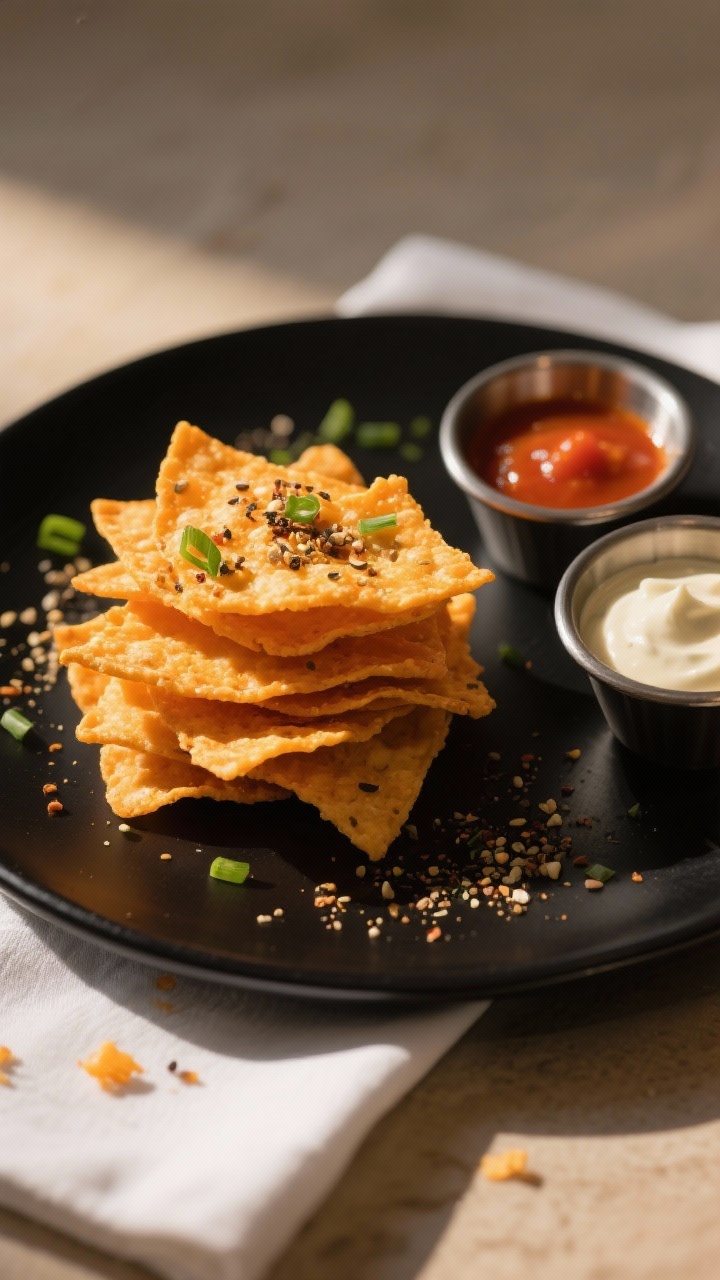
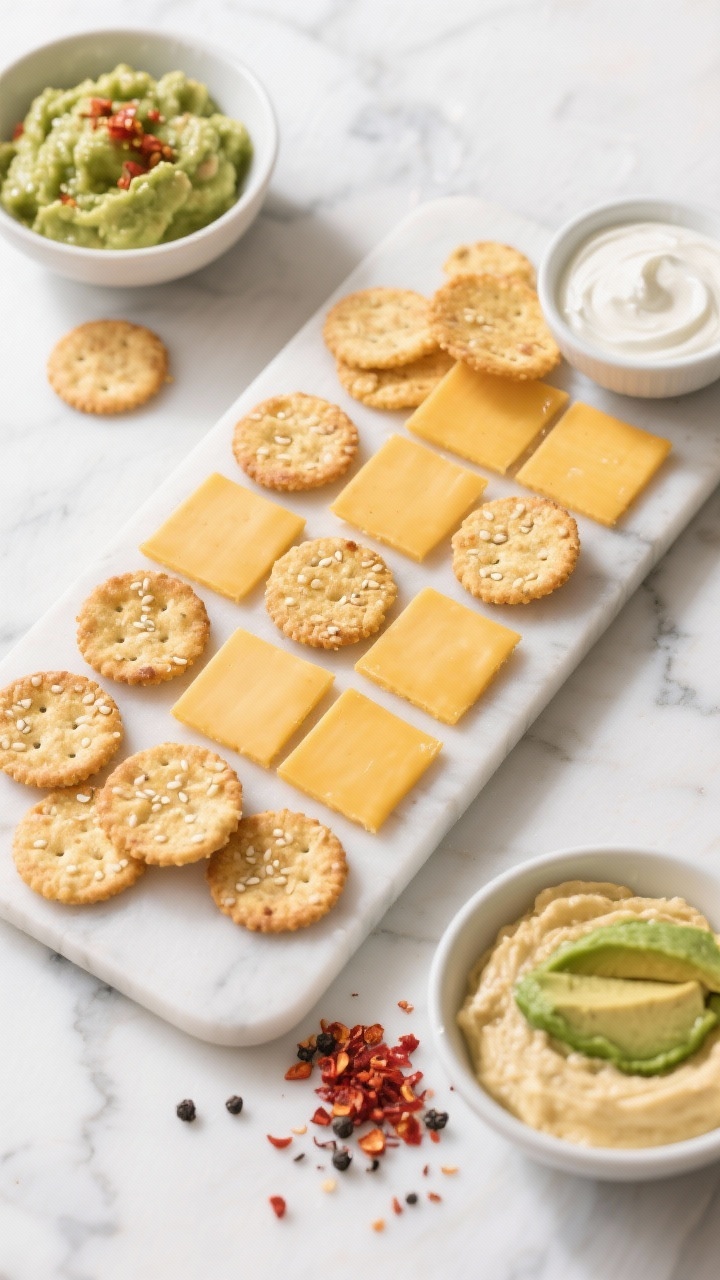
- Dipping ideas: Serve with marinara, creamy ranch, guacamole, or a tangy yogurt dip to balance the richness.
FAQ
Can I make these without parchment paper?
Use a silicone baking mat if you have one. A bare baking sheet risks sticking and uneven browning, so parchment or a mat is strongly recommended.
Why did my crisps come out chewy?
They were likely underbaked or stored before cooling.
Bake until the edges are deep golden, then let them cool fully to set the crunch before storing.
Can I use mild cheddar?
Yes, but the flavor will be softer. Sharp or extra-sharp cheddar gives the best punch and stands up to garlic and spices.
How do I keep them from spreading into each other?
Leave at least 2 inches between mounds and avoid making them too large. If they still spread, bake in smaller batches or reduce the size to 2 teaspoons per crisp.
Are these good for kids?
Usually yes.
If serving to kids, skip the red pepper flakes and go lighter on the garlic. Break them into smaller pieces for easier snacking.
Can I make them in an air fryer?
Yes, in small batches. Line the basket with perforated parchment, set to 350°F (175°C), and cook 4–6 minutes, checking for golden edges.
They can go from perfect to burnt quickly, so keep an eye on them.
What can I serve these with?
They’re great with tomato soup, chili, creamy dips, or as a crunchy topping for salads. They also make a fun base for mini bites with sliced cherry tomatoes or a dollop of pesto.
Do they work with low-fat cheese?
Not well. Low-fat cheese doesn’t melt and crisp the same way.
For best texture, use full-fat cheddar or mix in some Parmesan to boost crispiness.
Can I double the recipe?
Absolutely. Bake in batches so you don’t overcrowd the pan, and rotate trays between racks for even browning.
How do I prevent excess grease?
Some grease is normal as the cheese melts. Drain finished crisps briefly on a paper towel or a wire rack.
Mixing in a bit of Parmesan can reduce greasiness and increase crunch.
Wrapping Up
Cheddar Garlic Cheese Crisps are a fast, flexible snack that delivers big flavor with minimal effort. With a few pantry spices and a good cheddar, you’ll have a tray of crisp, savory bites in under 15 minutes. Keep a batch on hand for soups, salads, and snack attacks.
Once you know the timing in your oven, you’ll nail that perfect golden crunch every time. Simple, tasty, and seriously satisfying—these crisps earn a permanent spot in your snack rotation.
Printable Recipe Card
Want just the essential recipe details without scrolling through the article? Get our printable recipe card with just the ingredients and instructions.